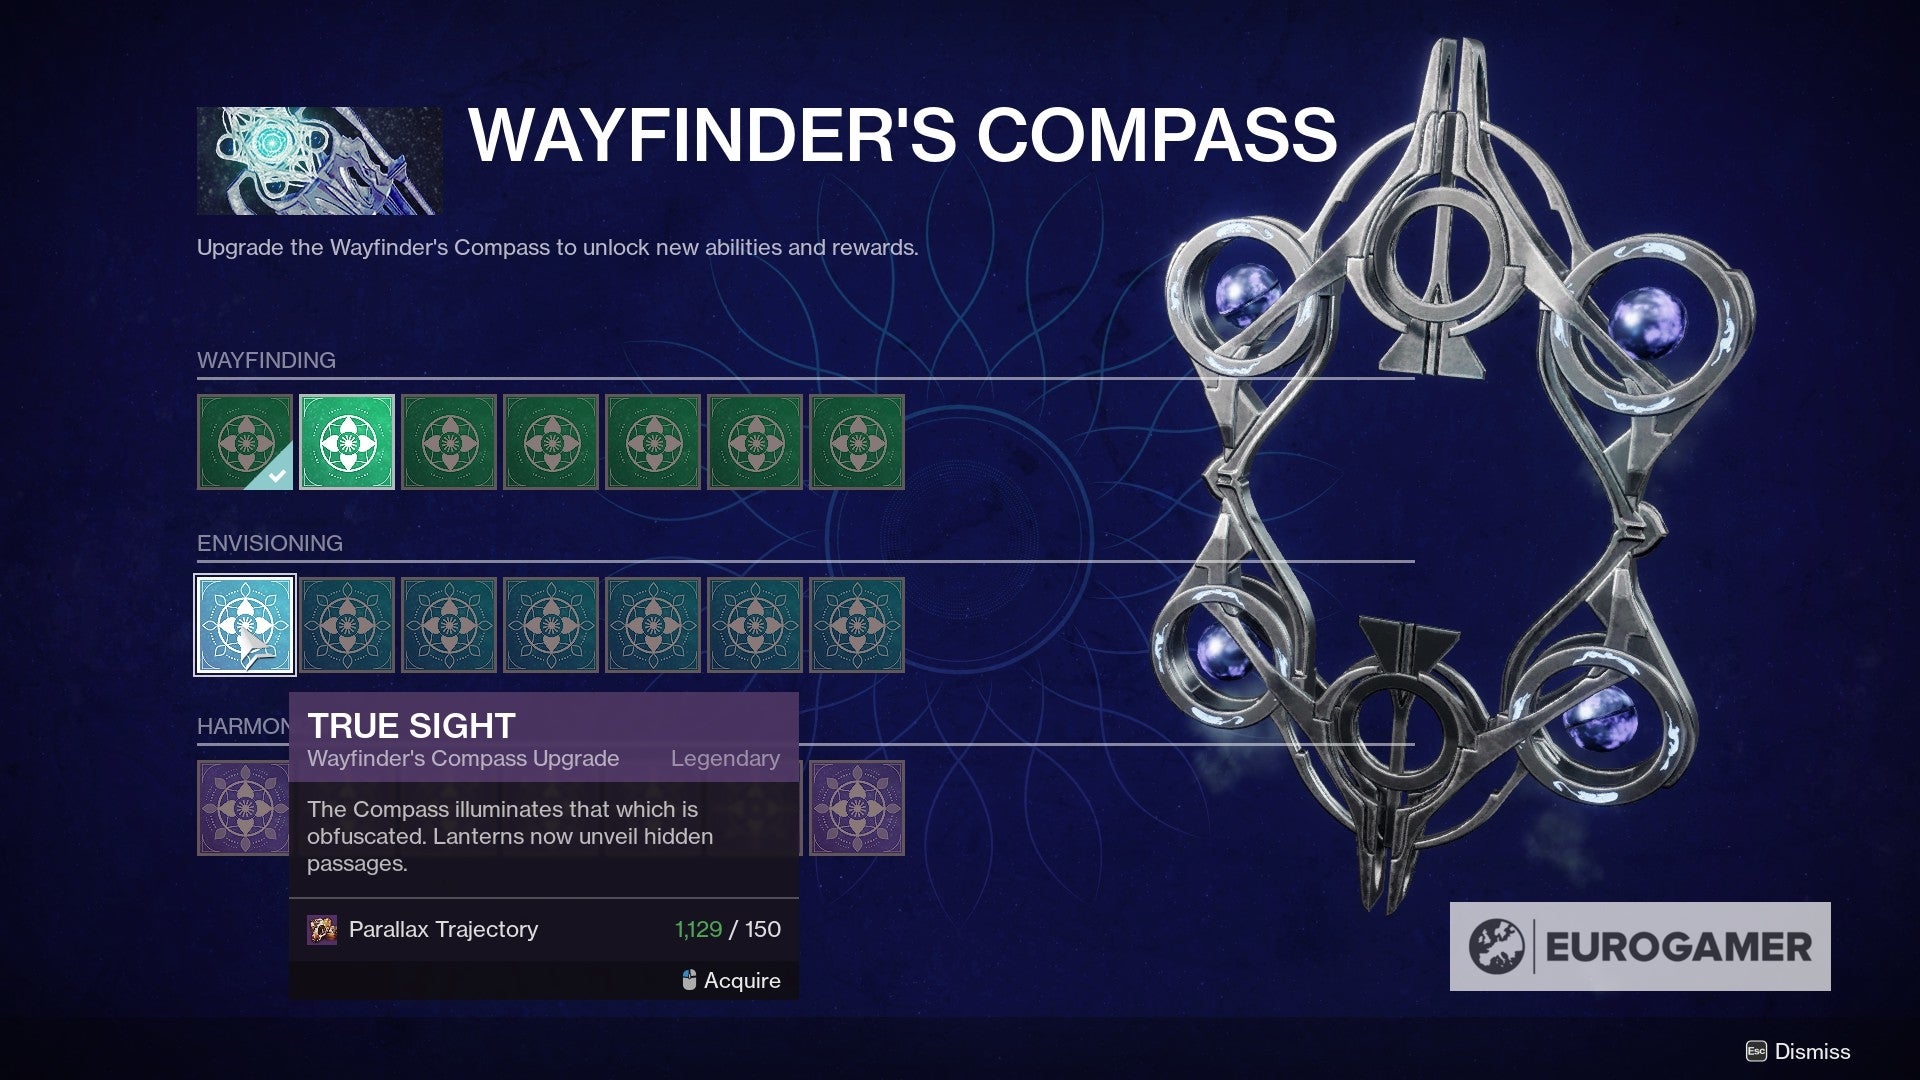
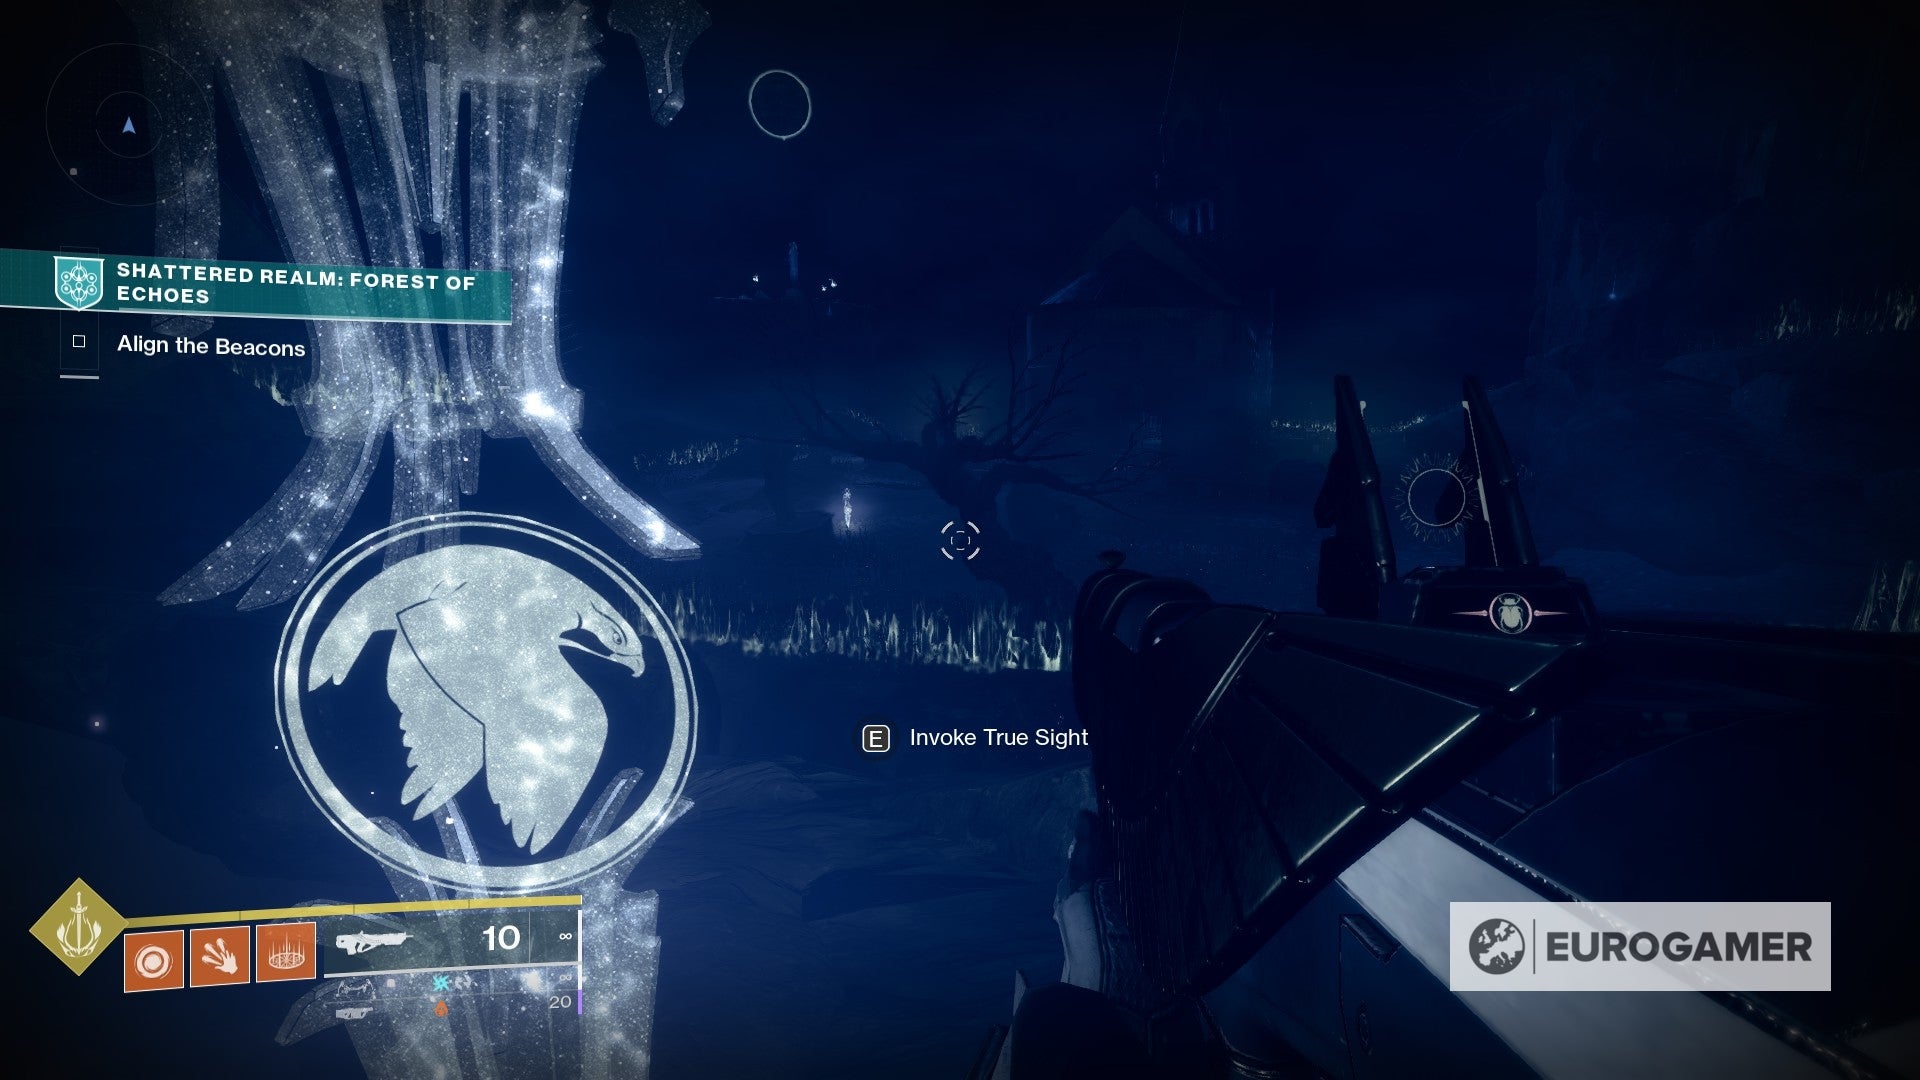
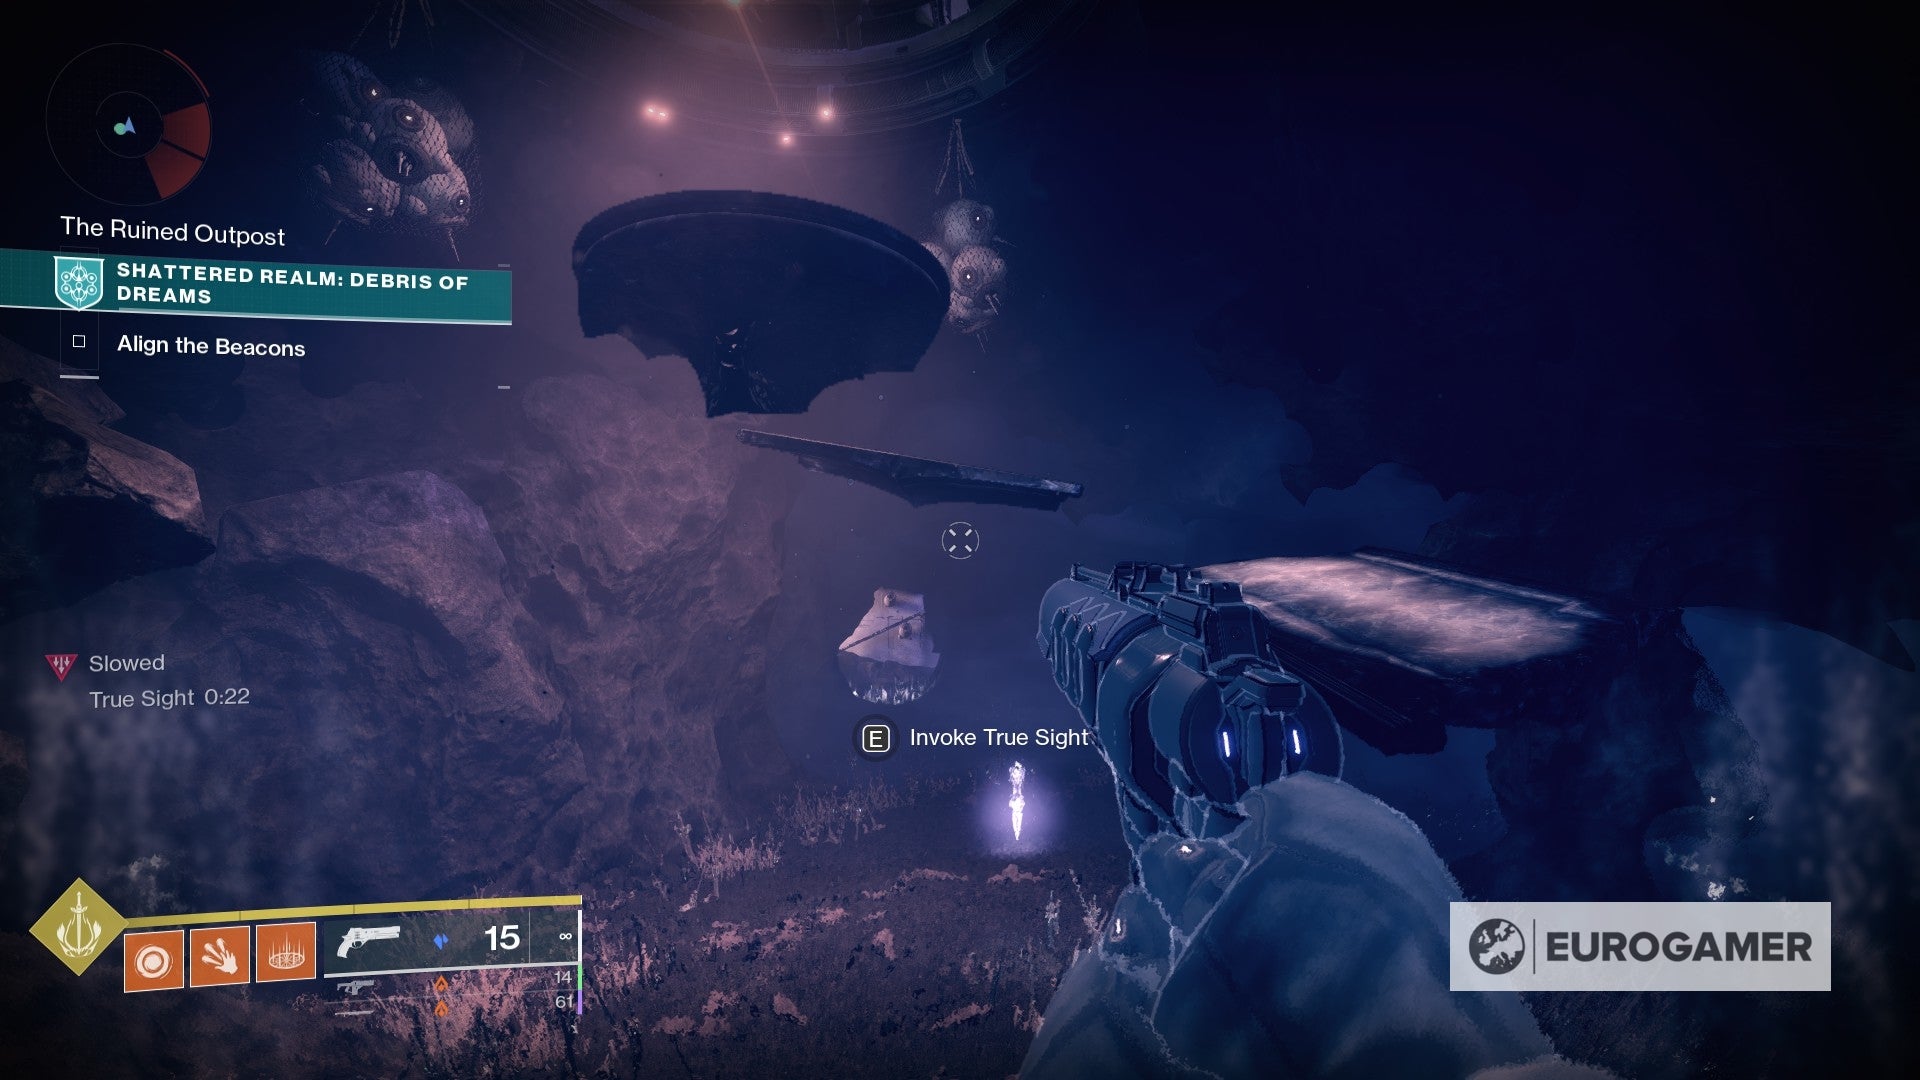
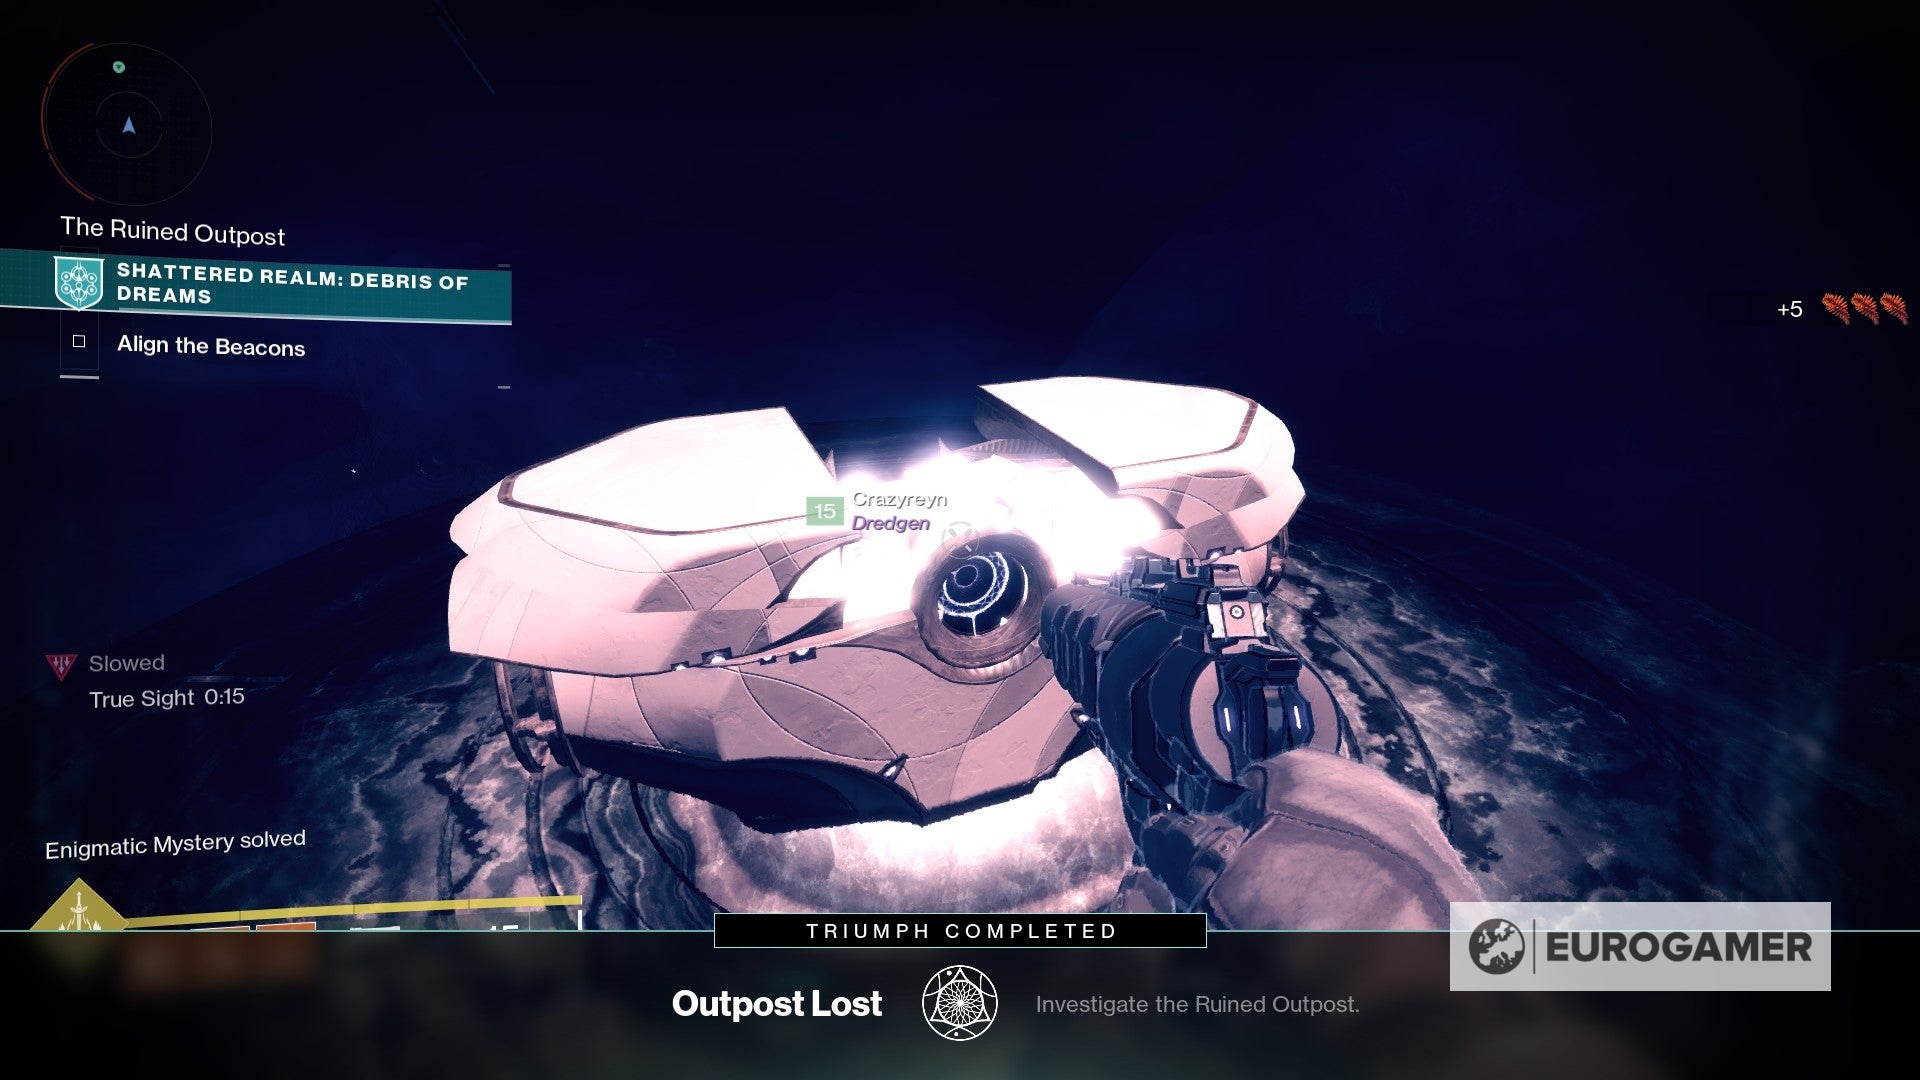
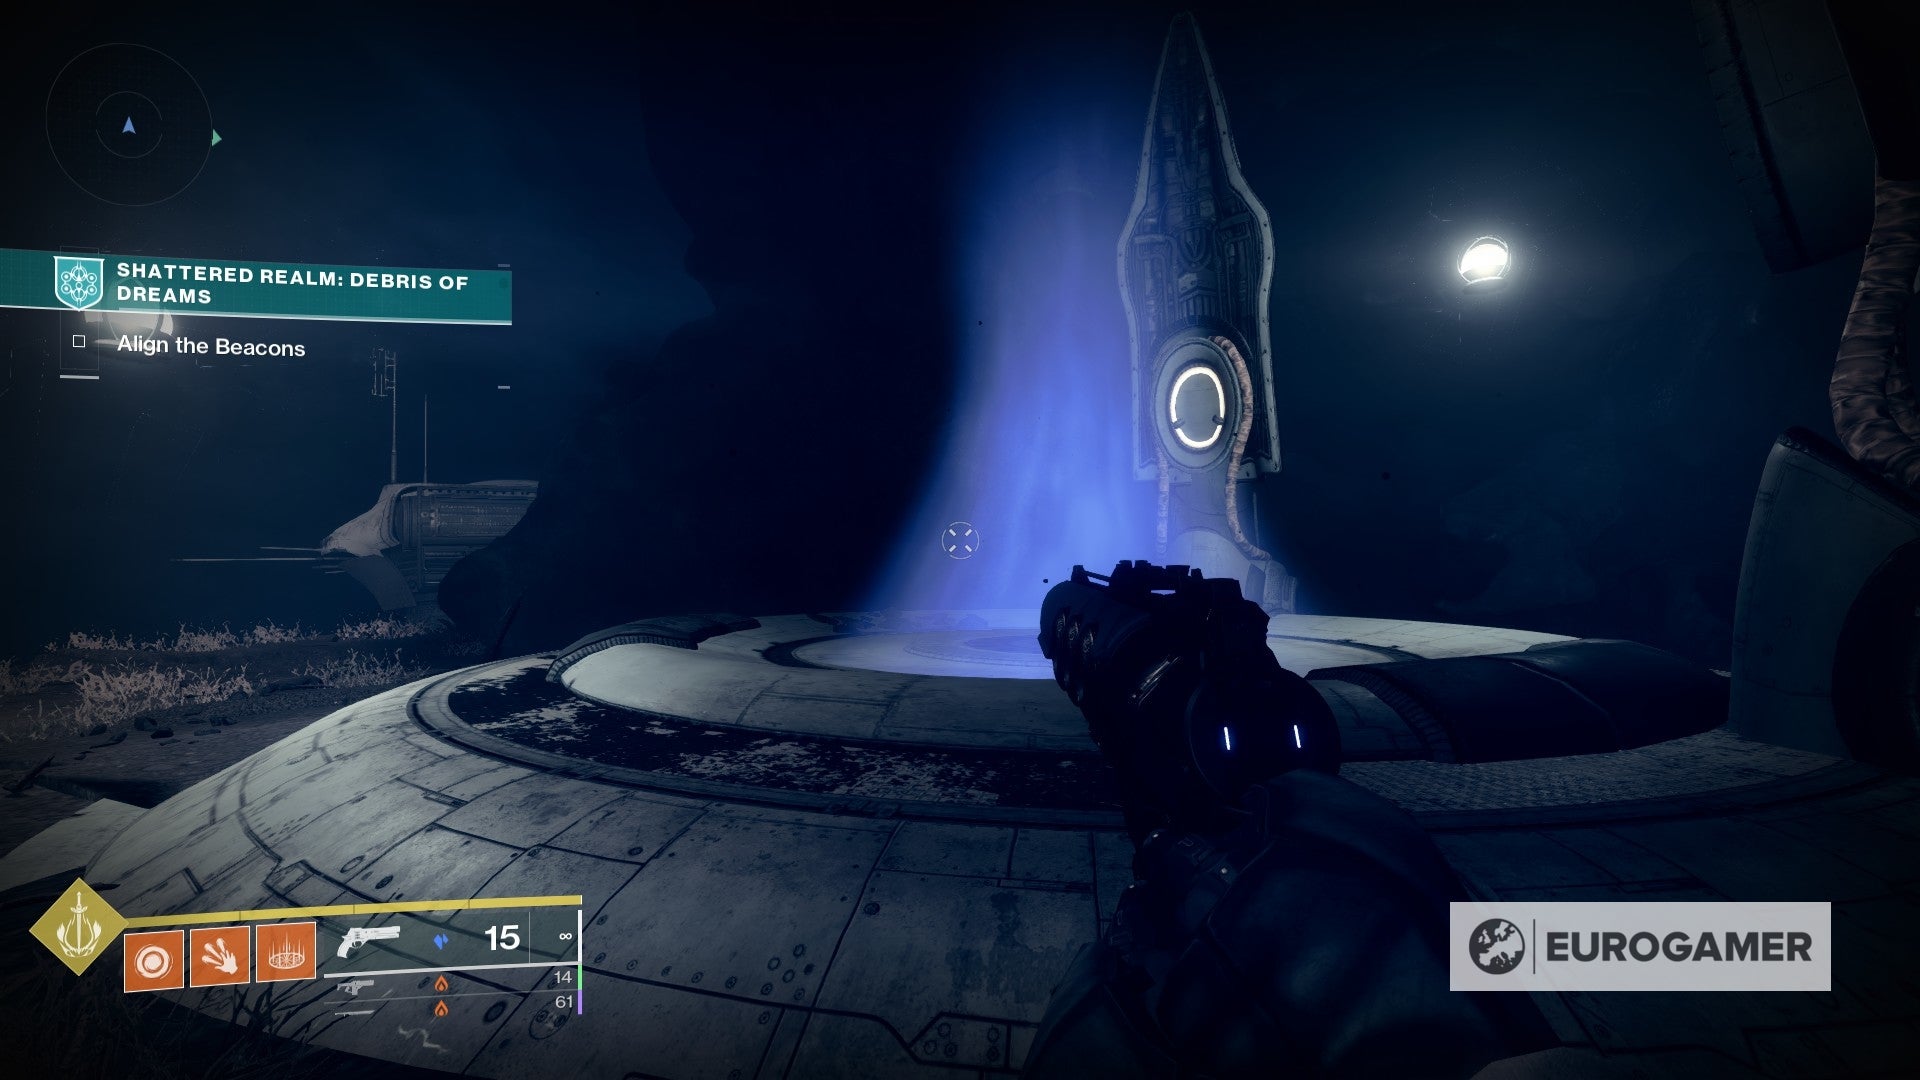
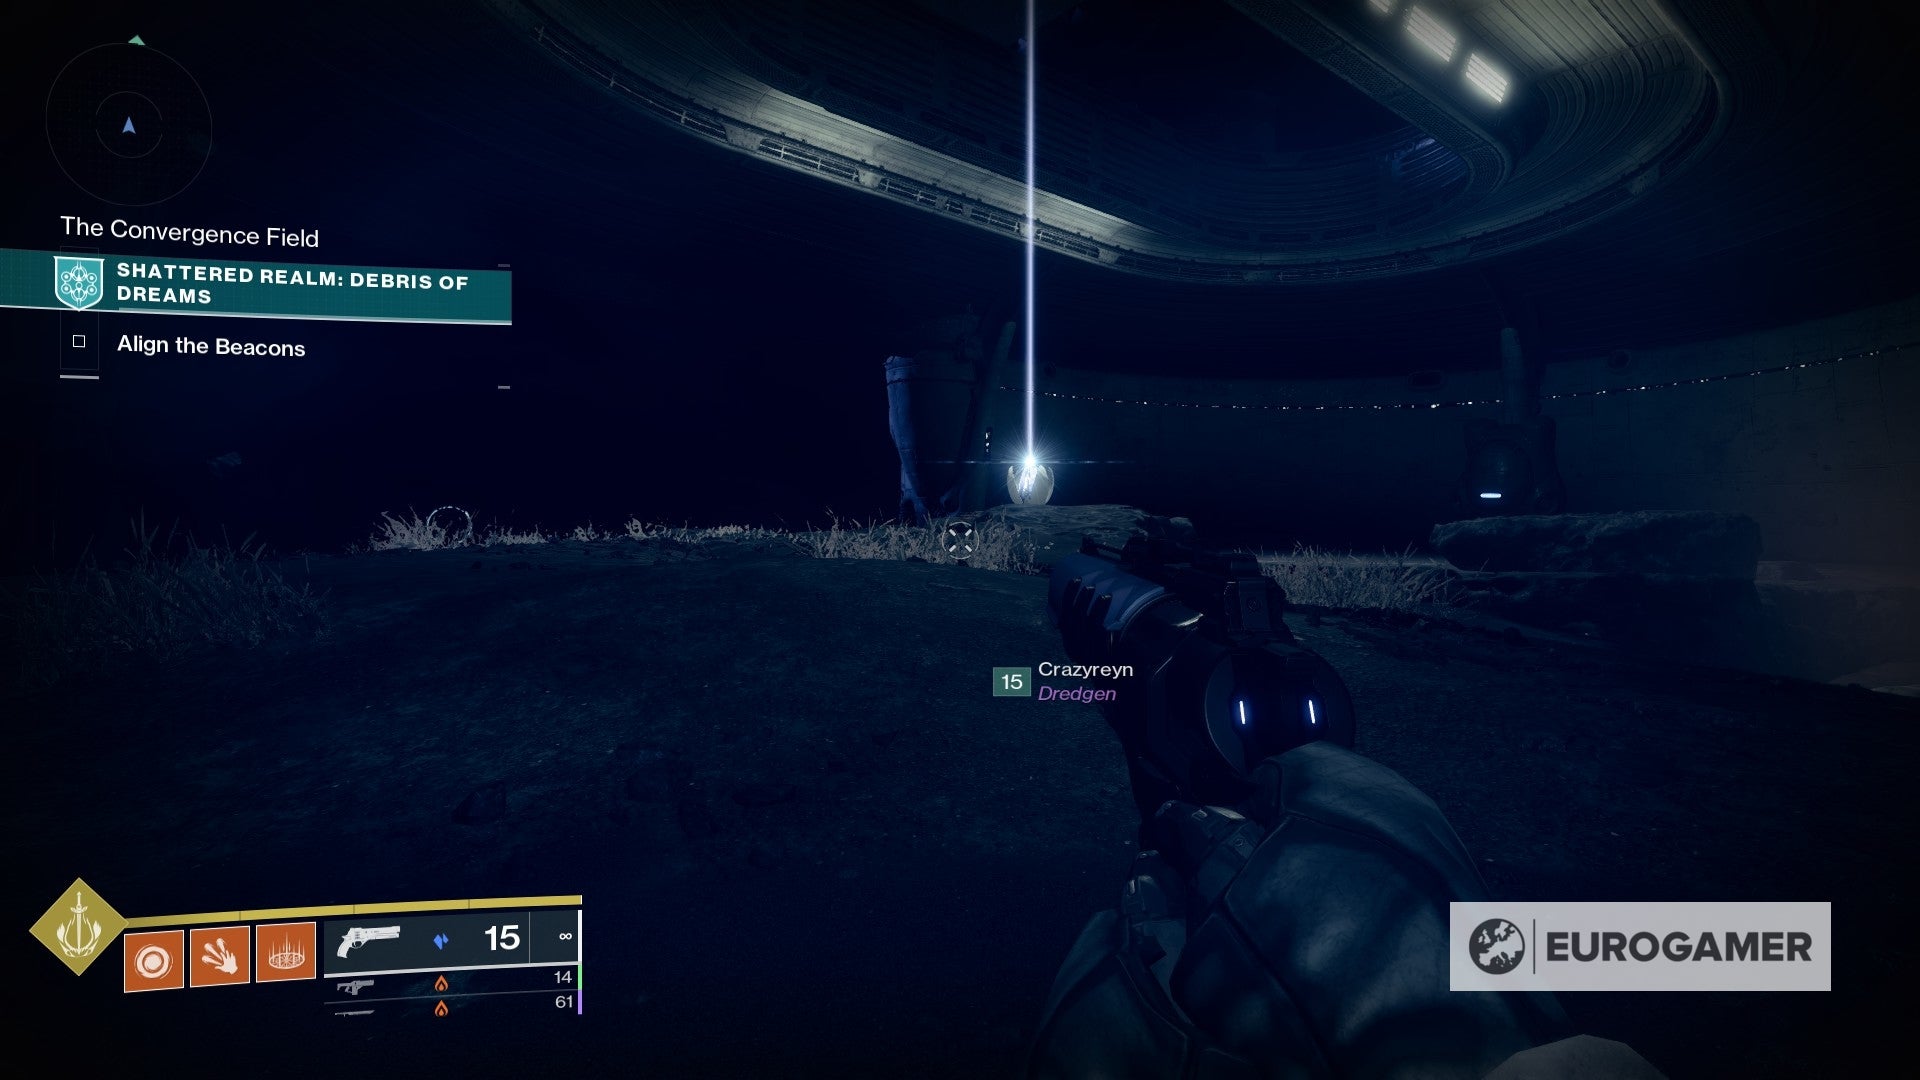
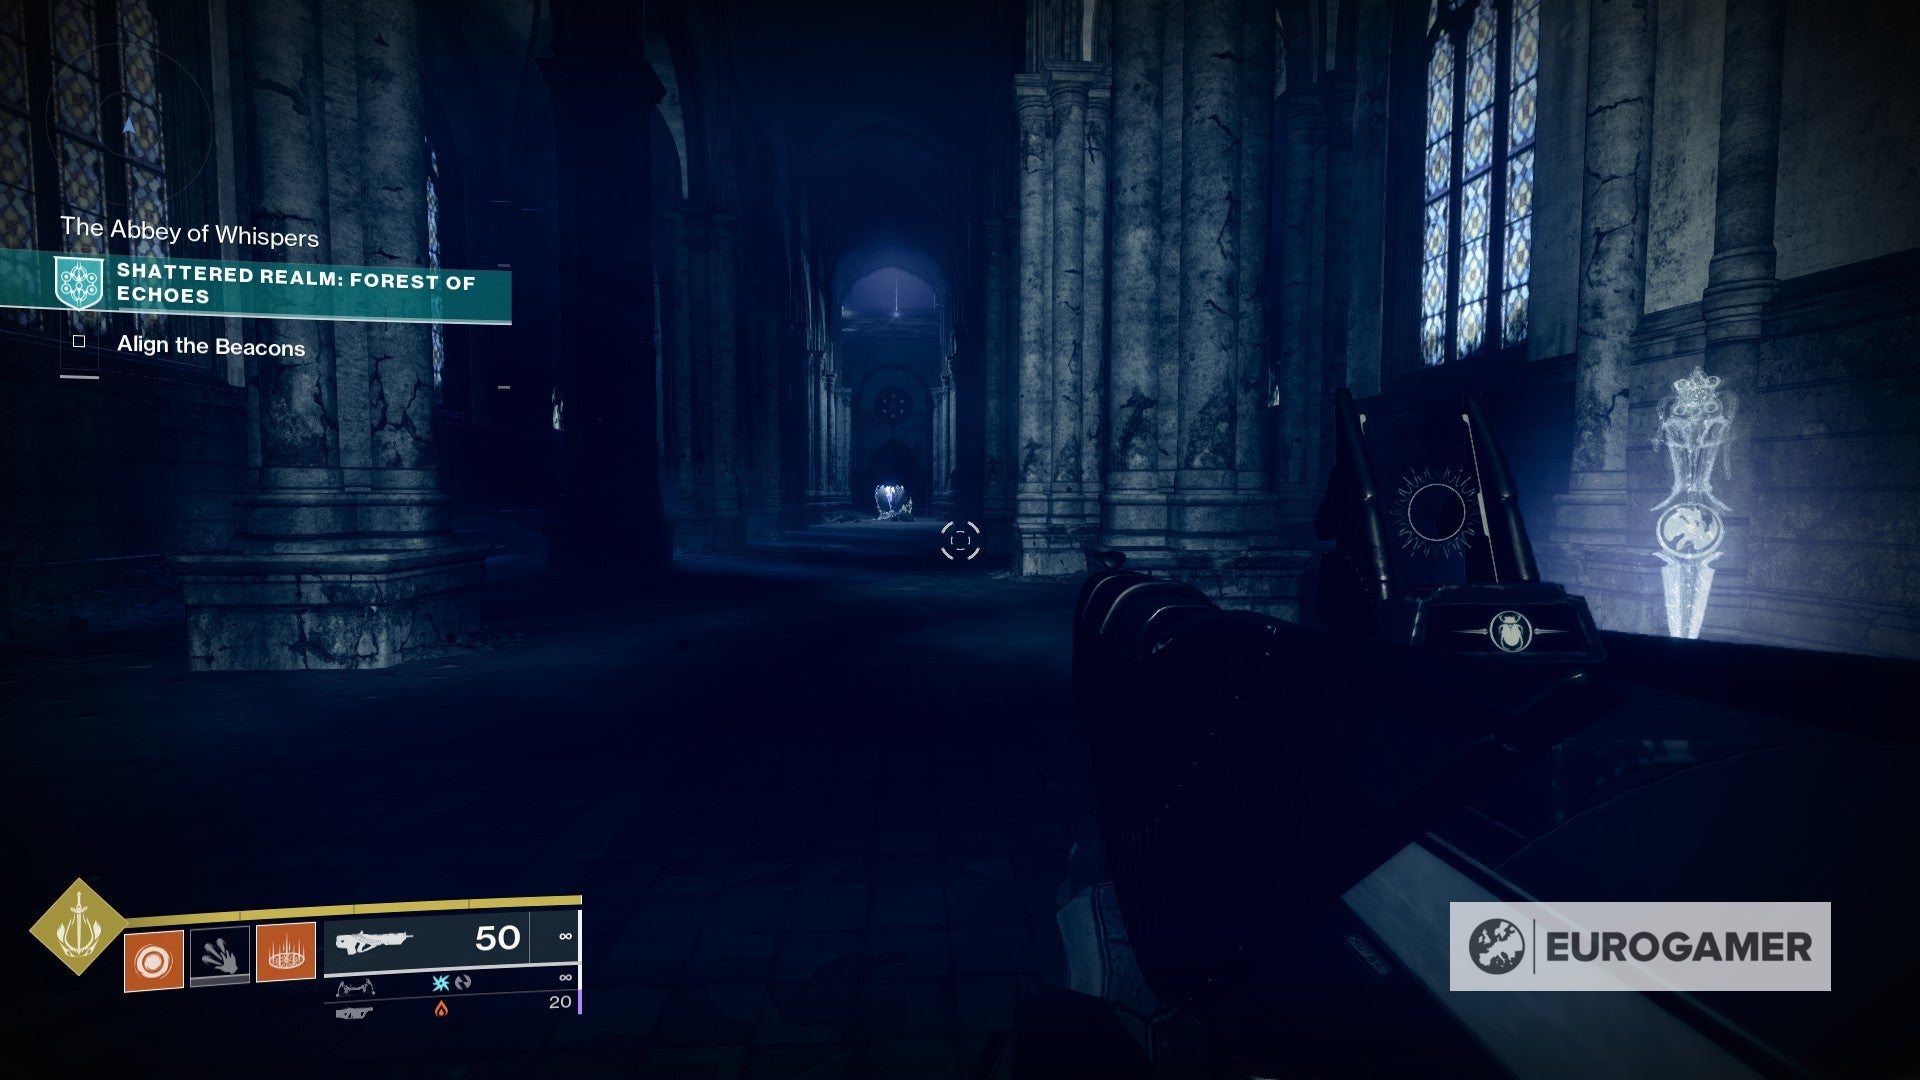
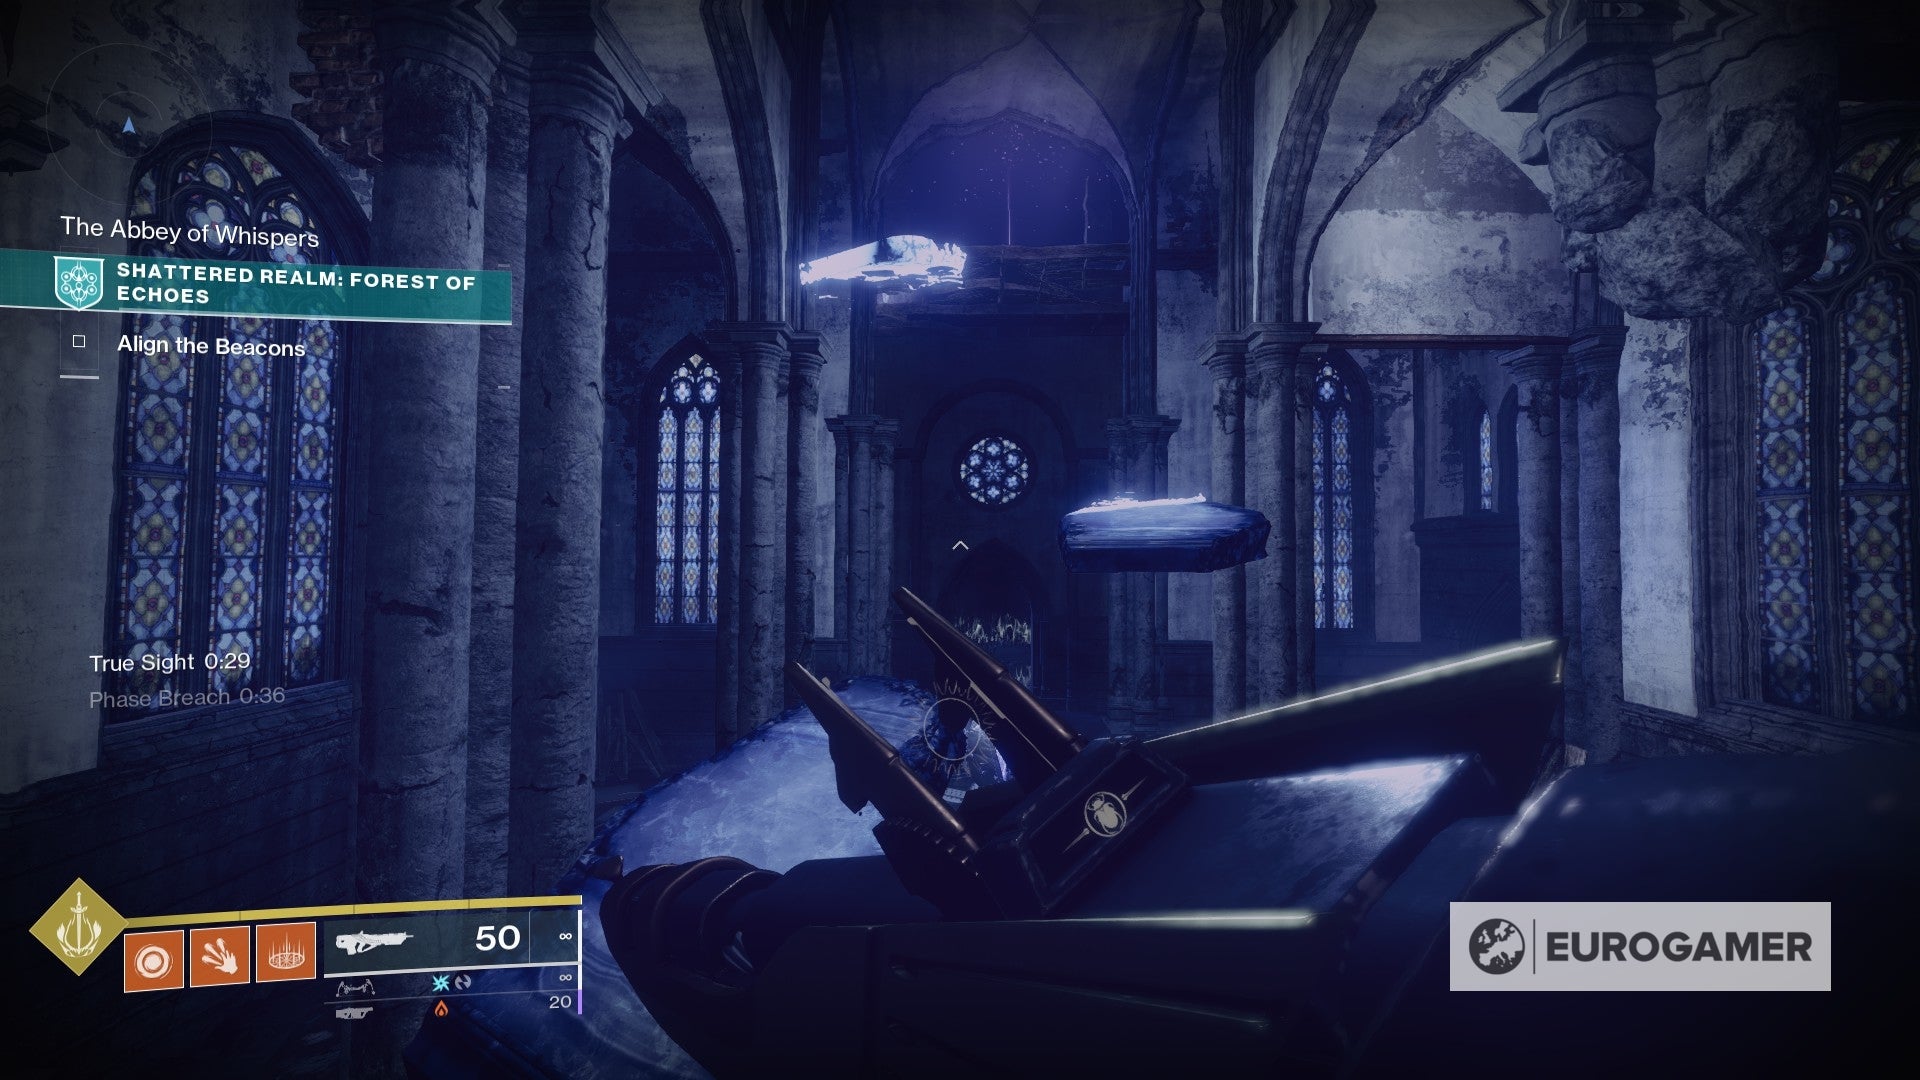
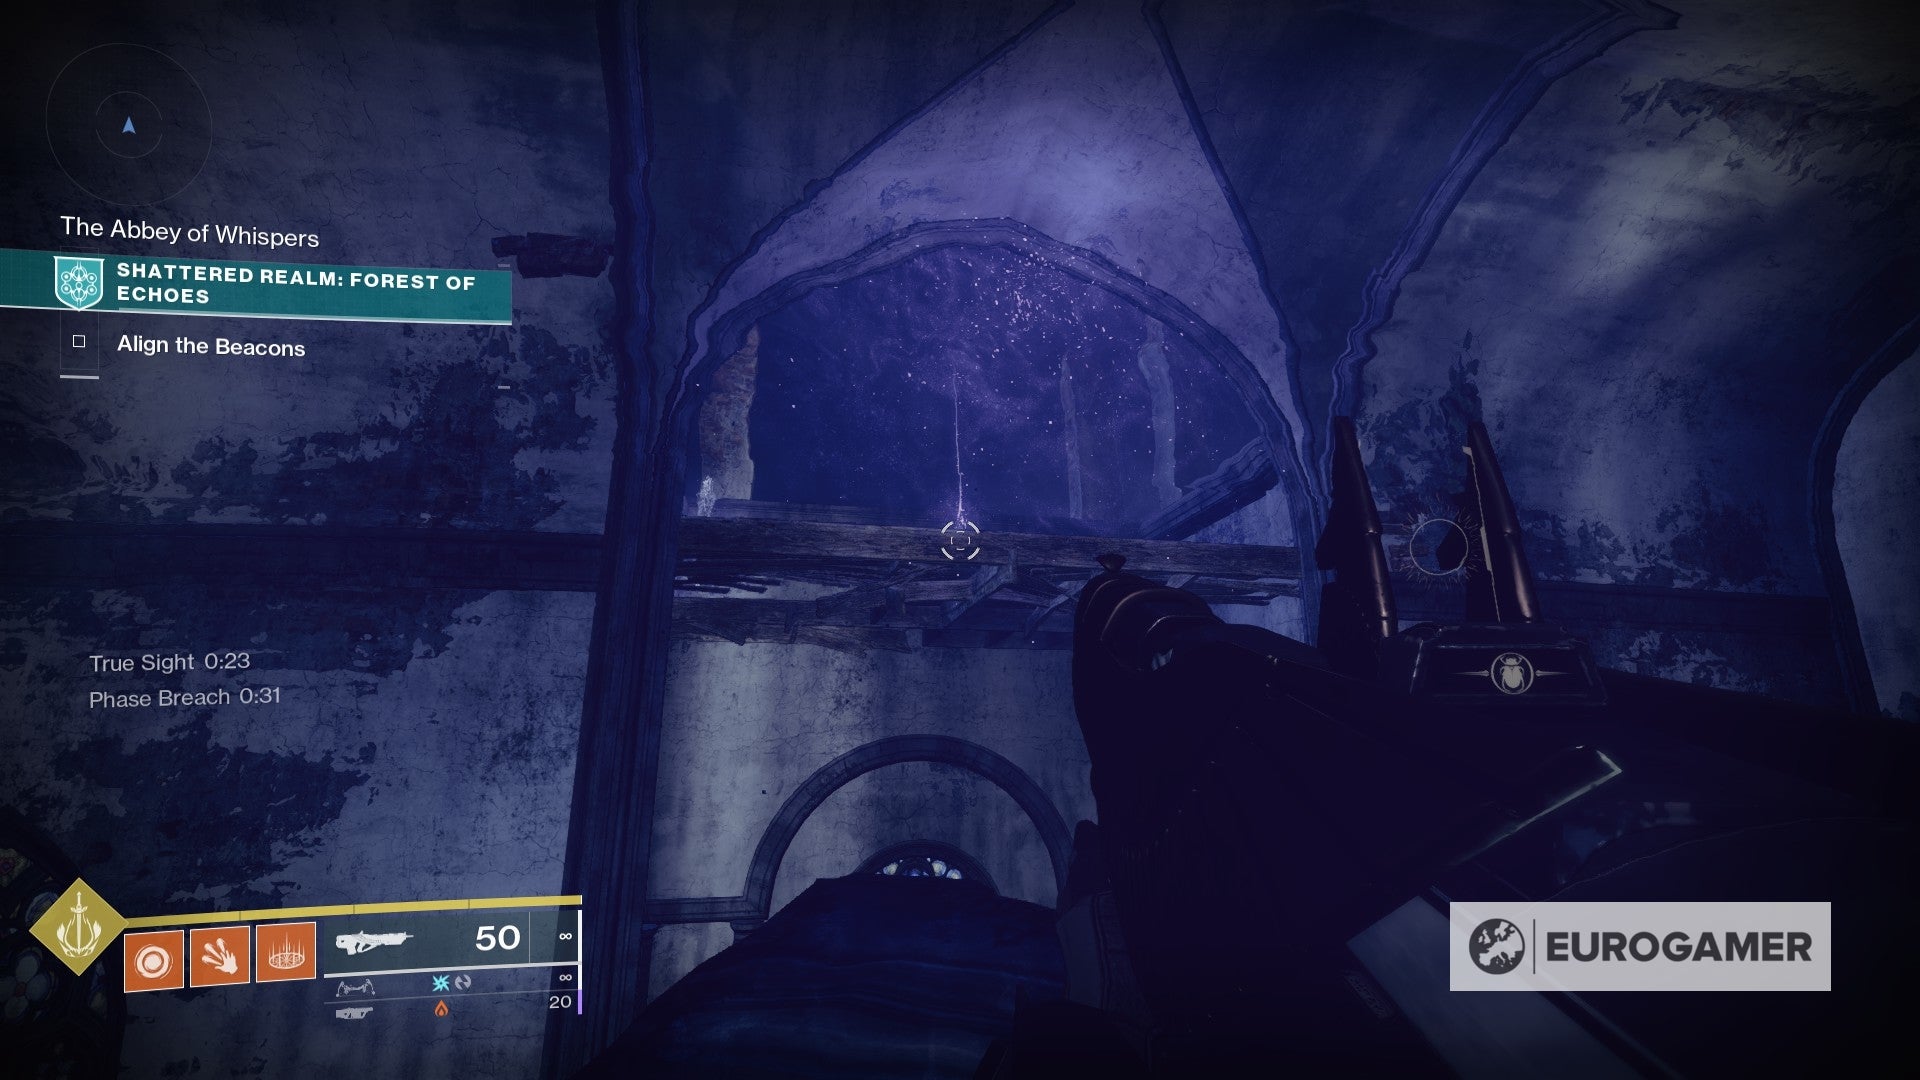
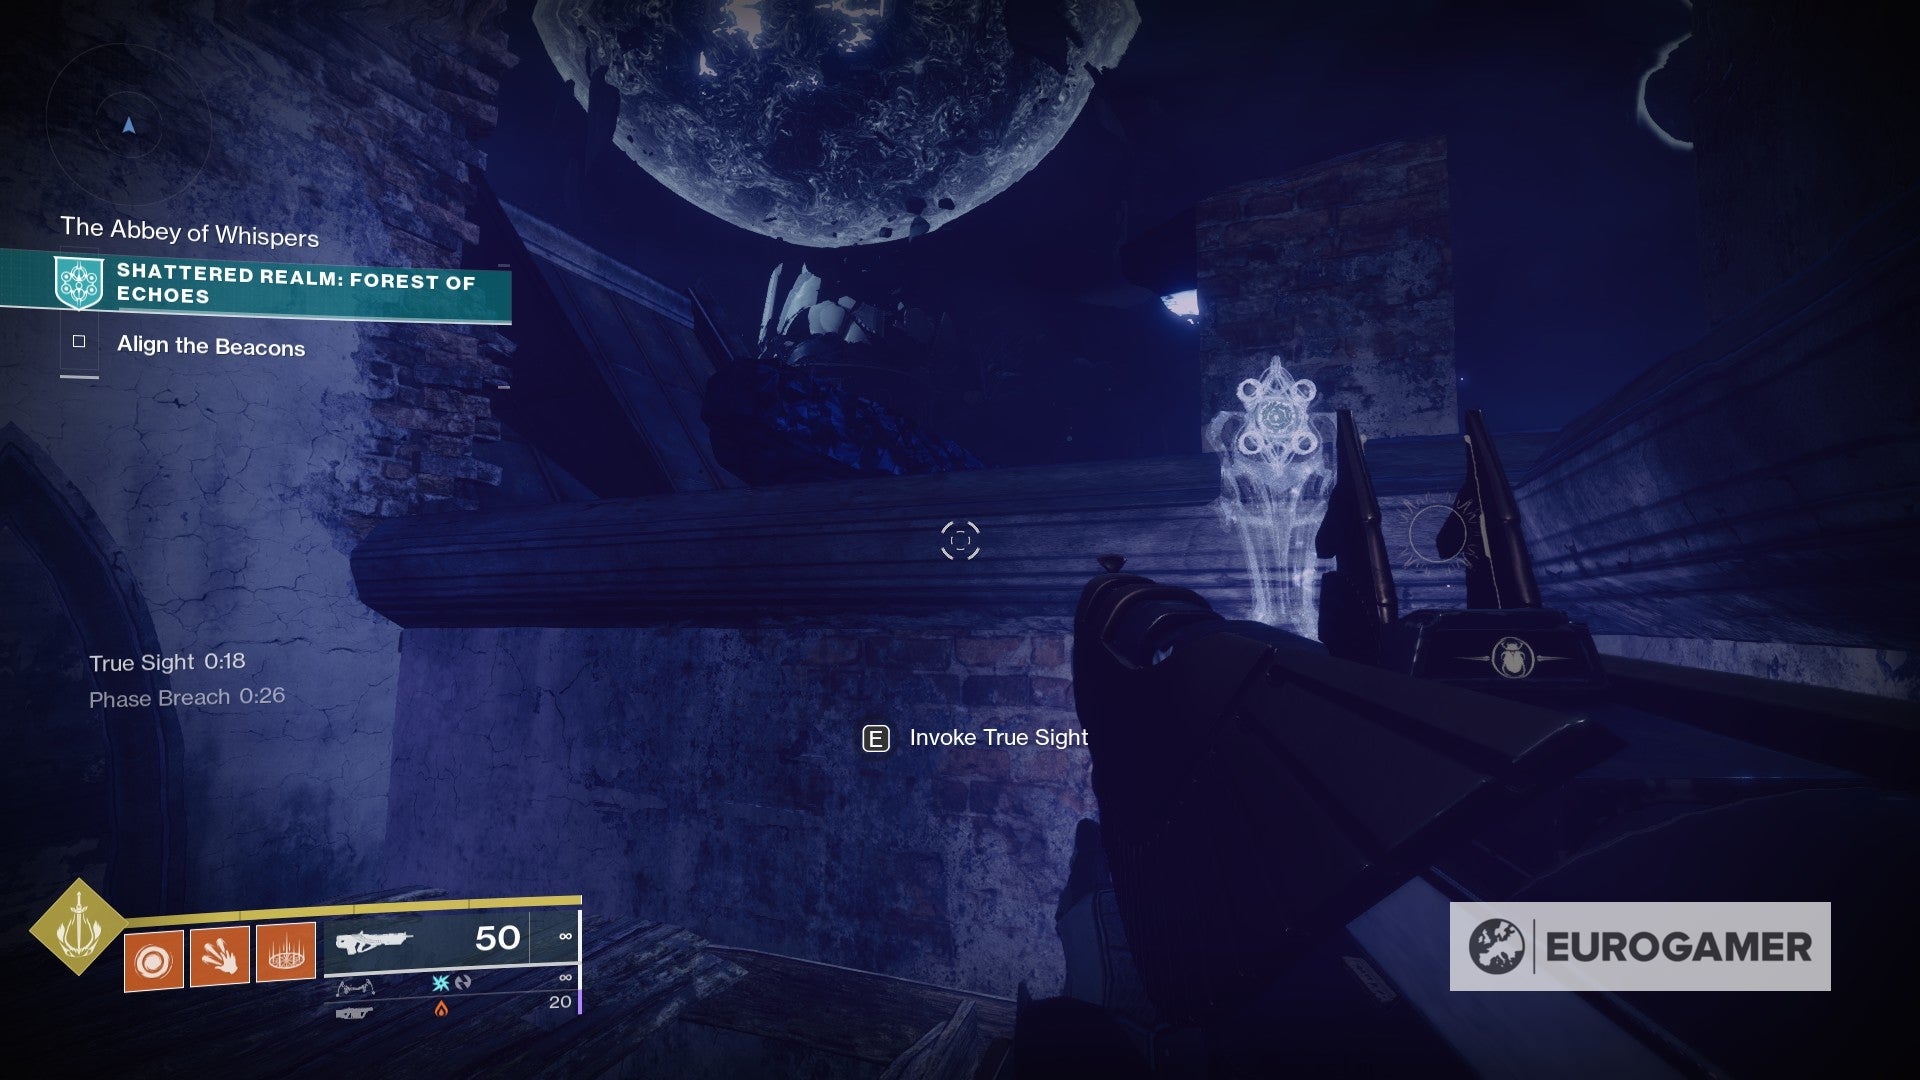
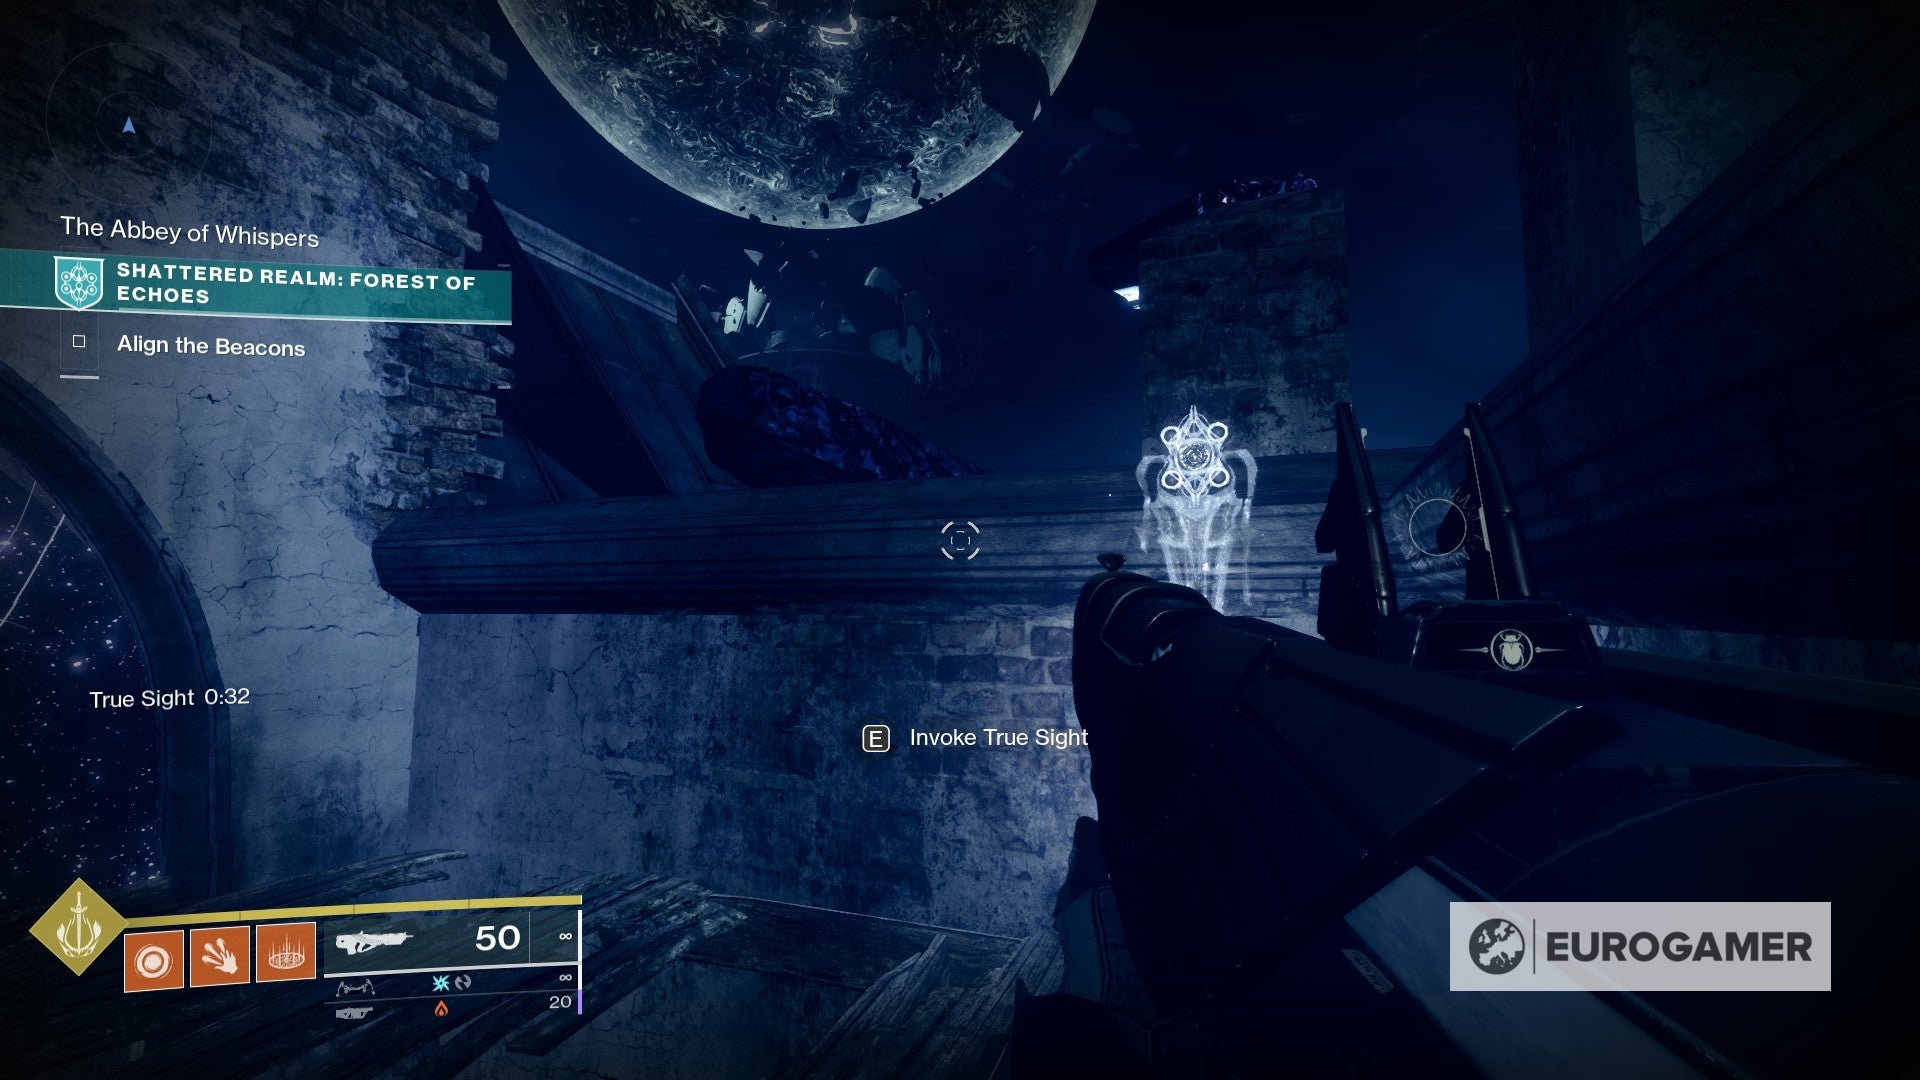
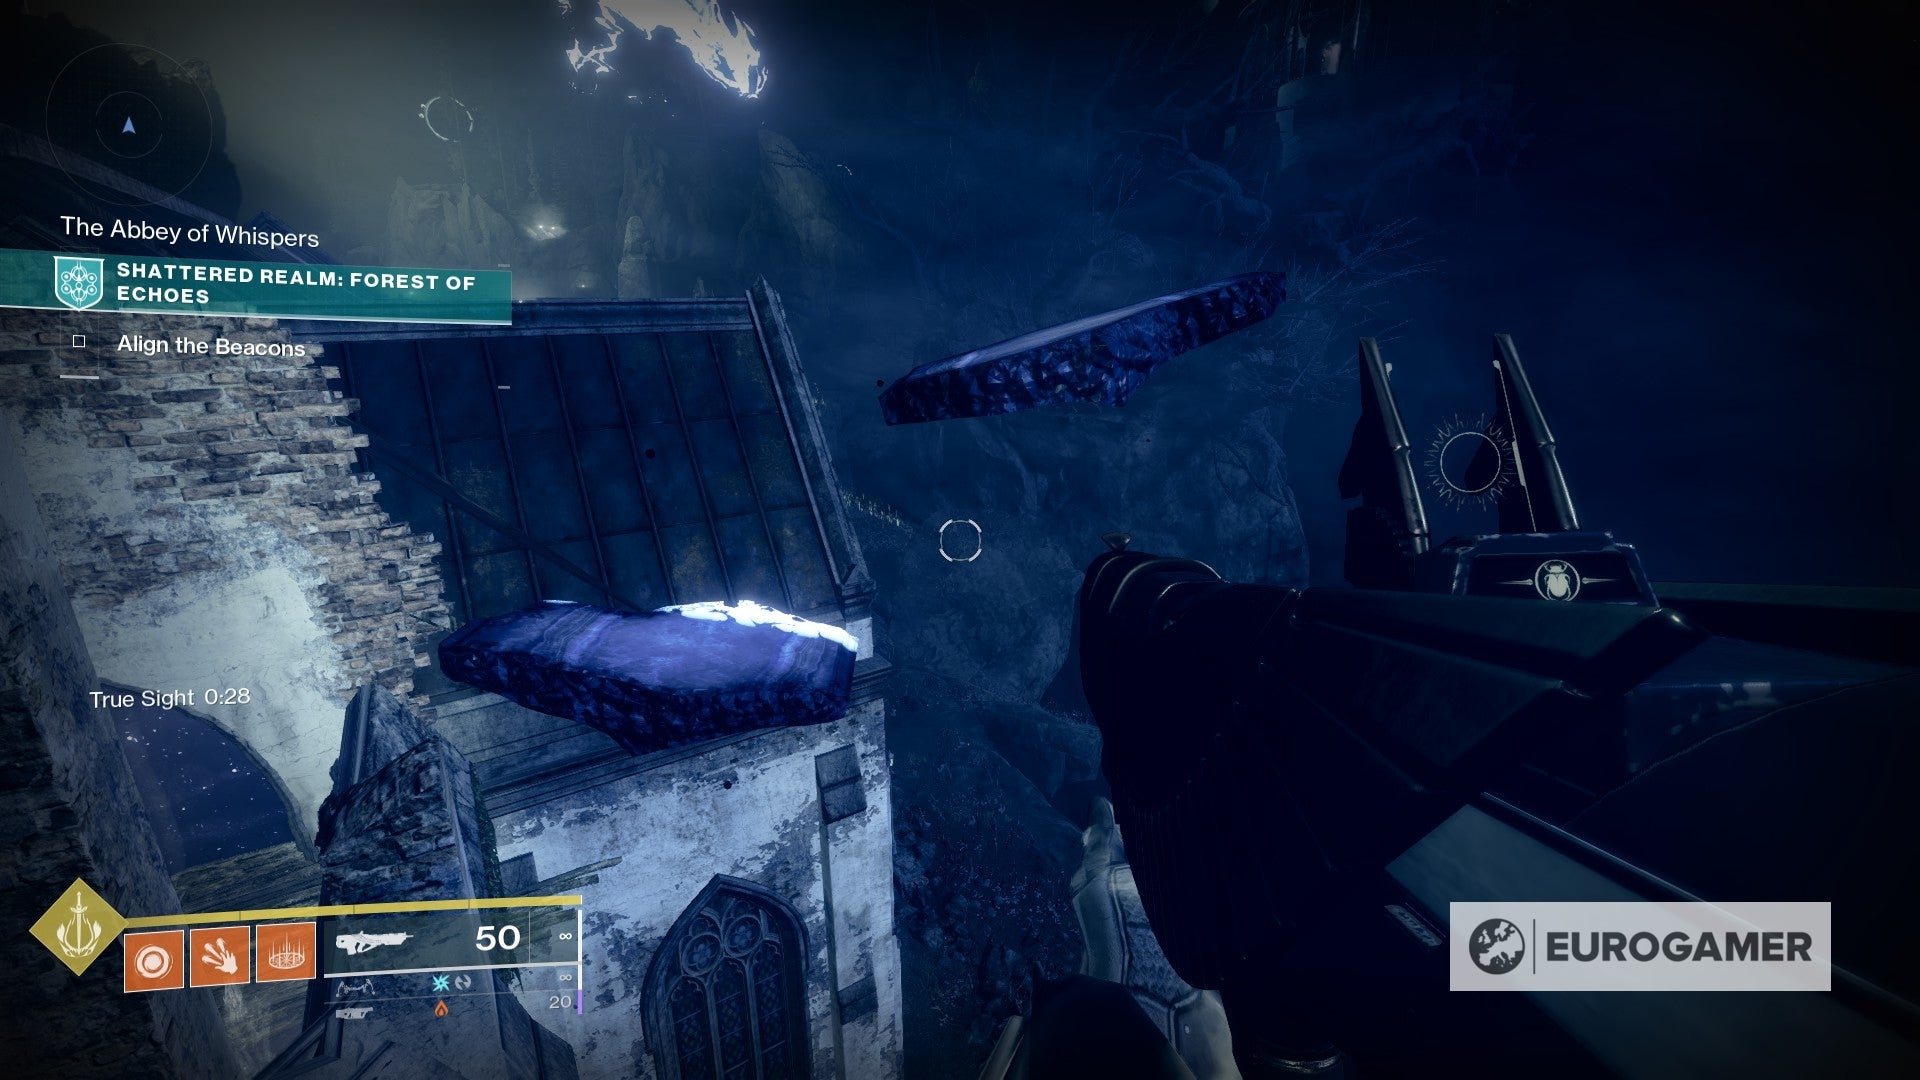
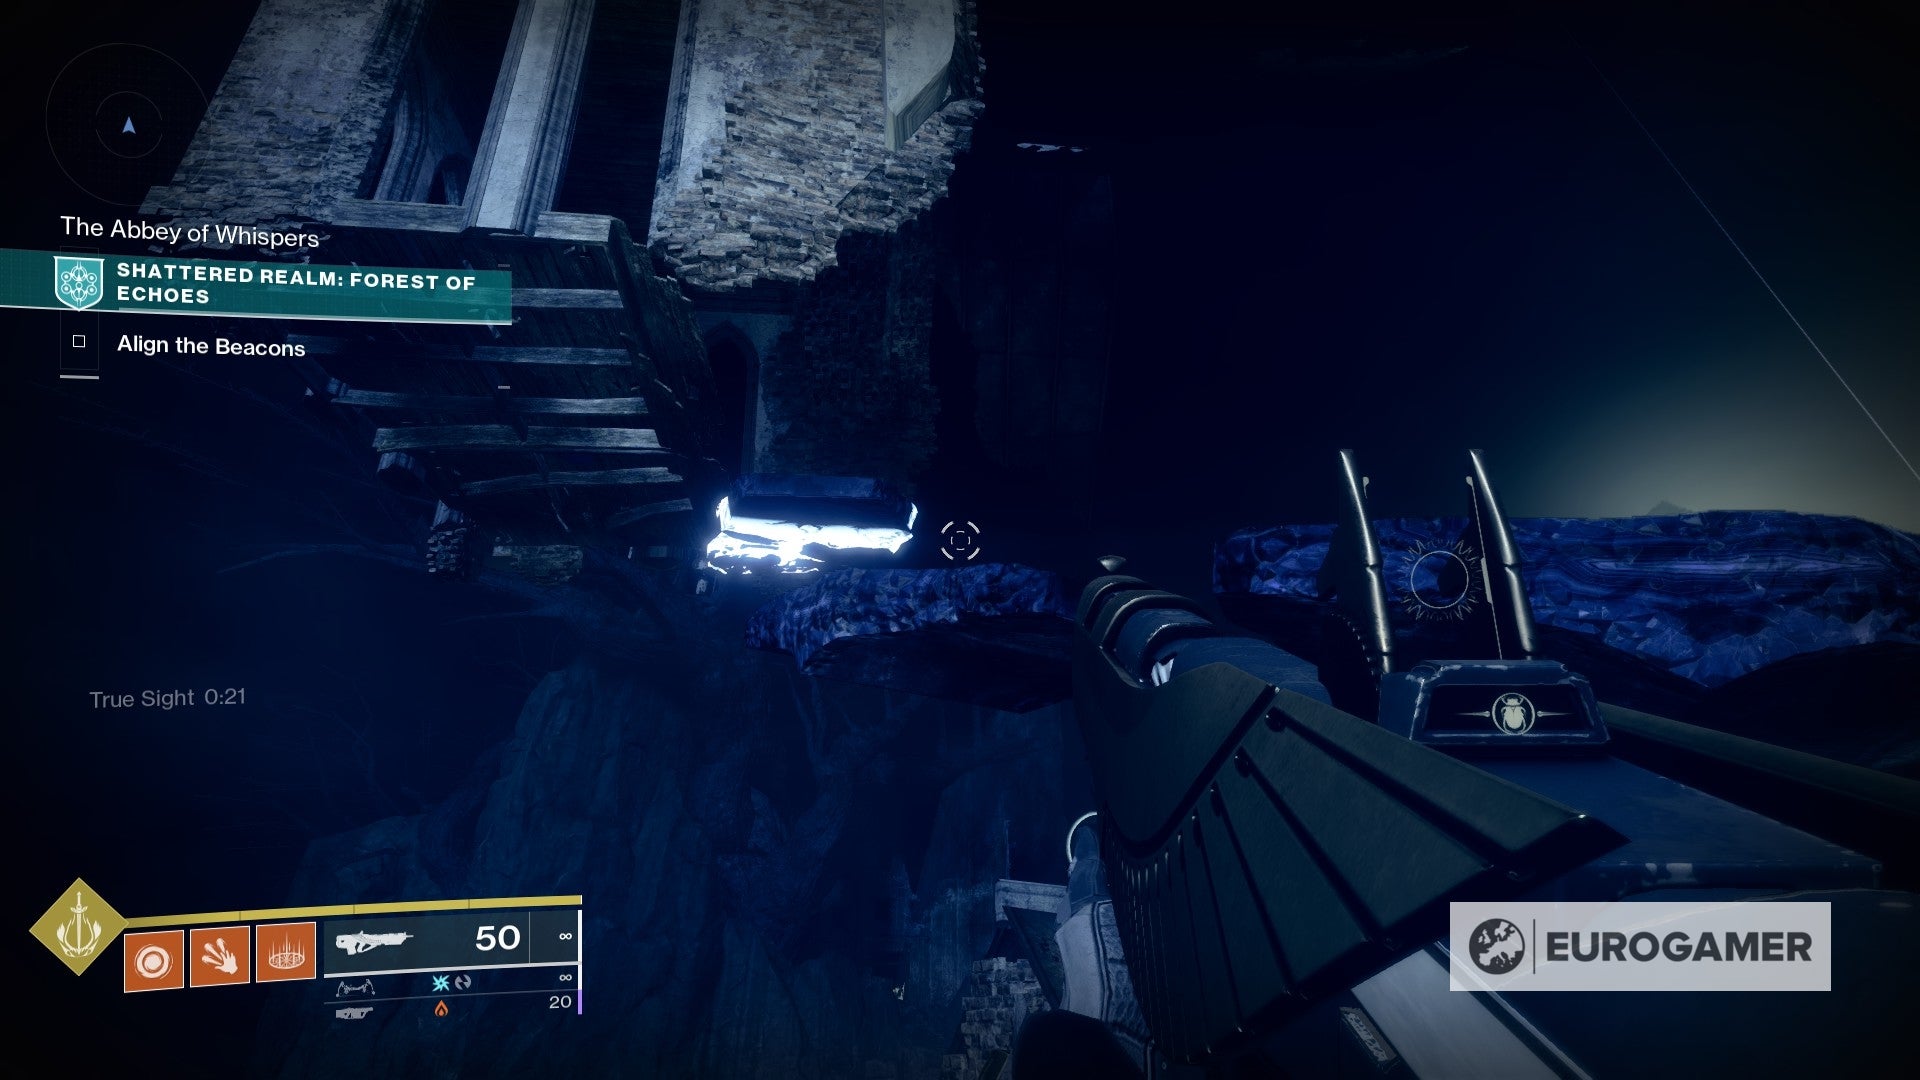
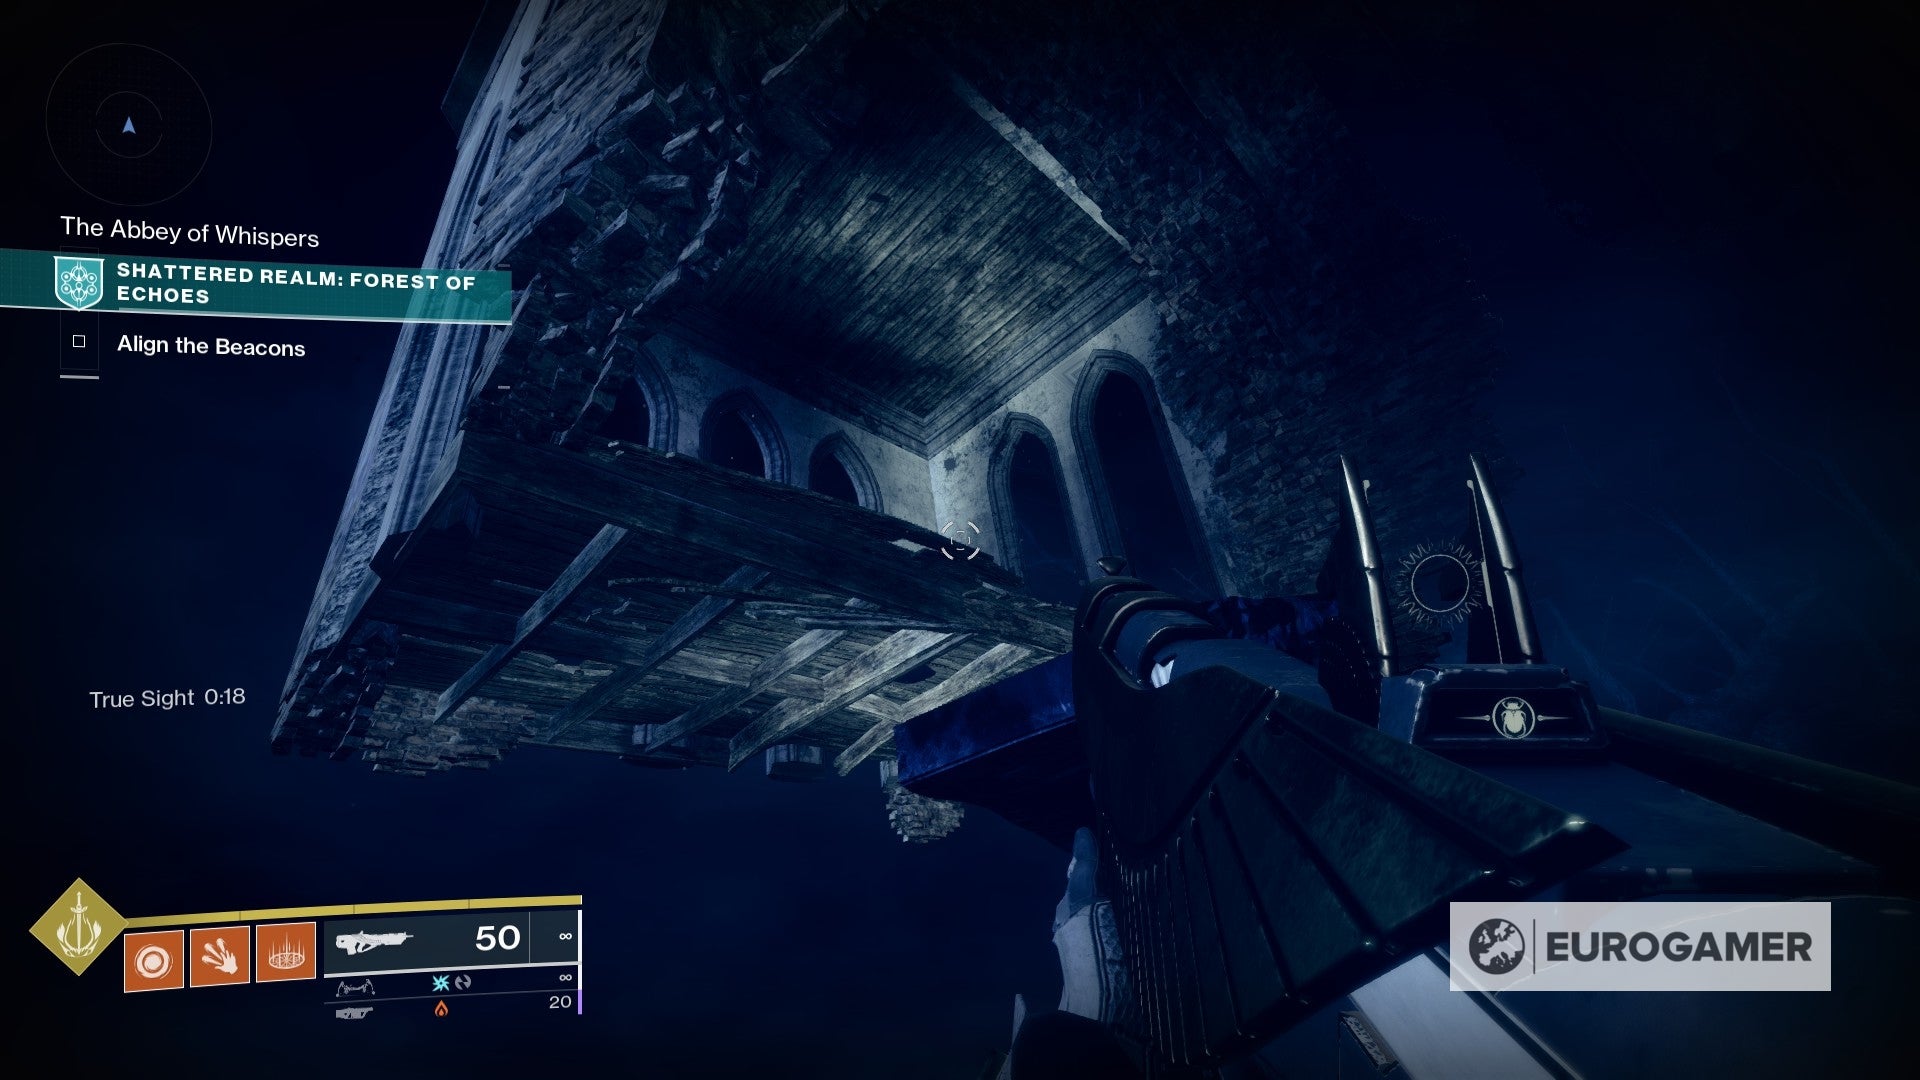
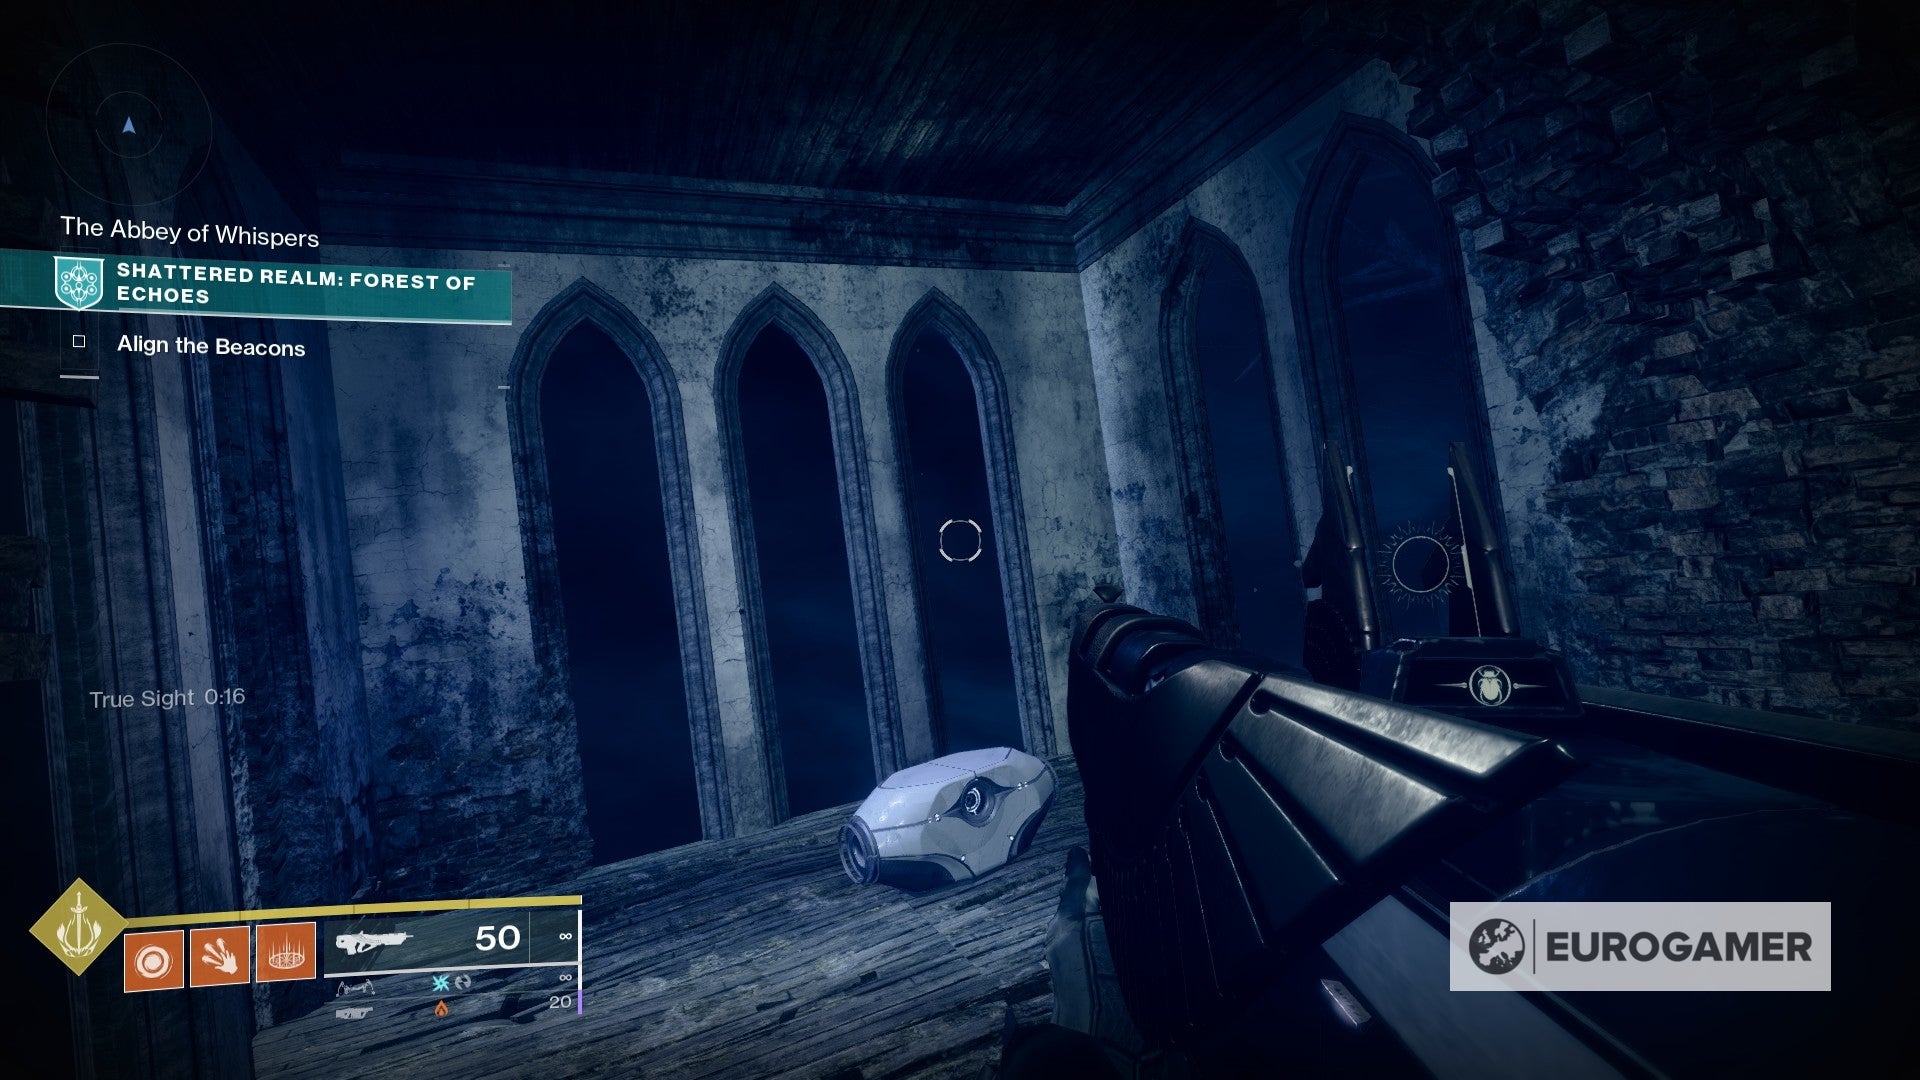
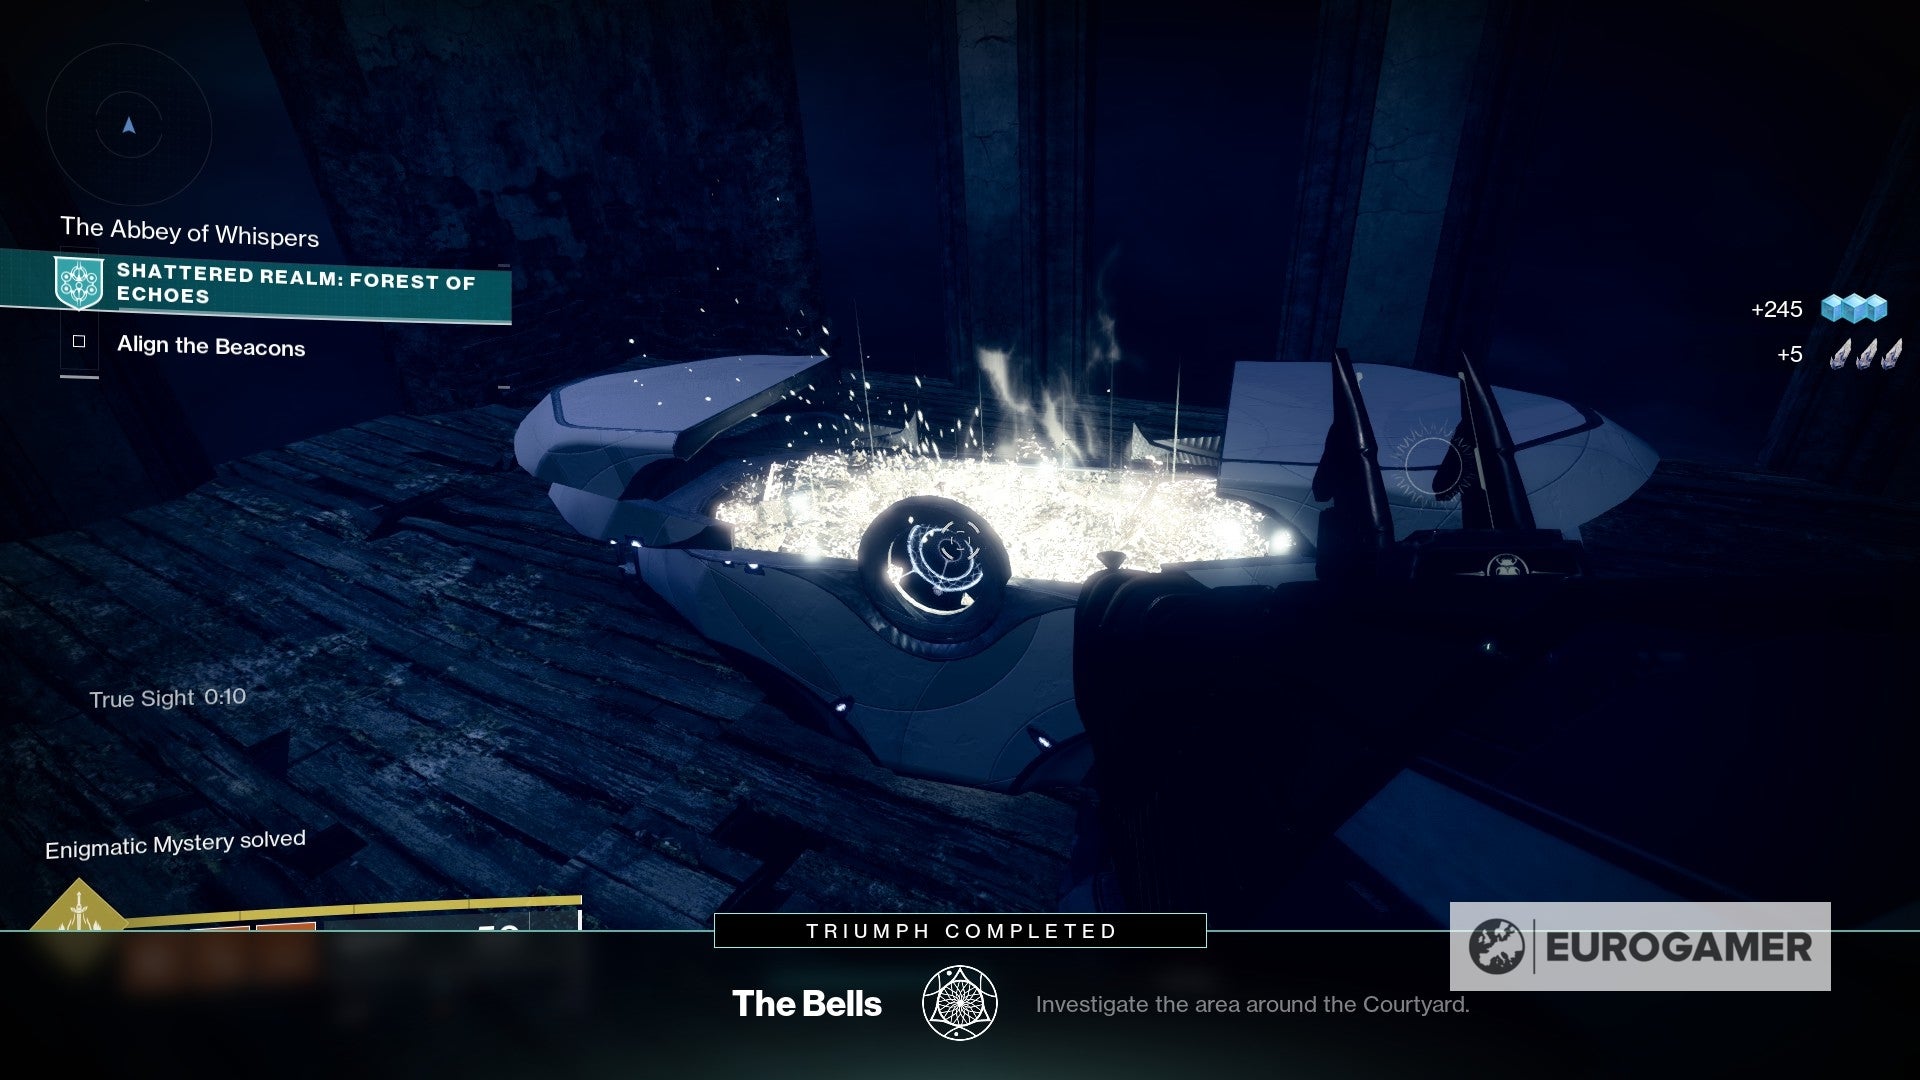
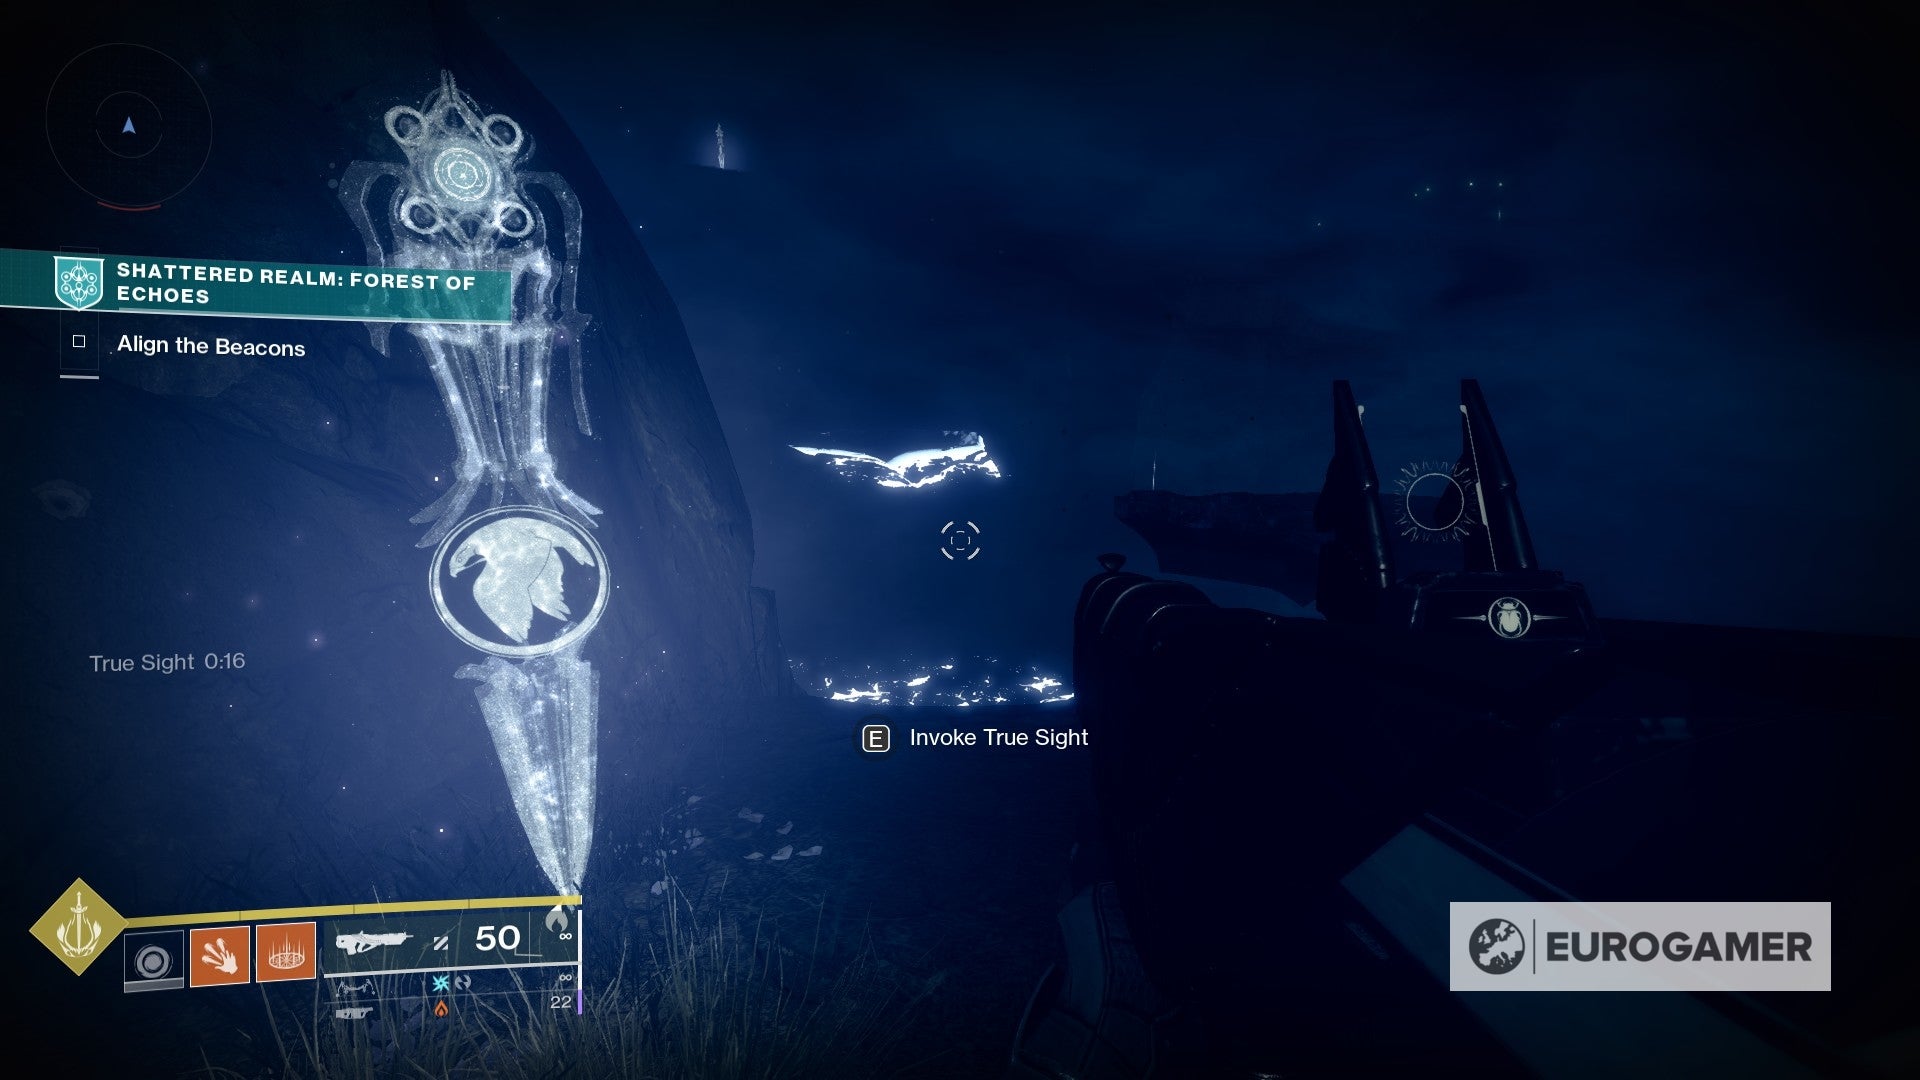
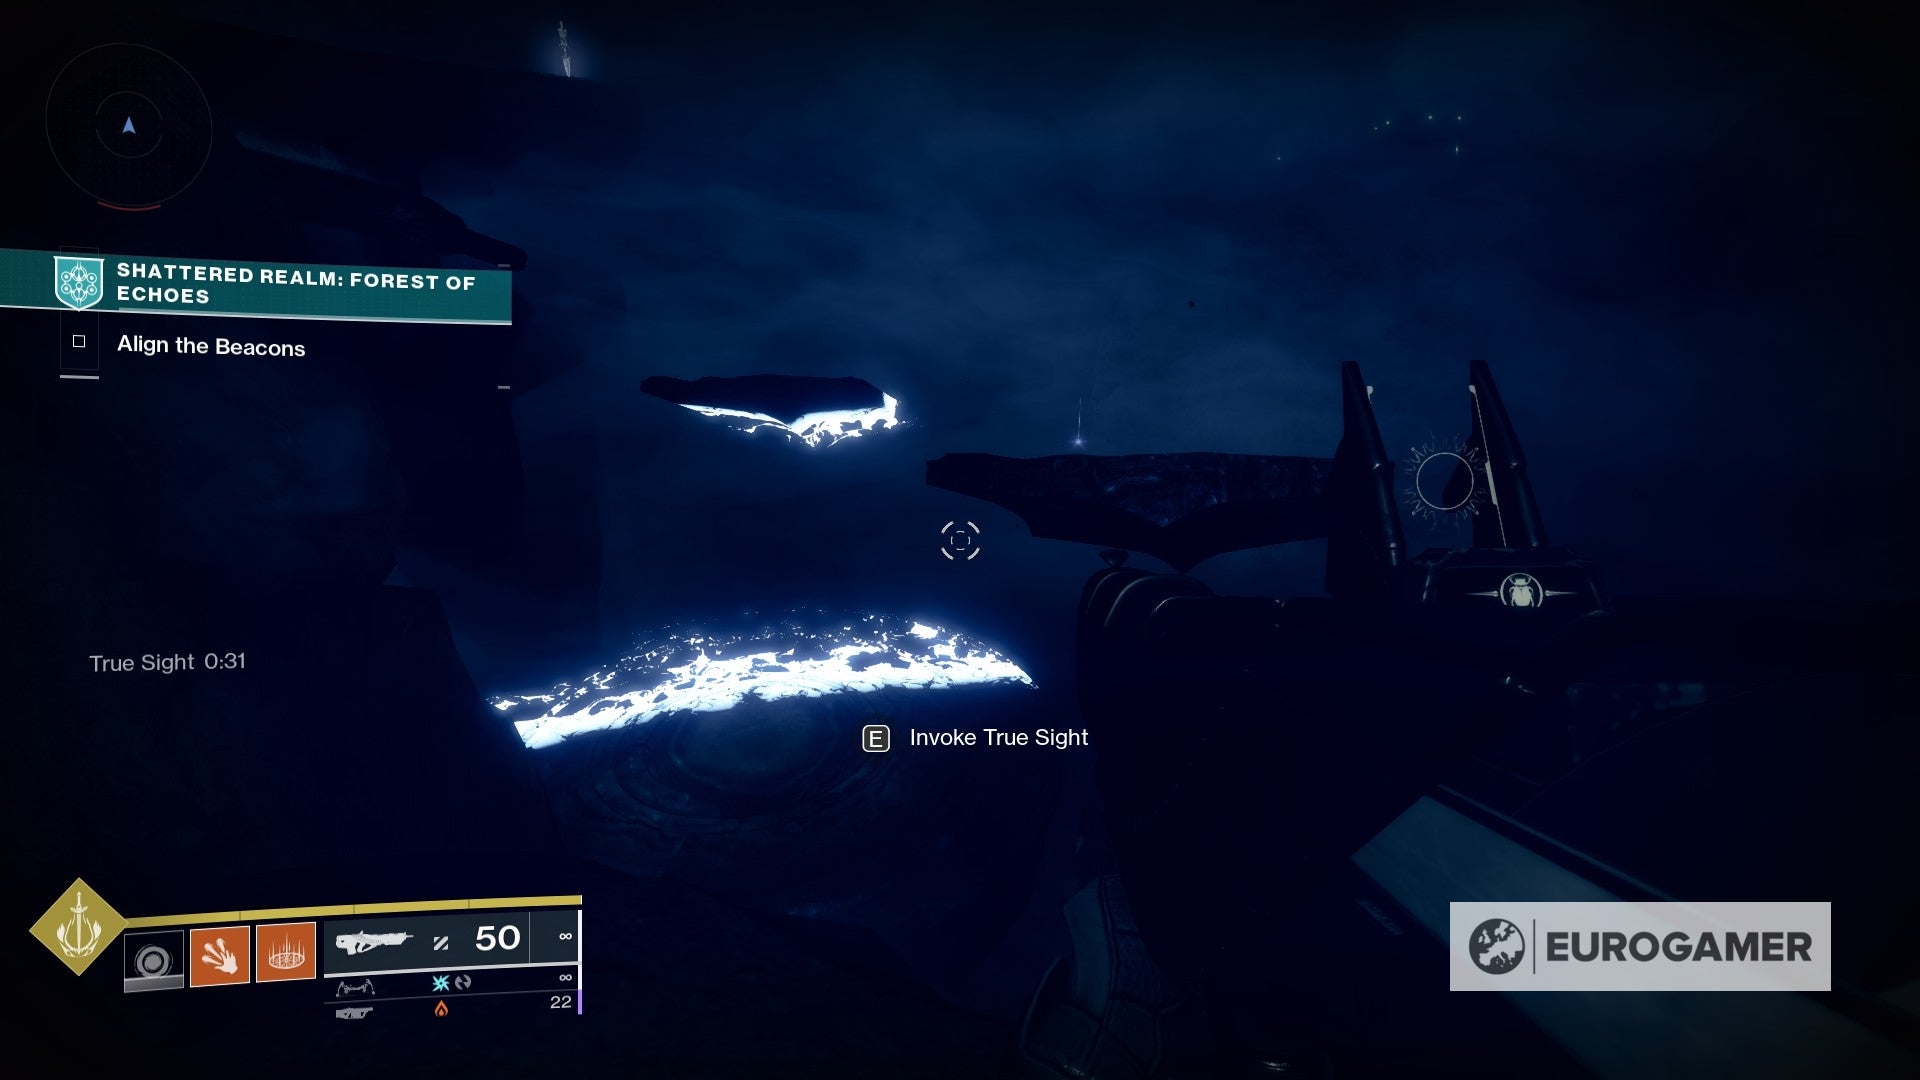
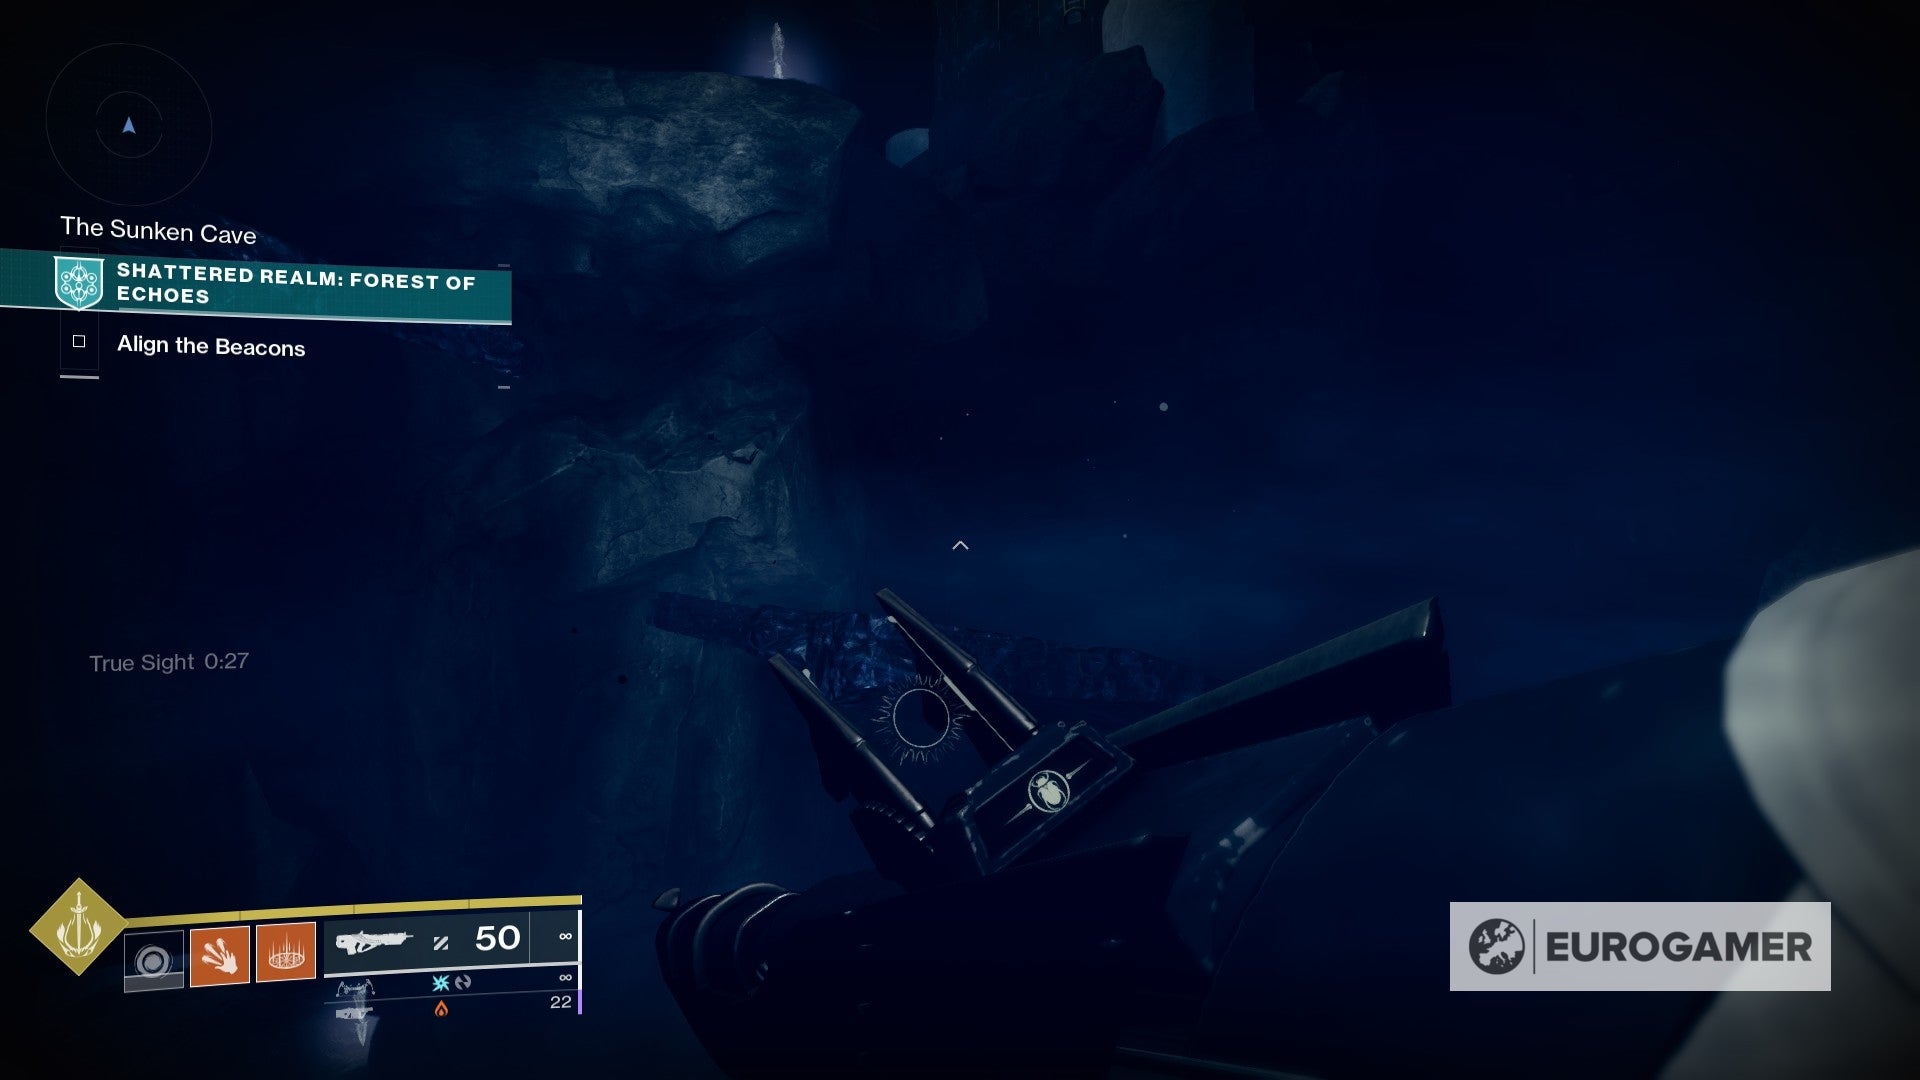
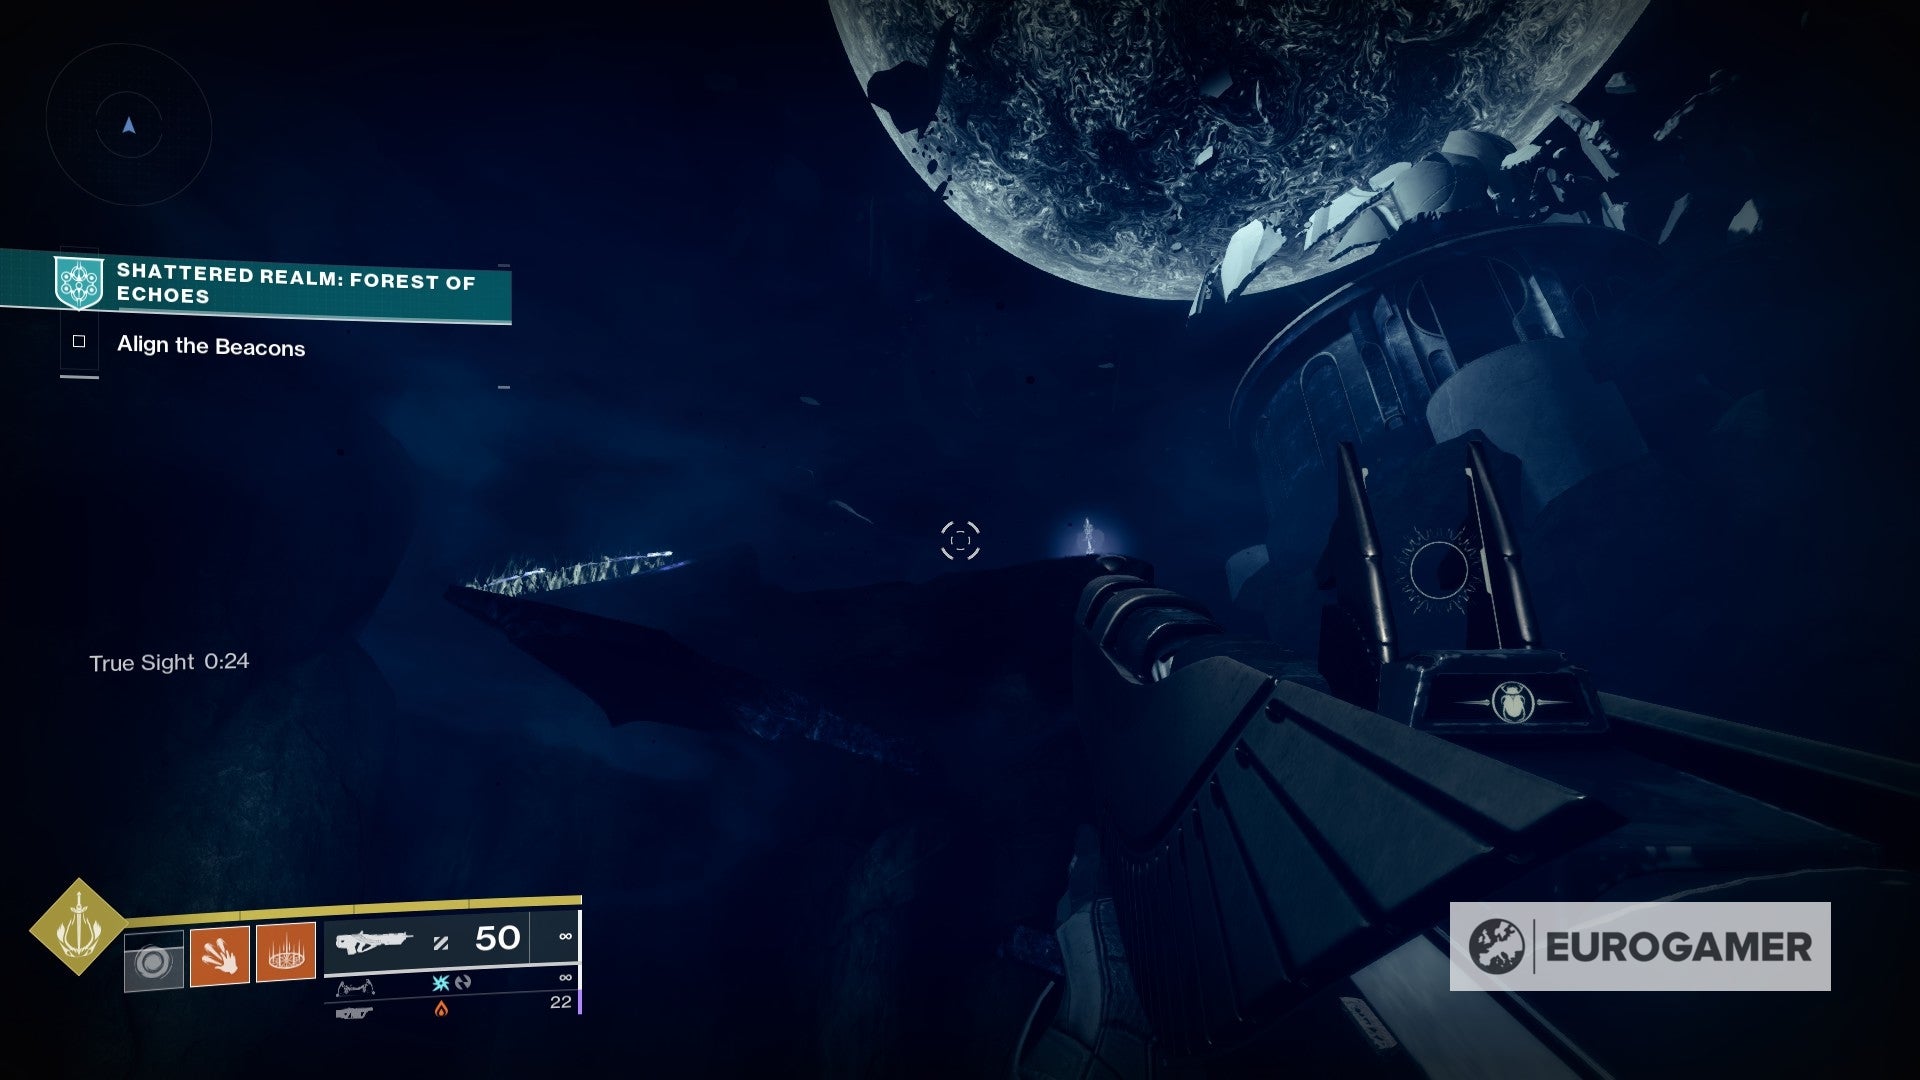
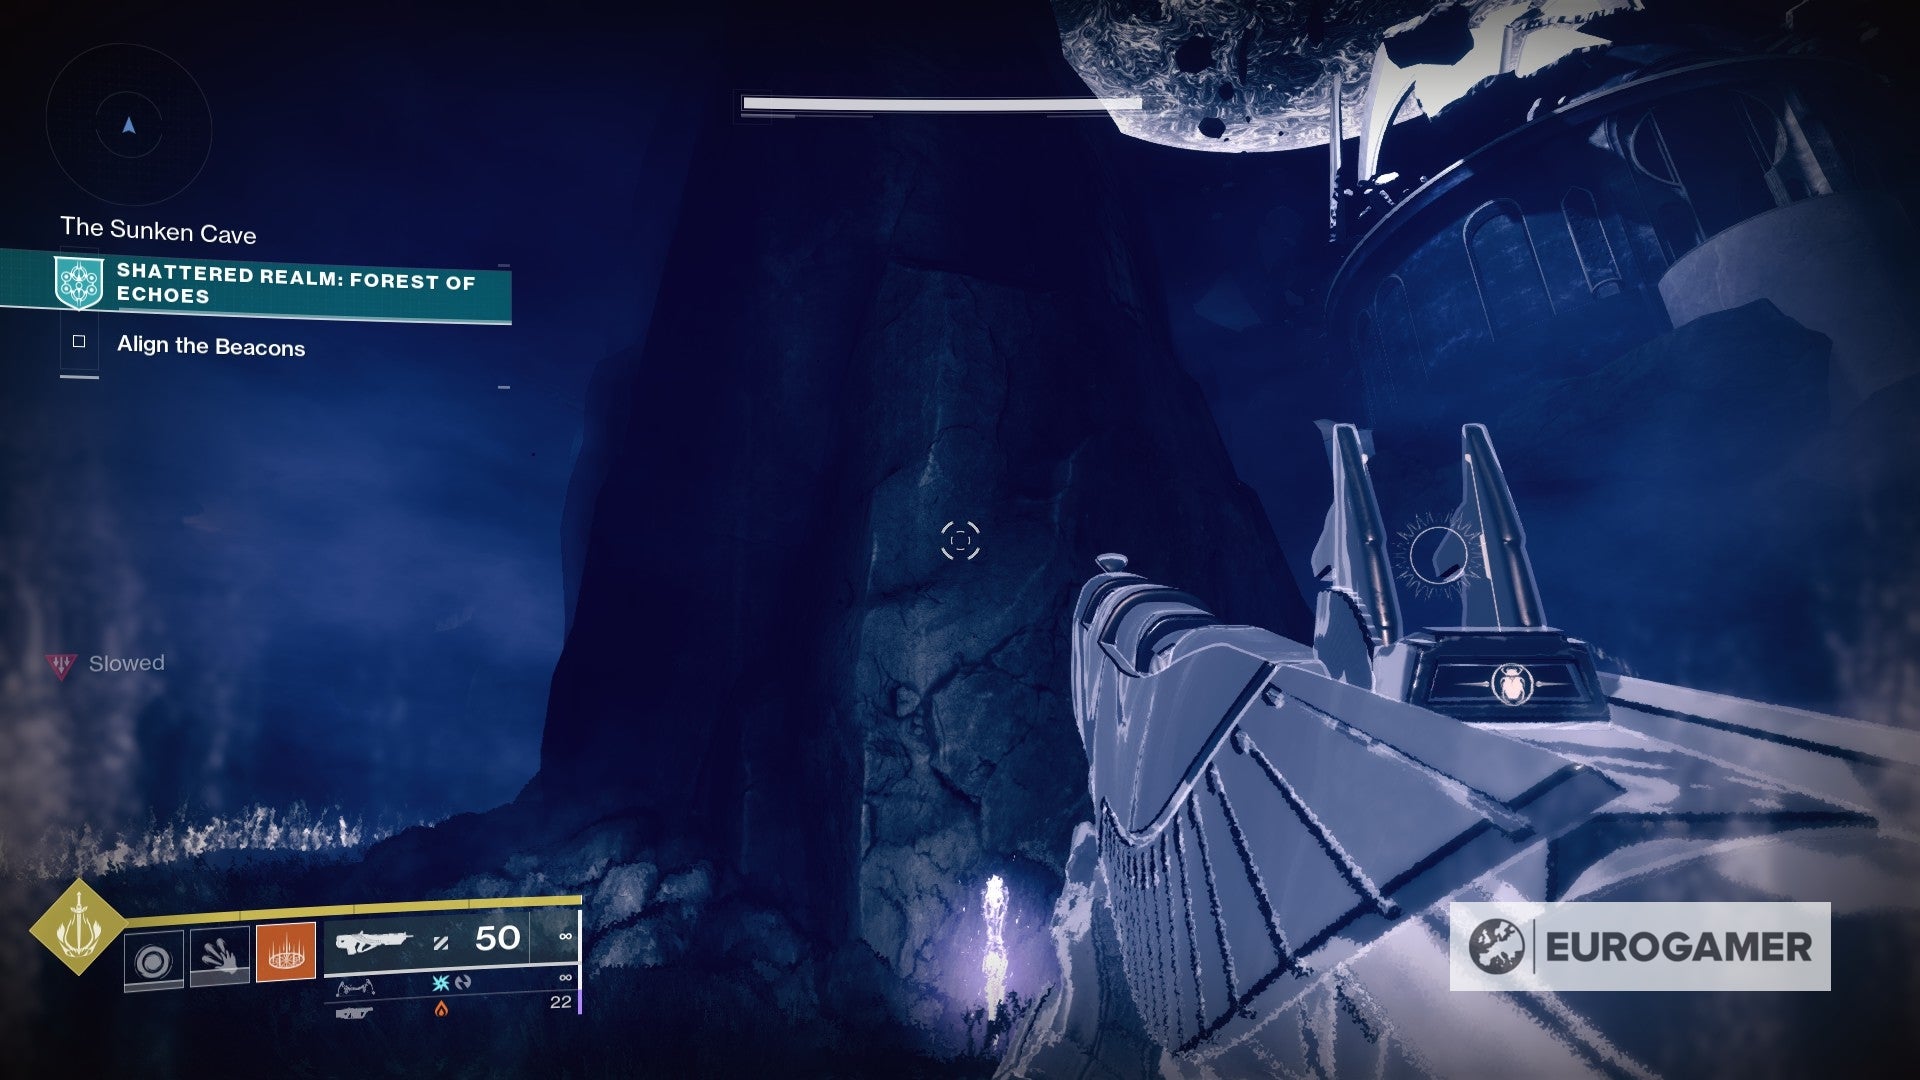
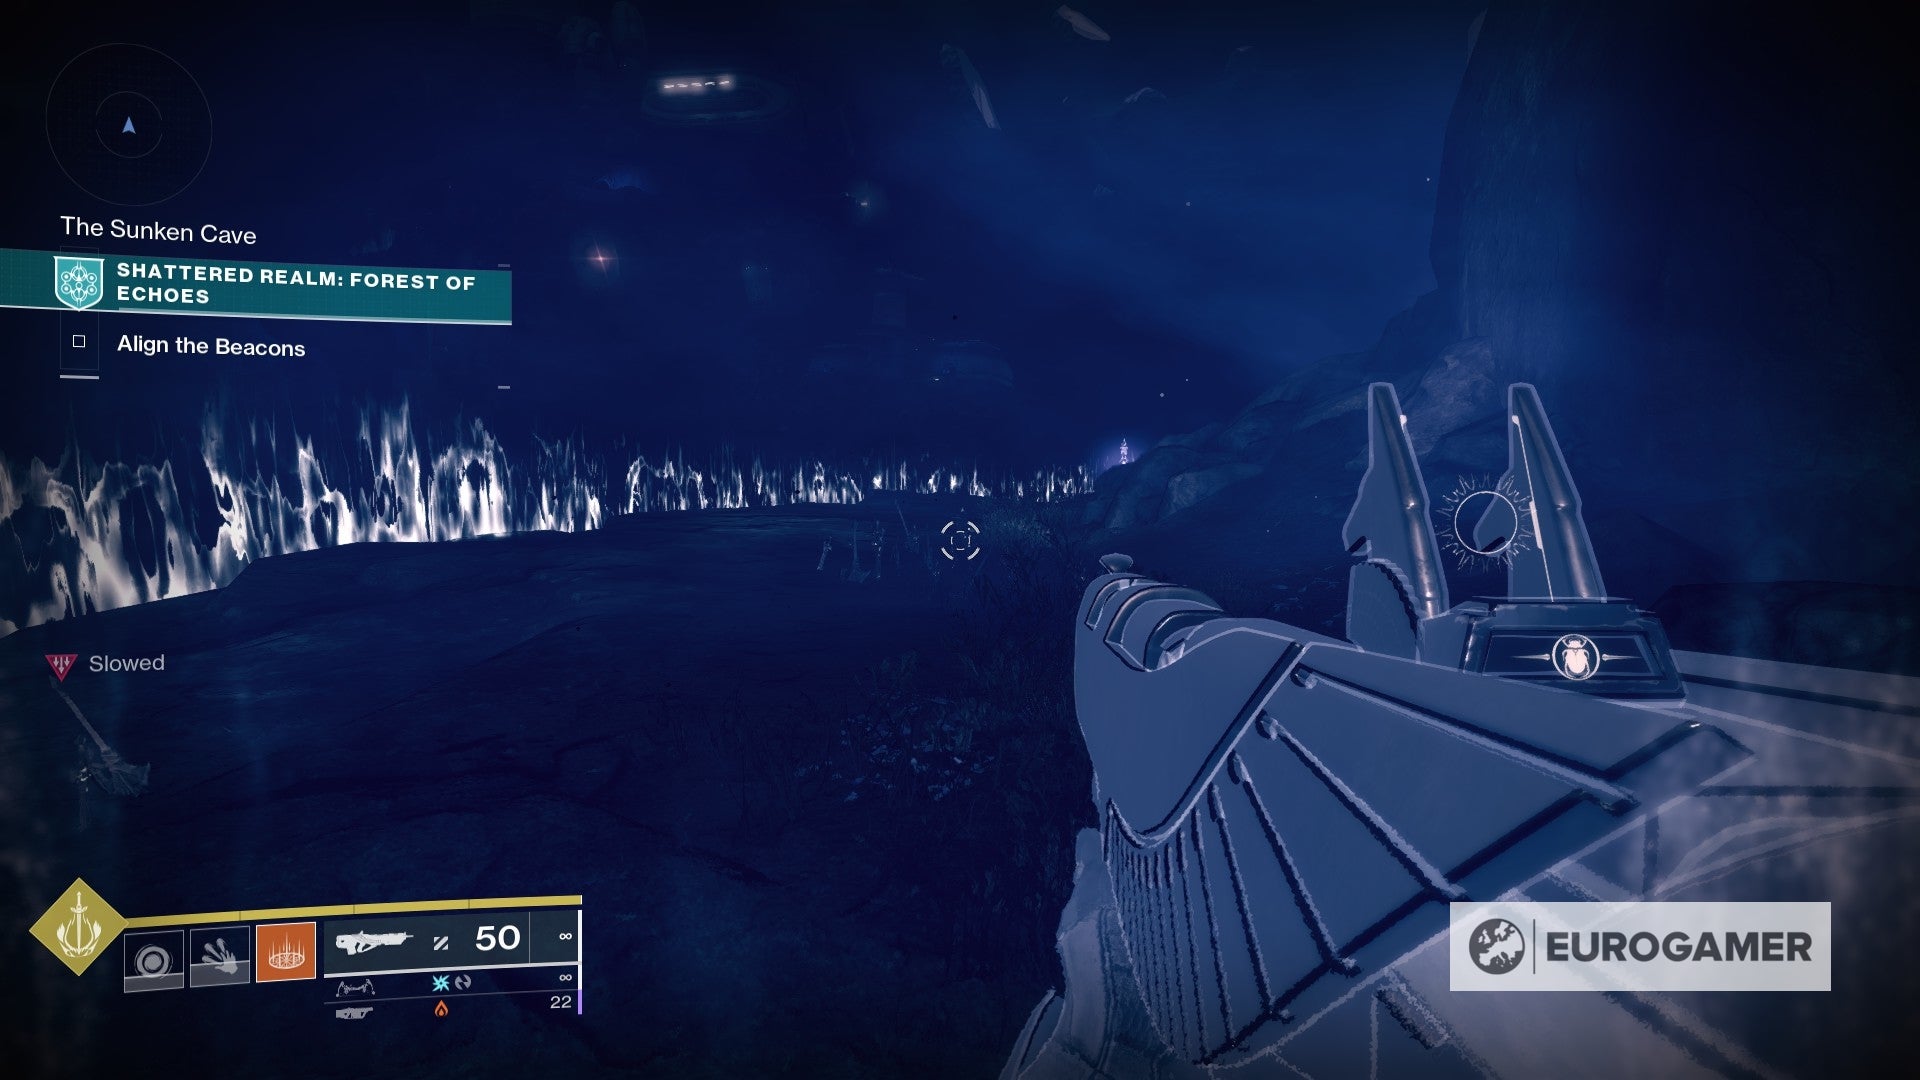
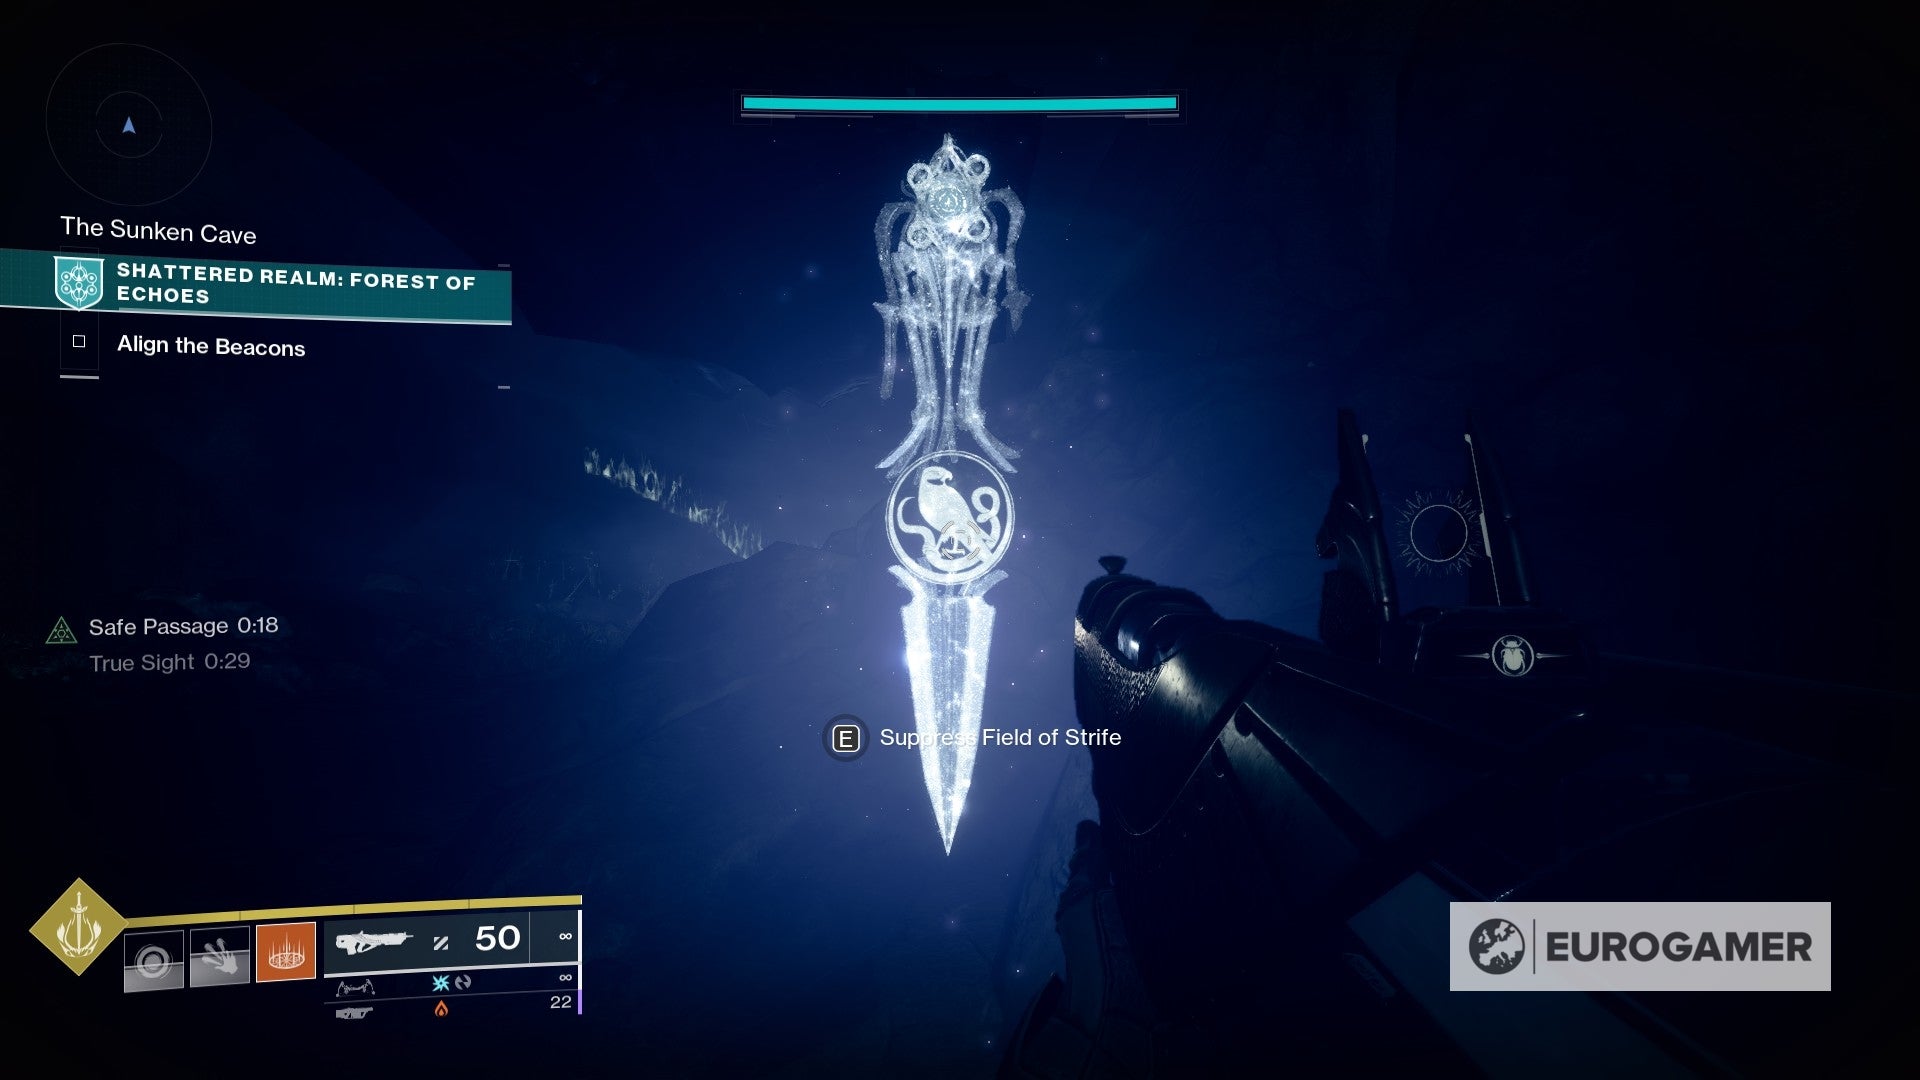
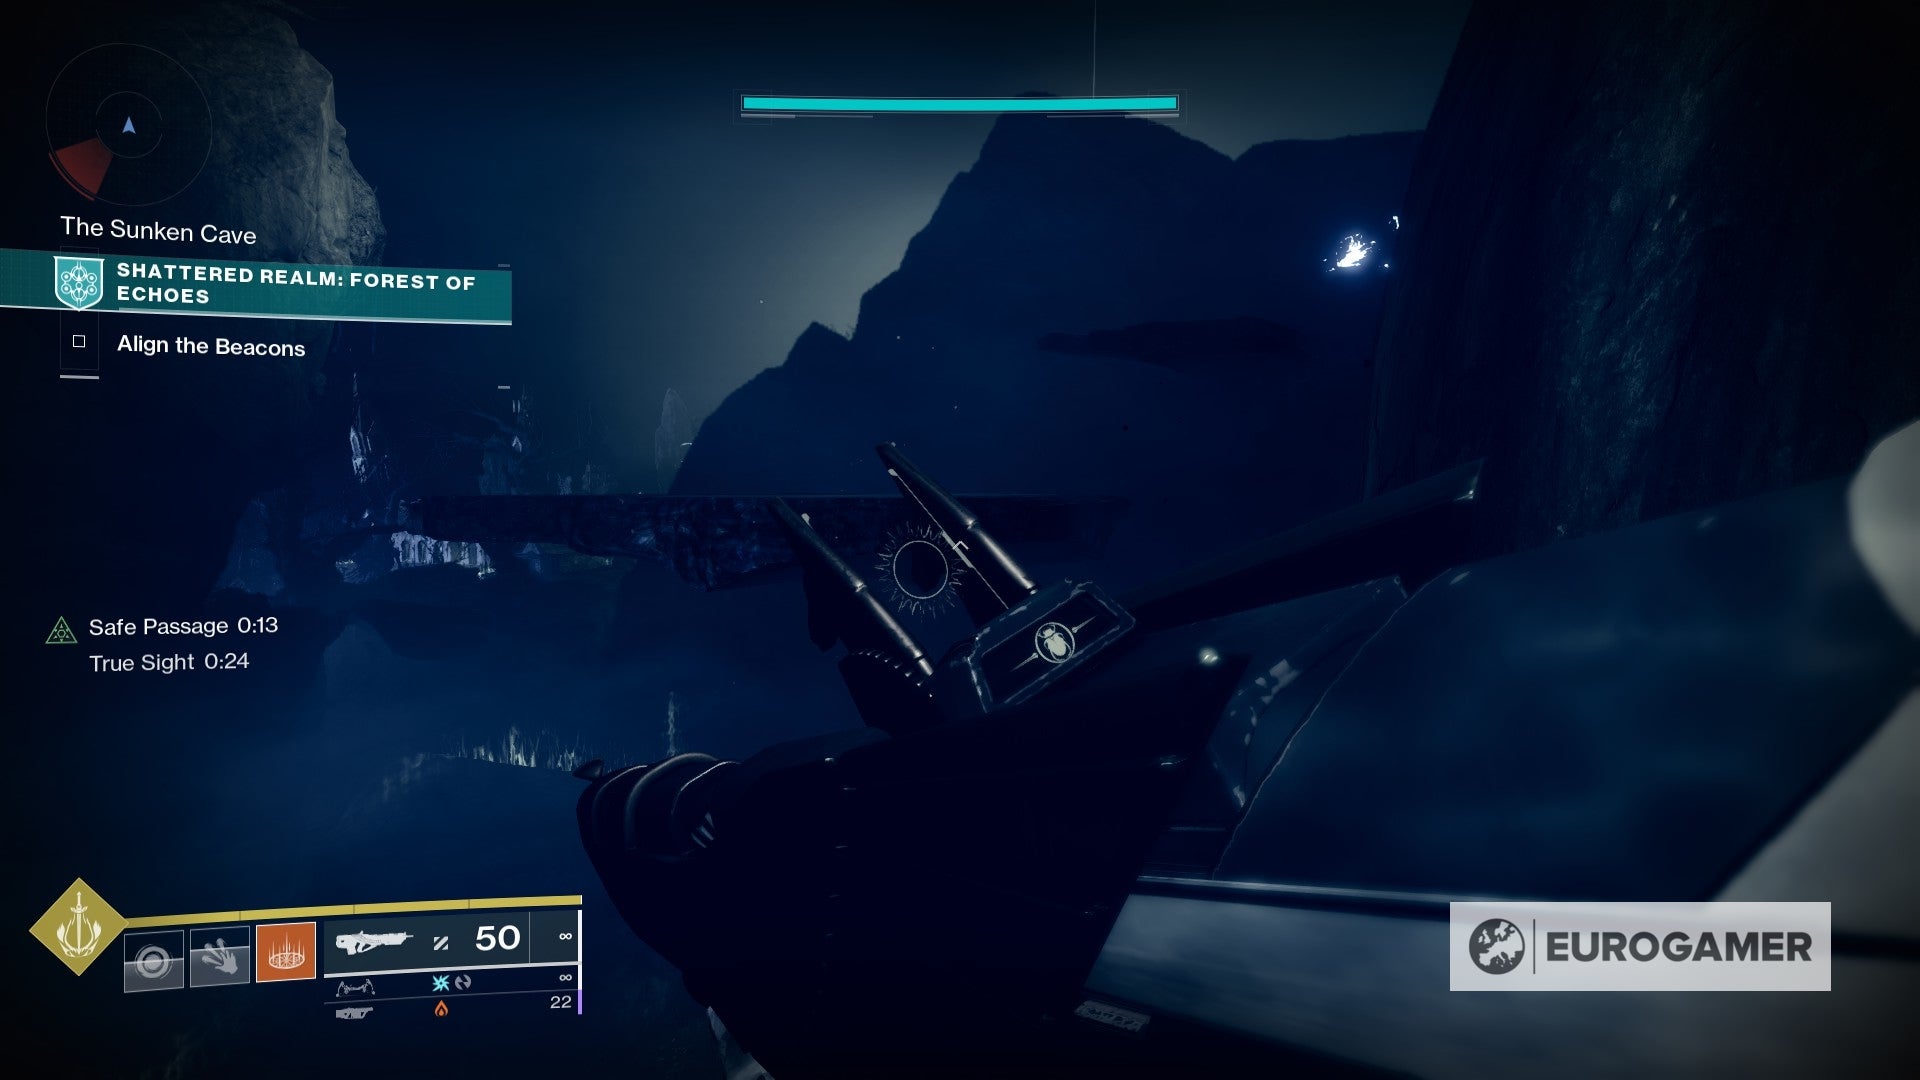
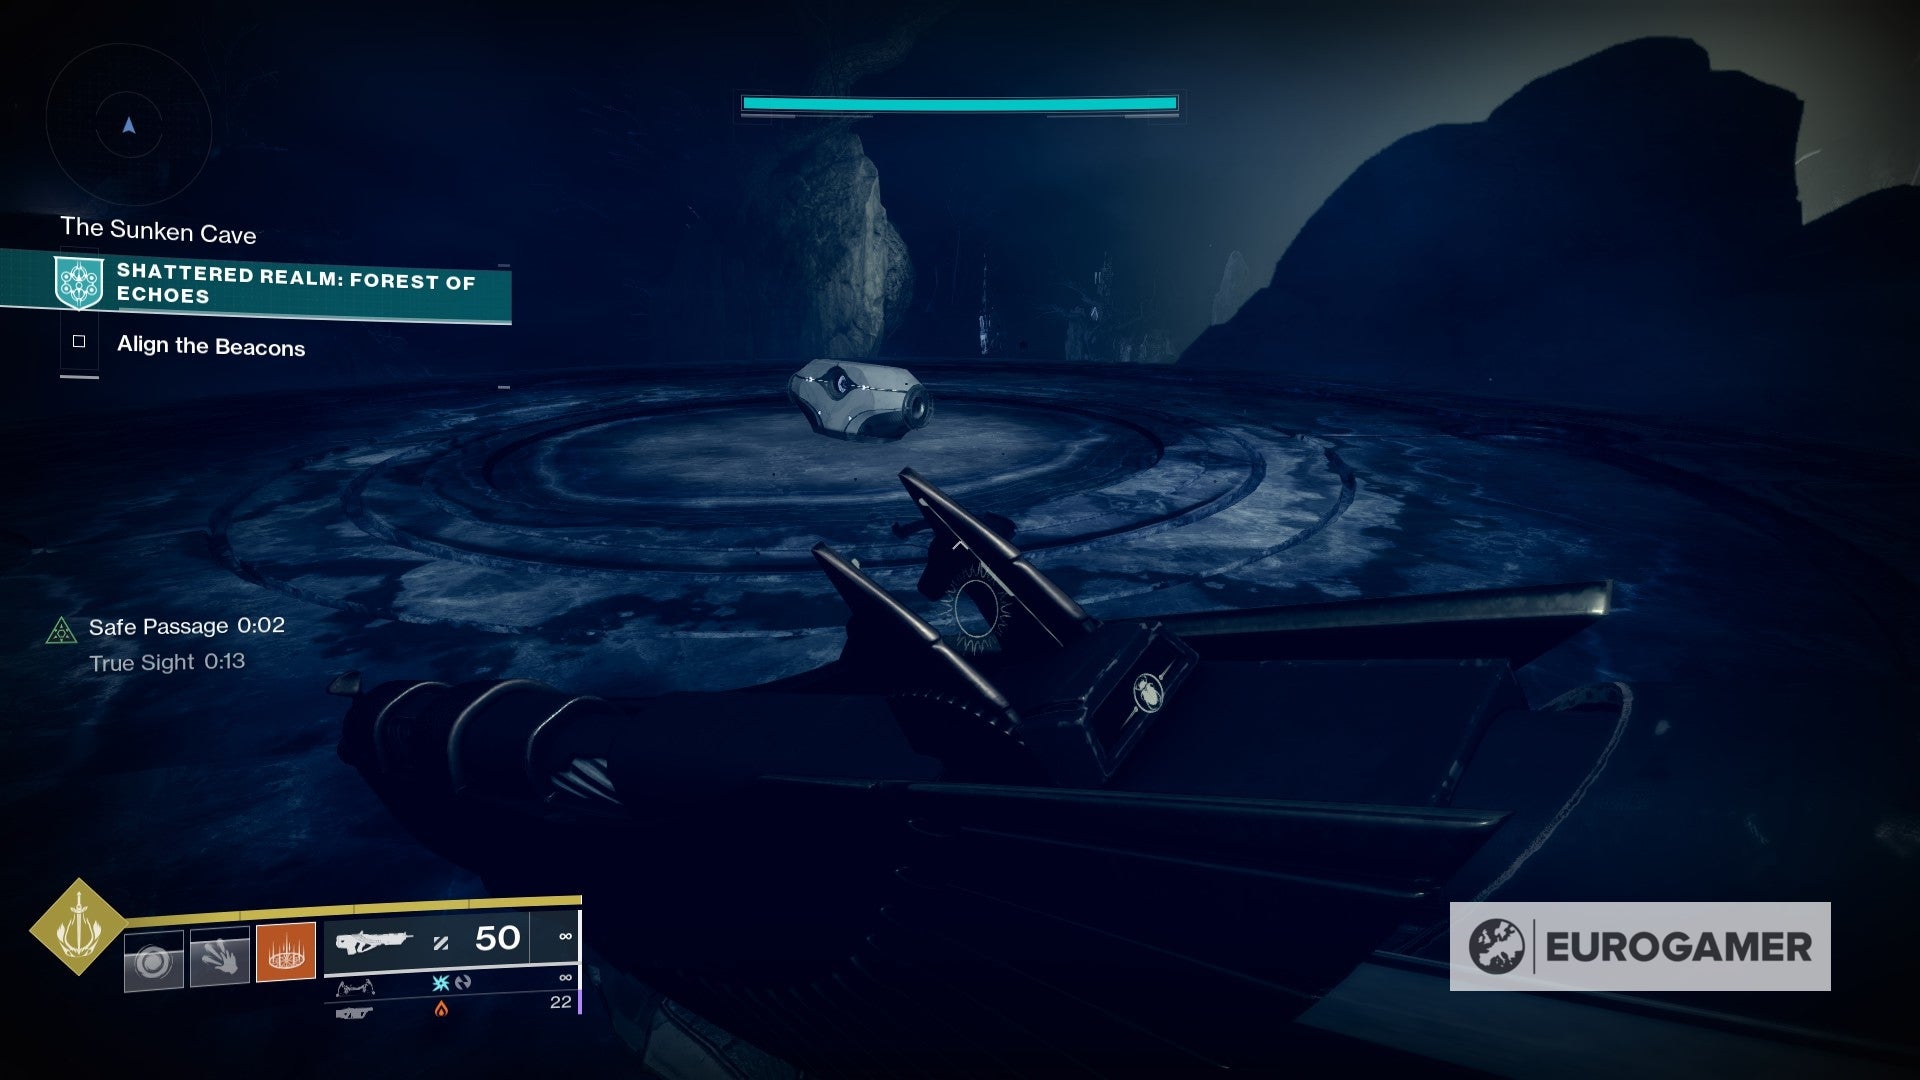
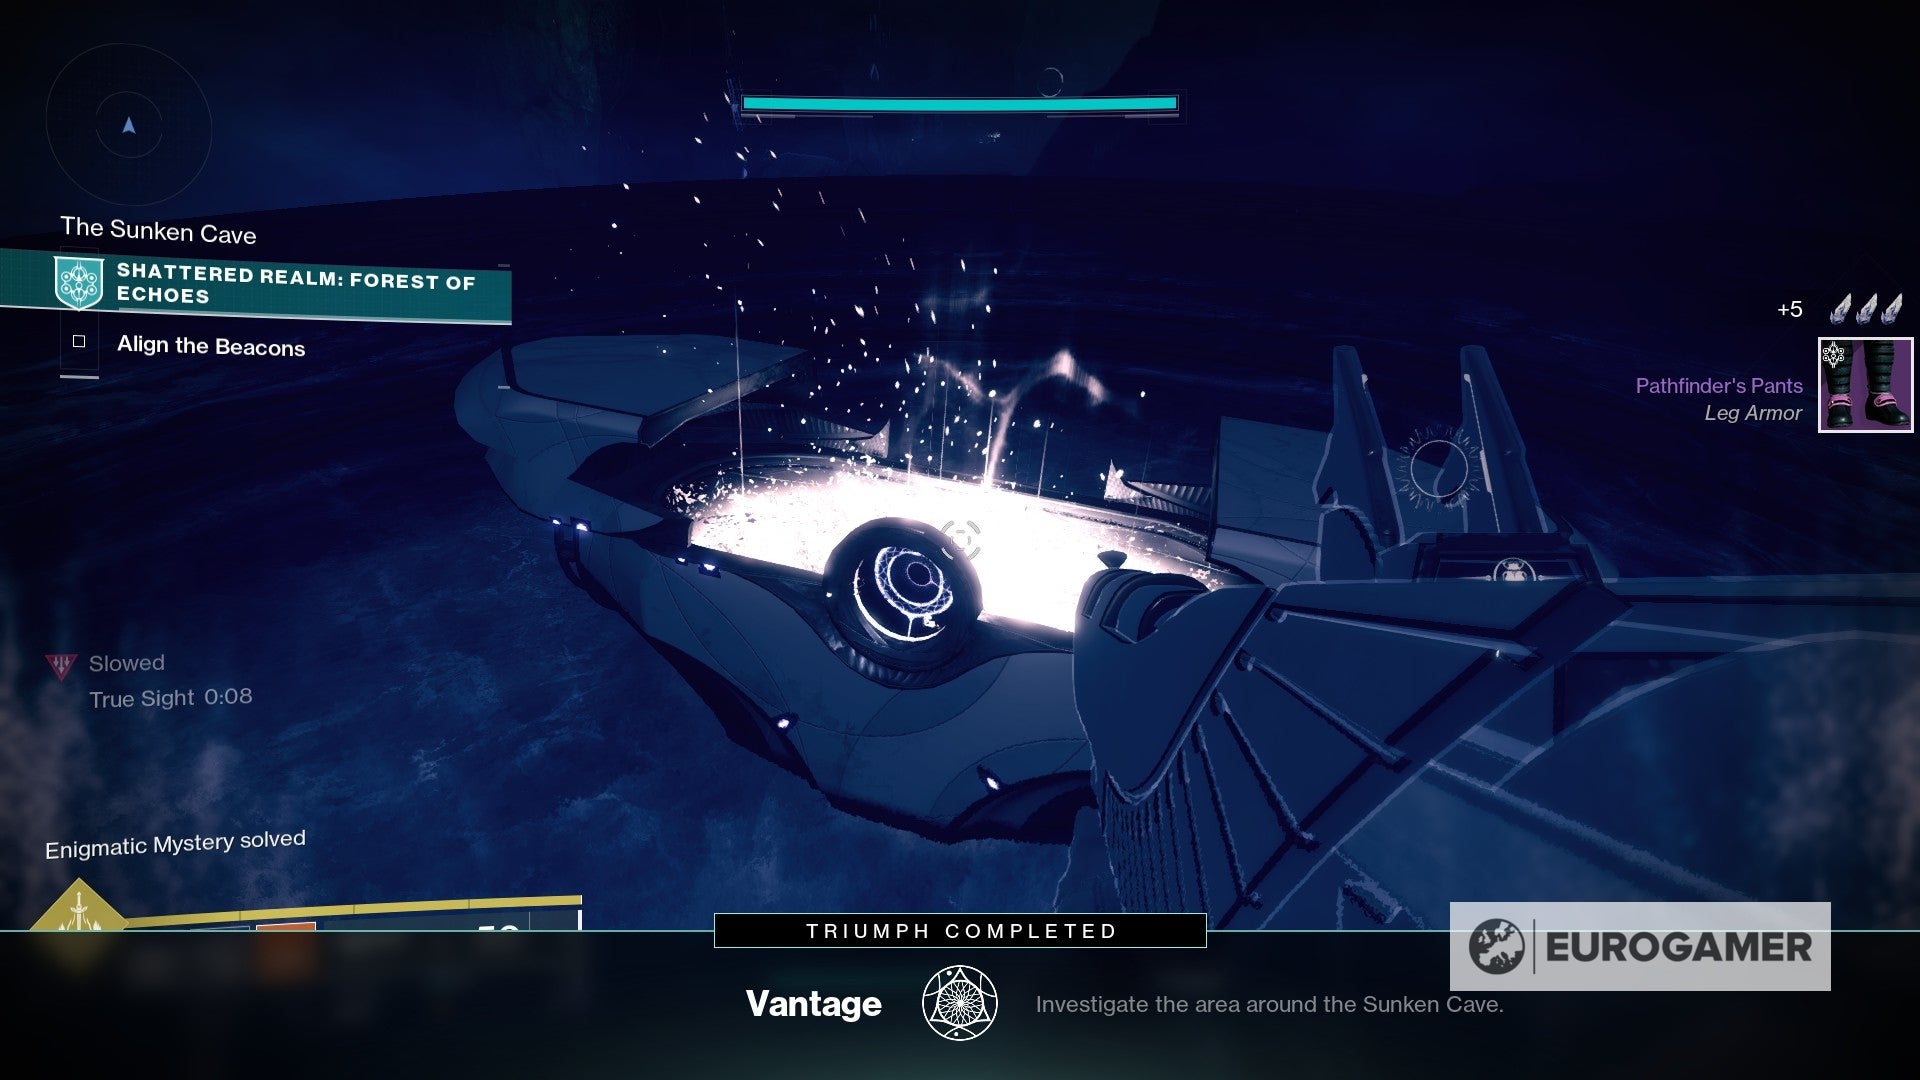
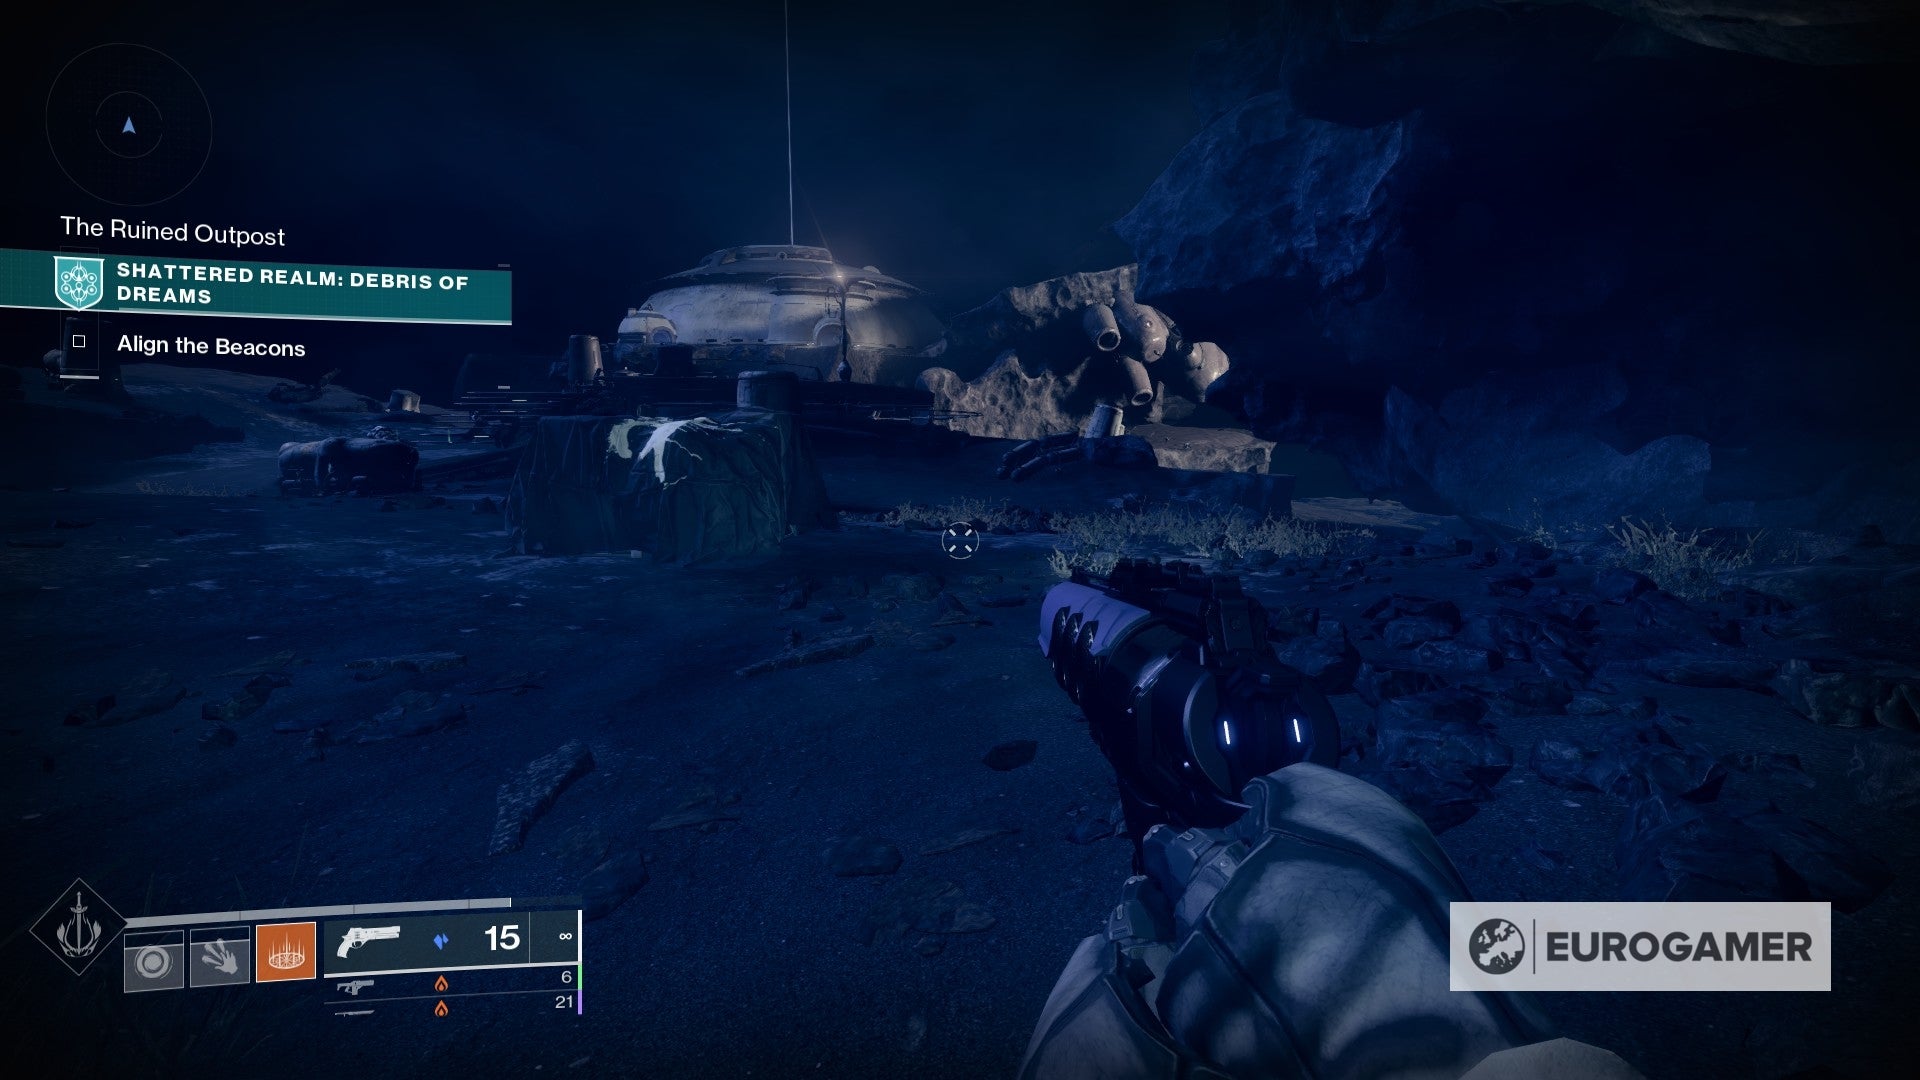
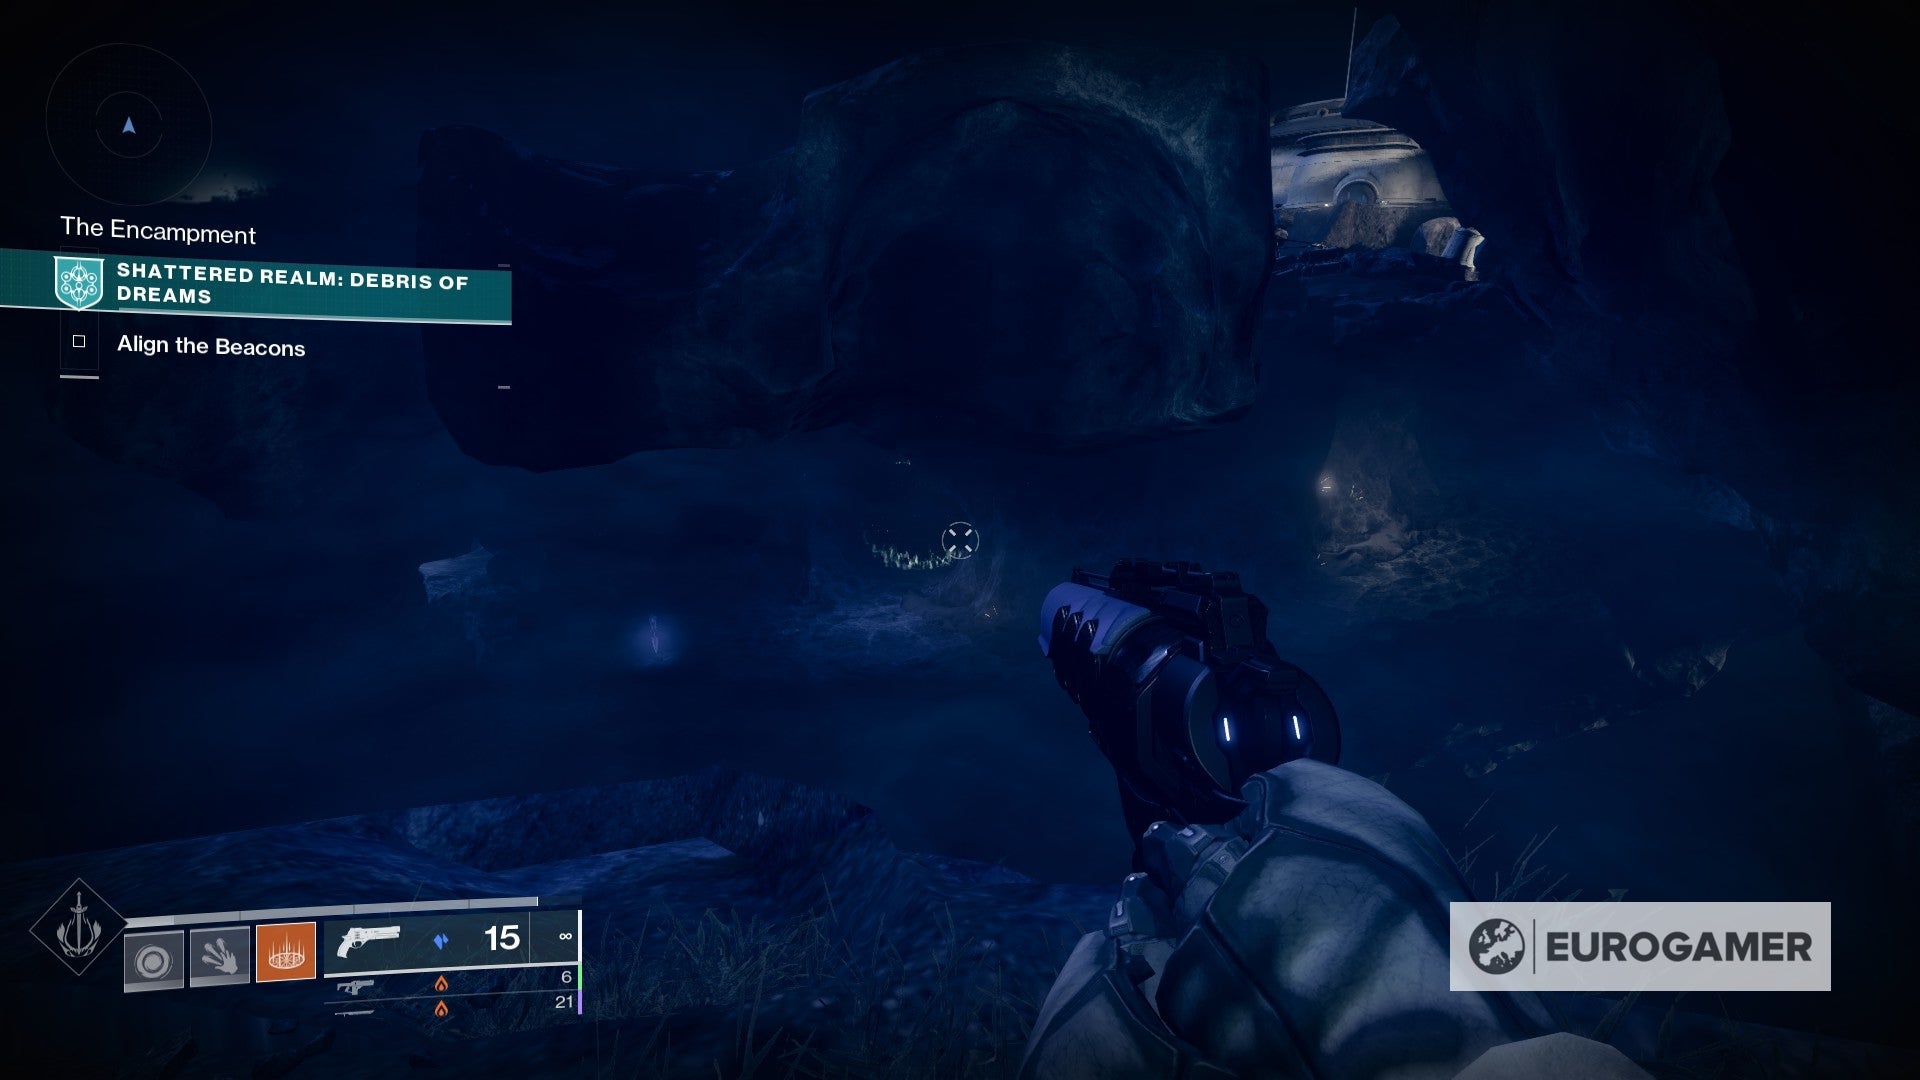
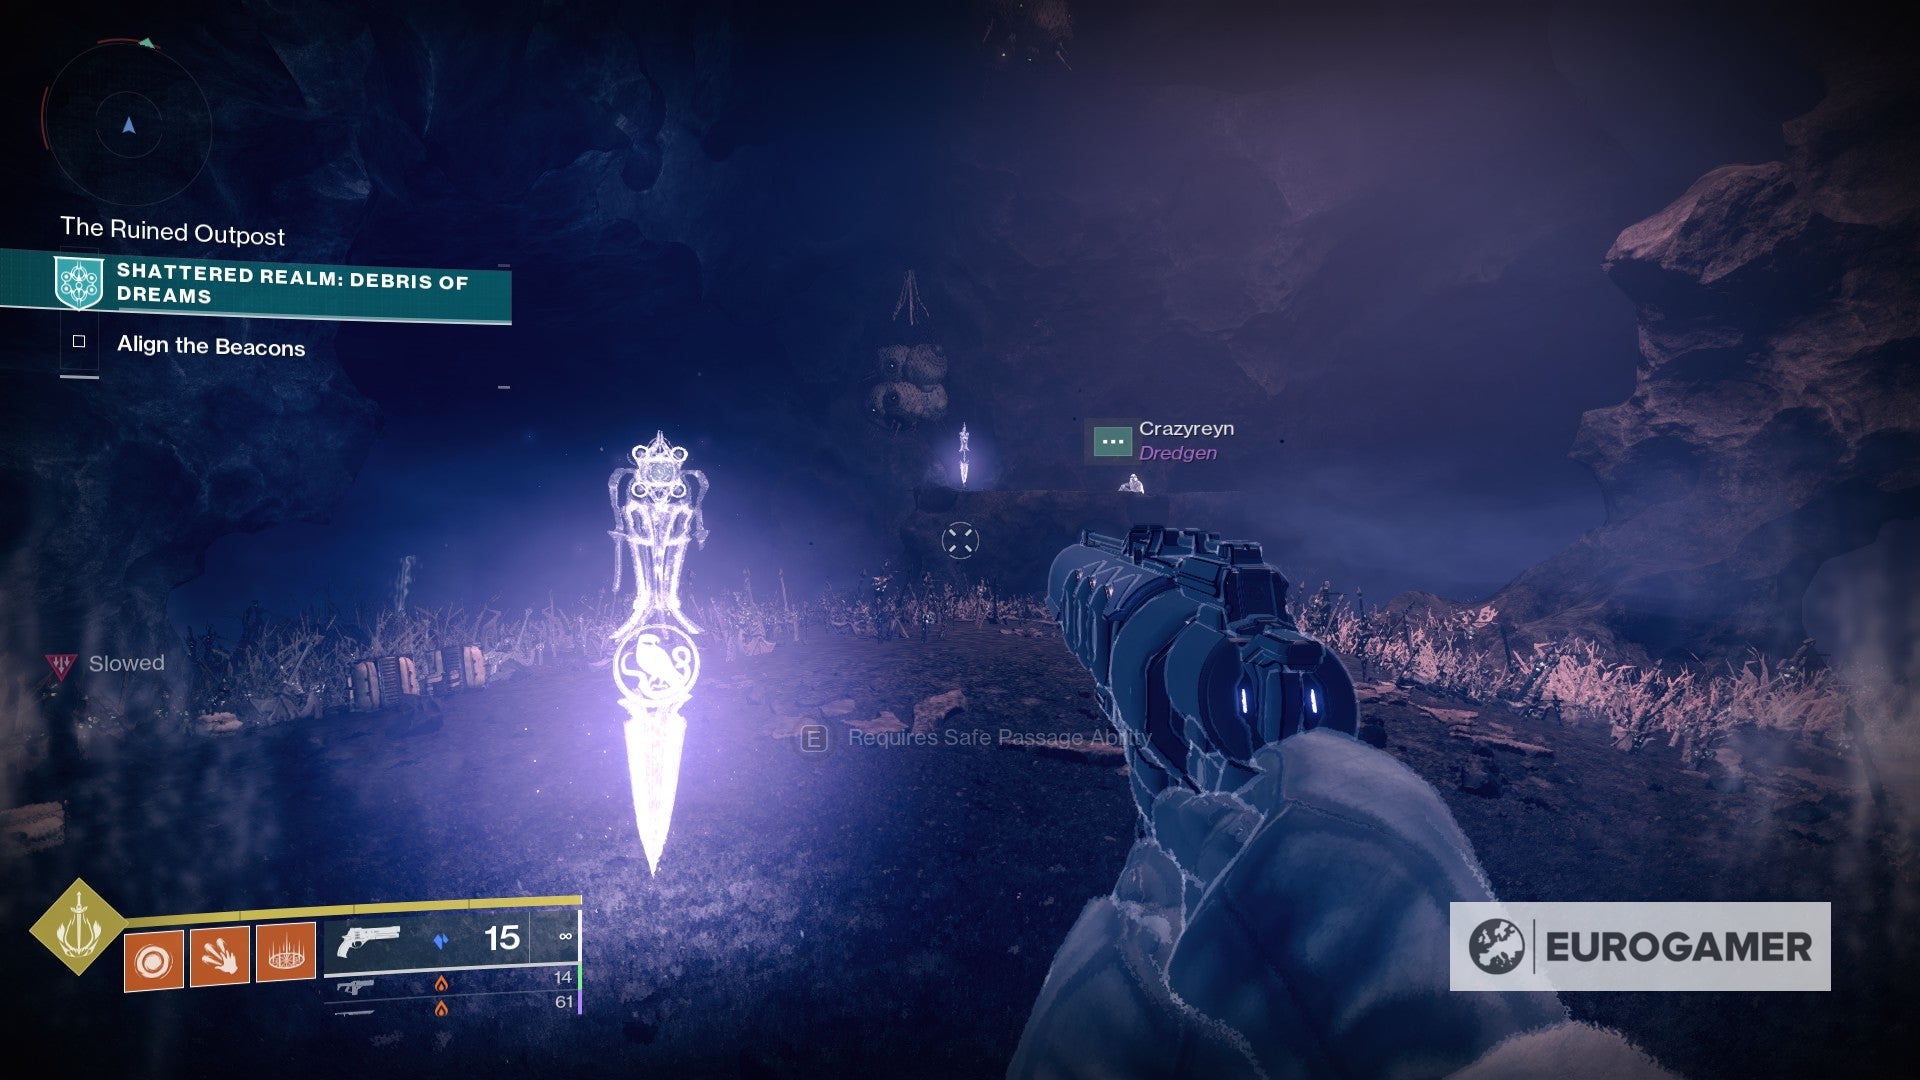
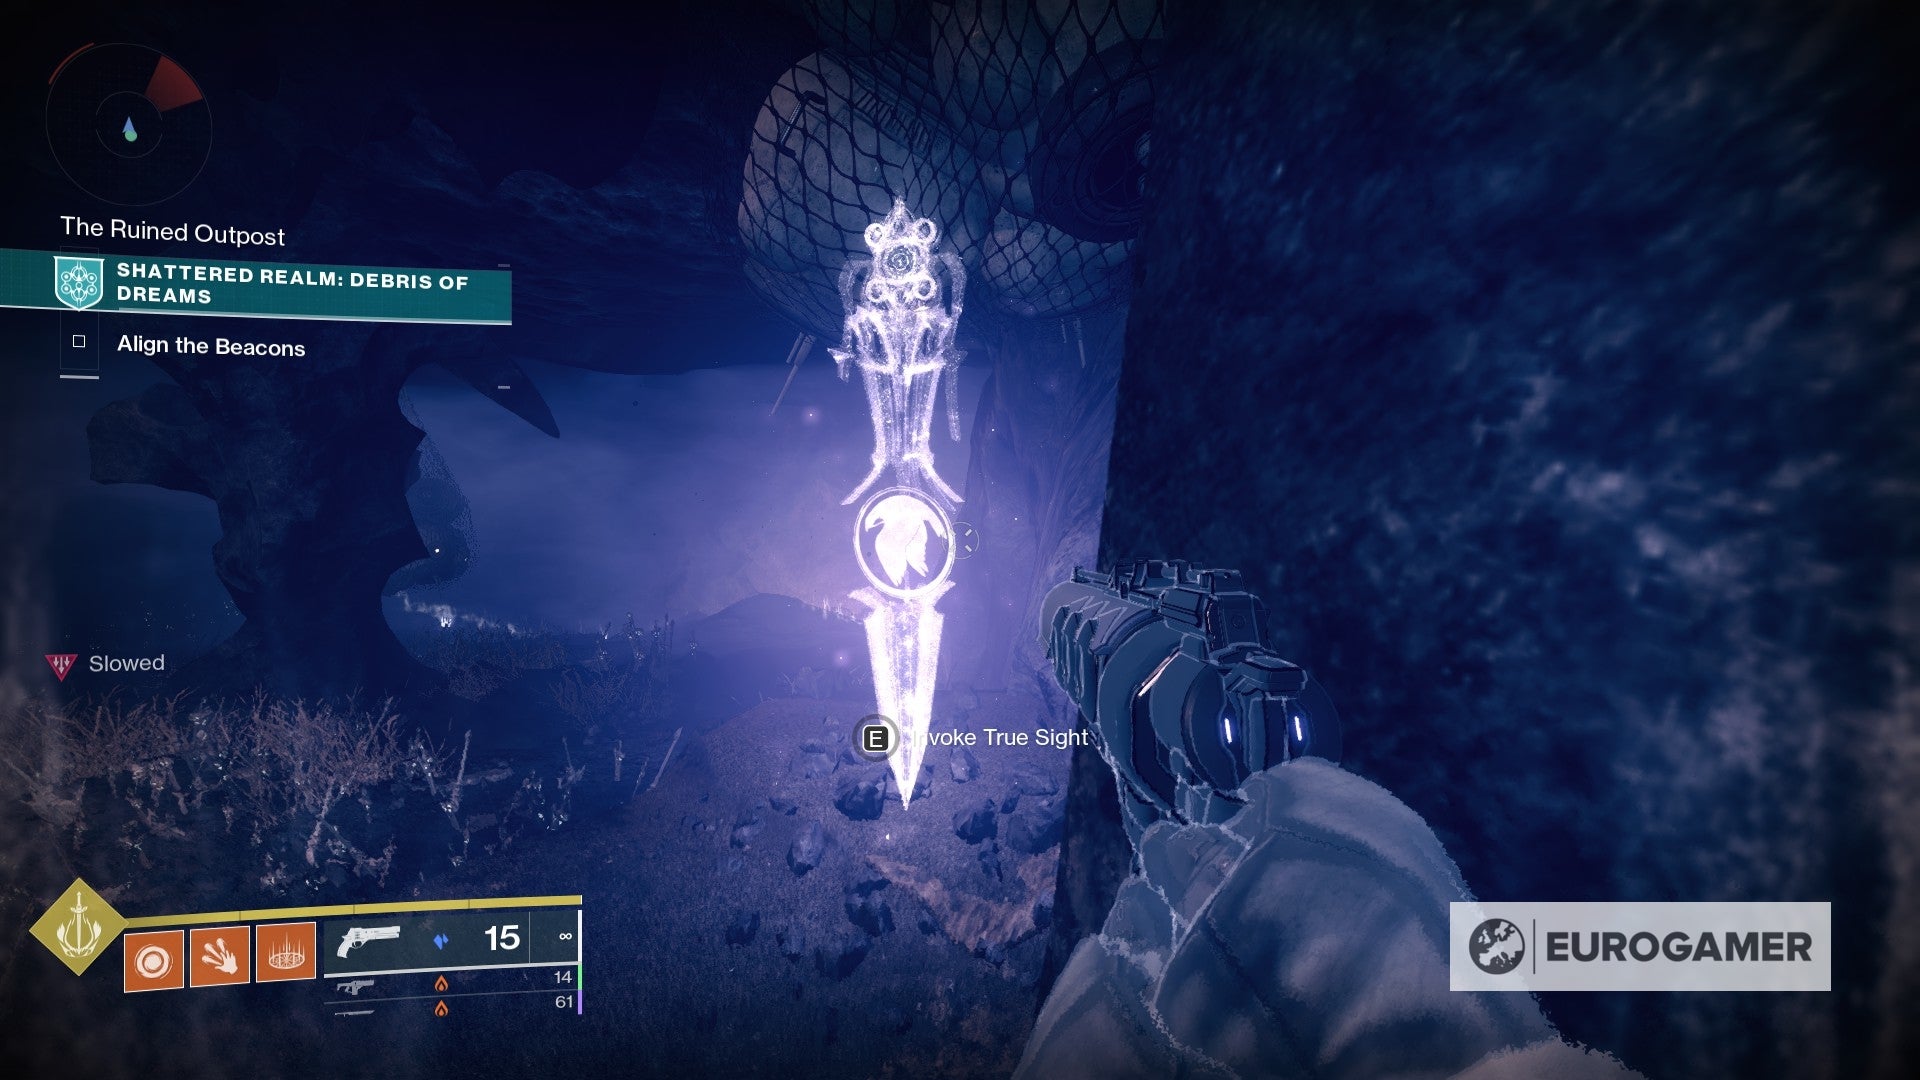
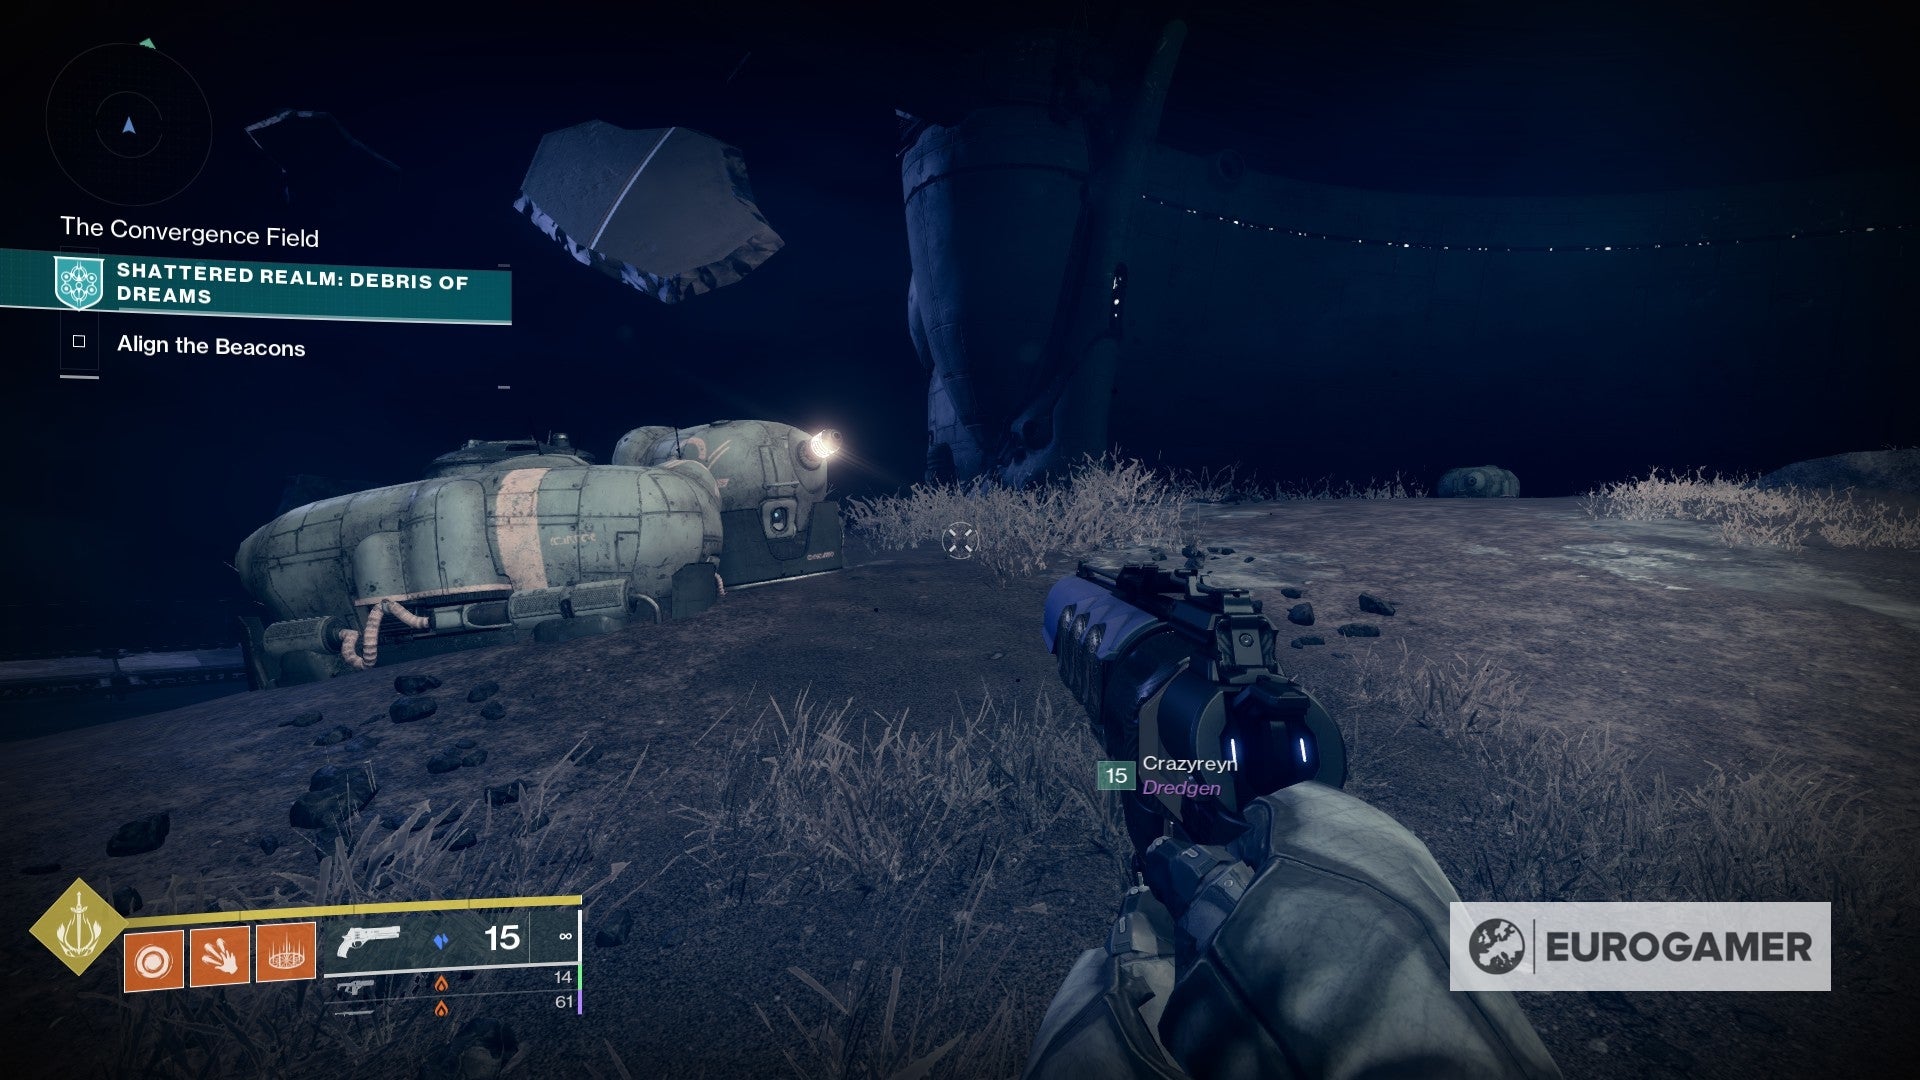
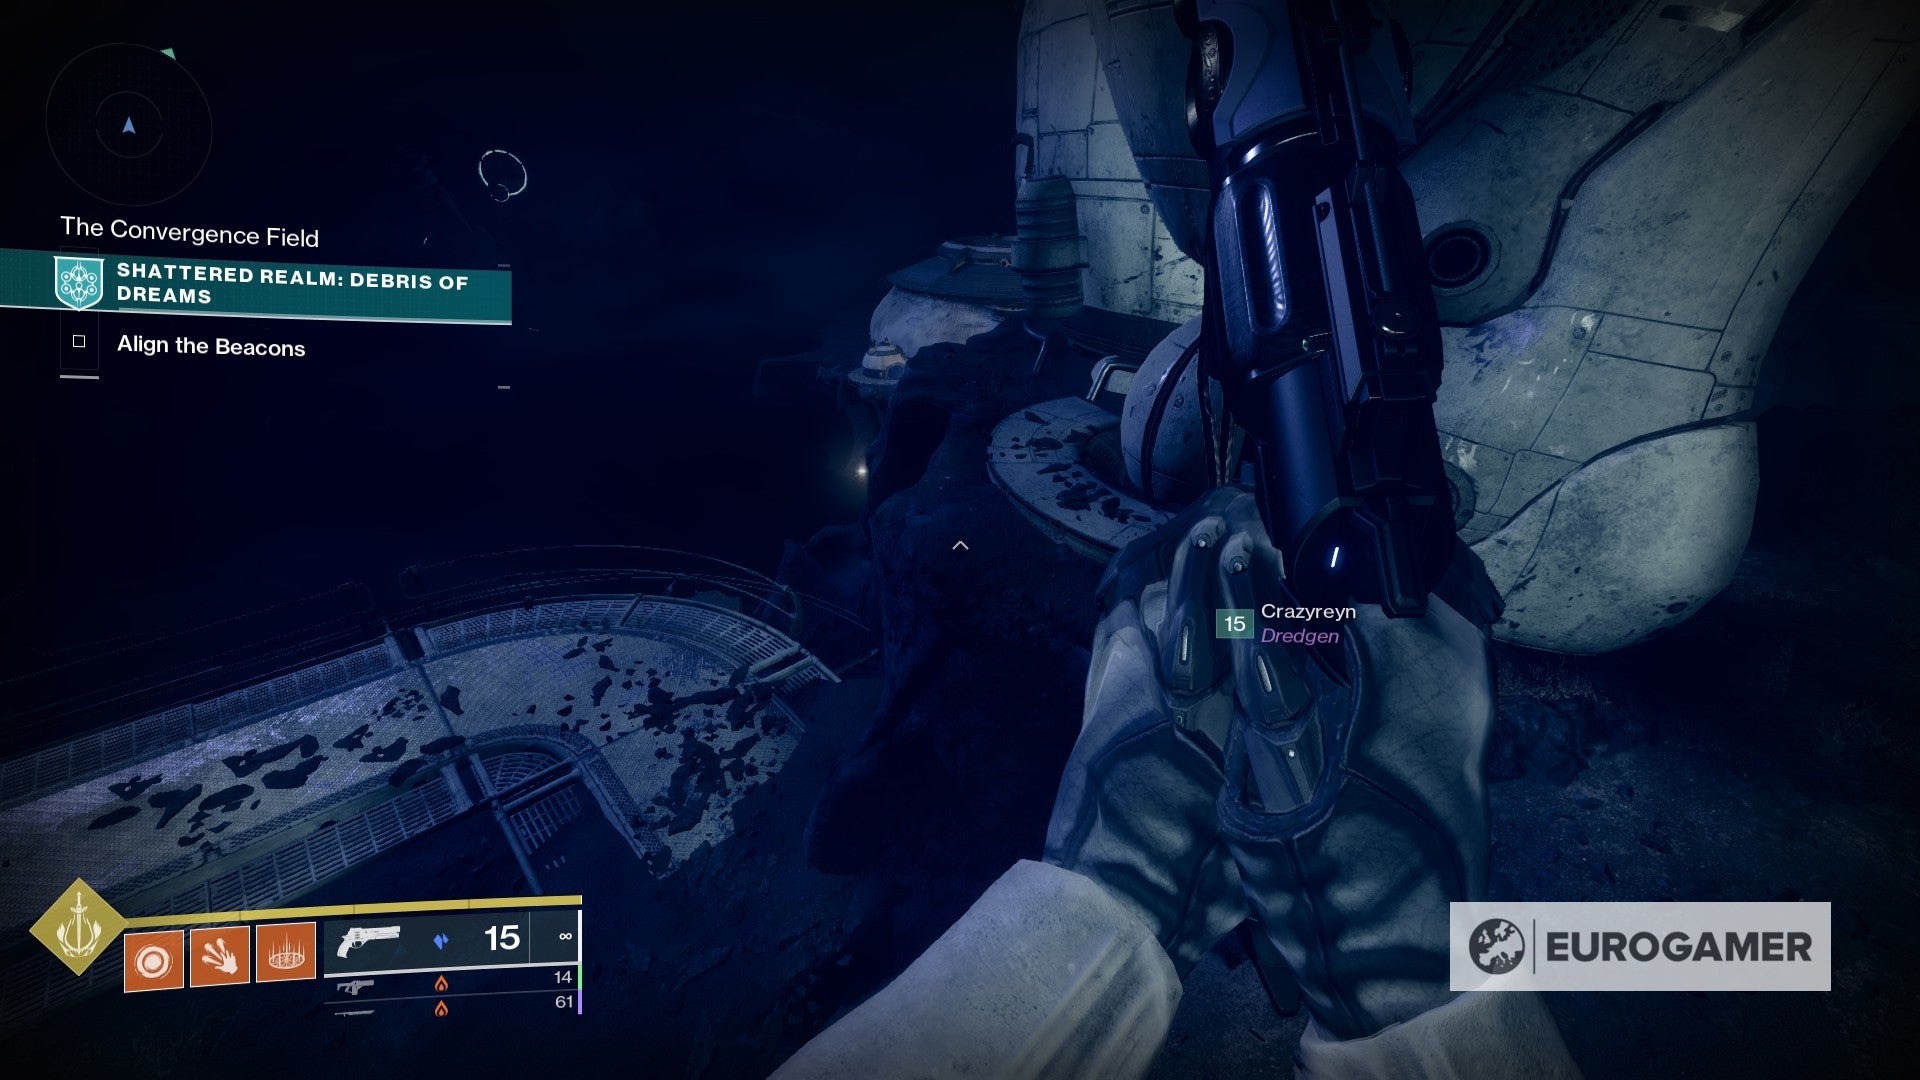
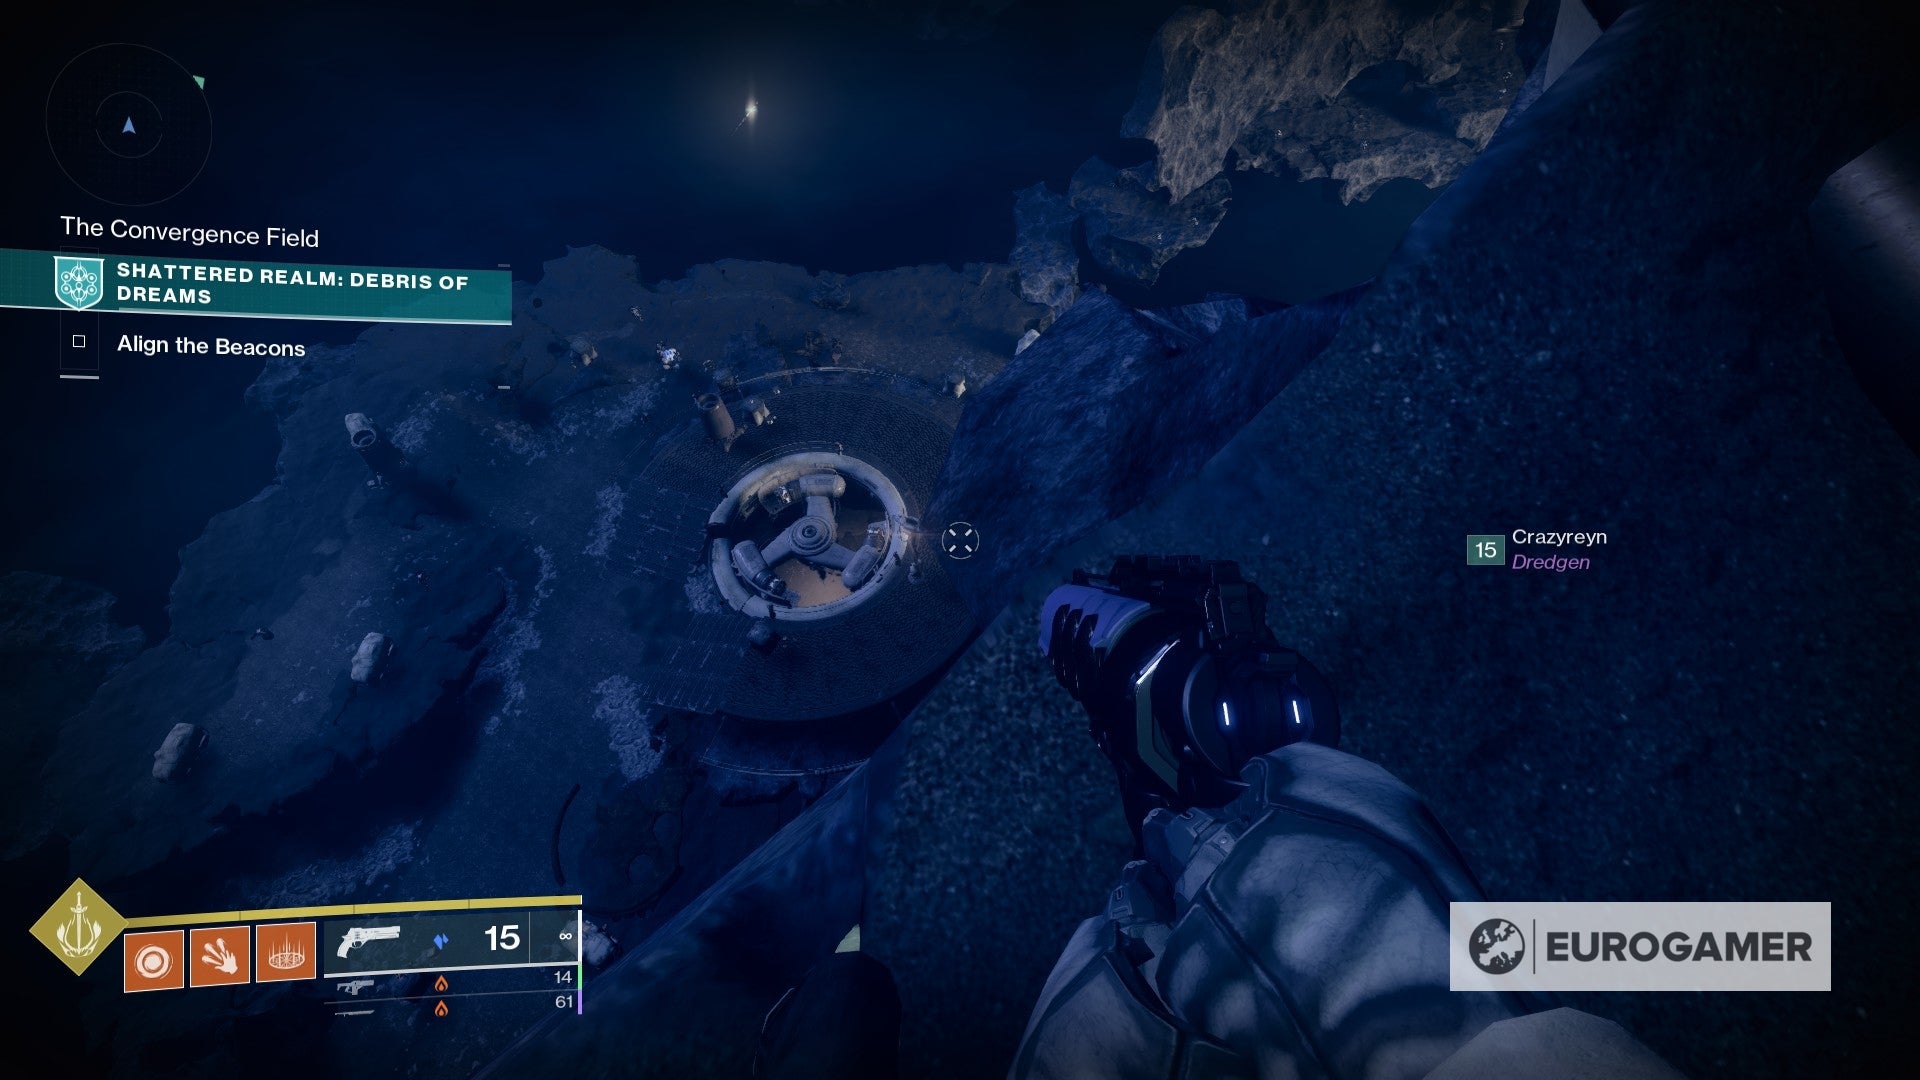
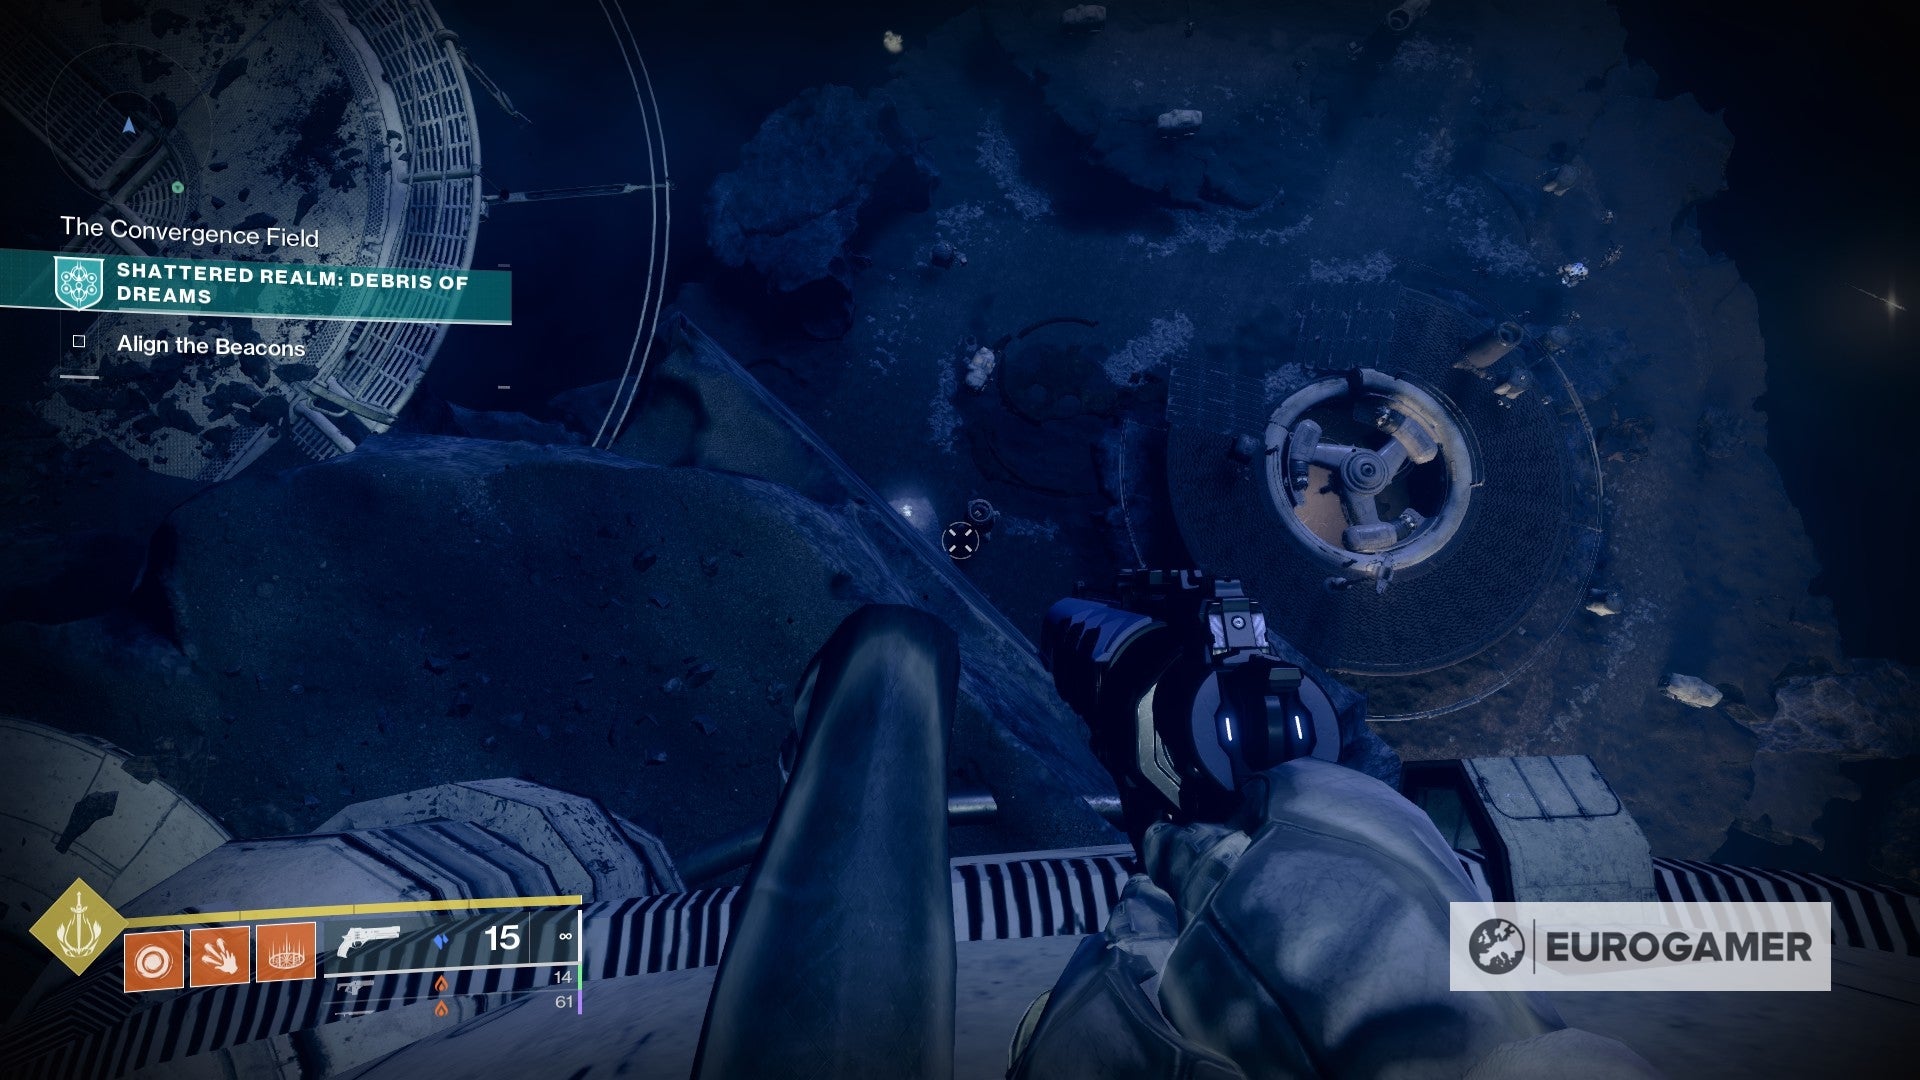
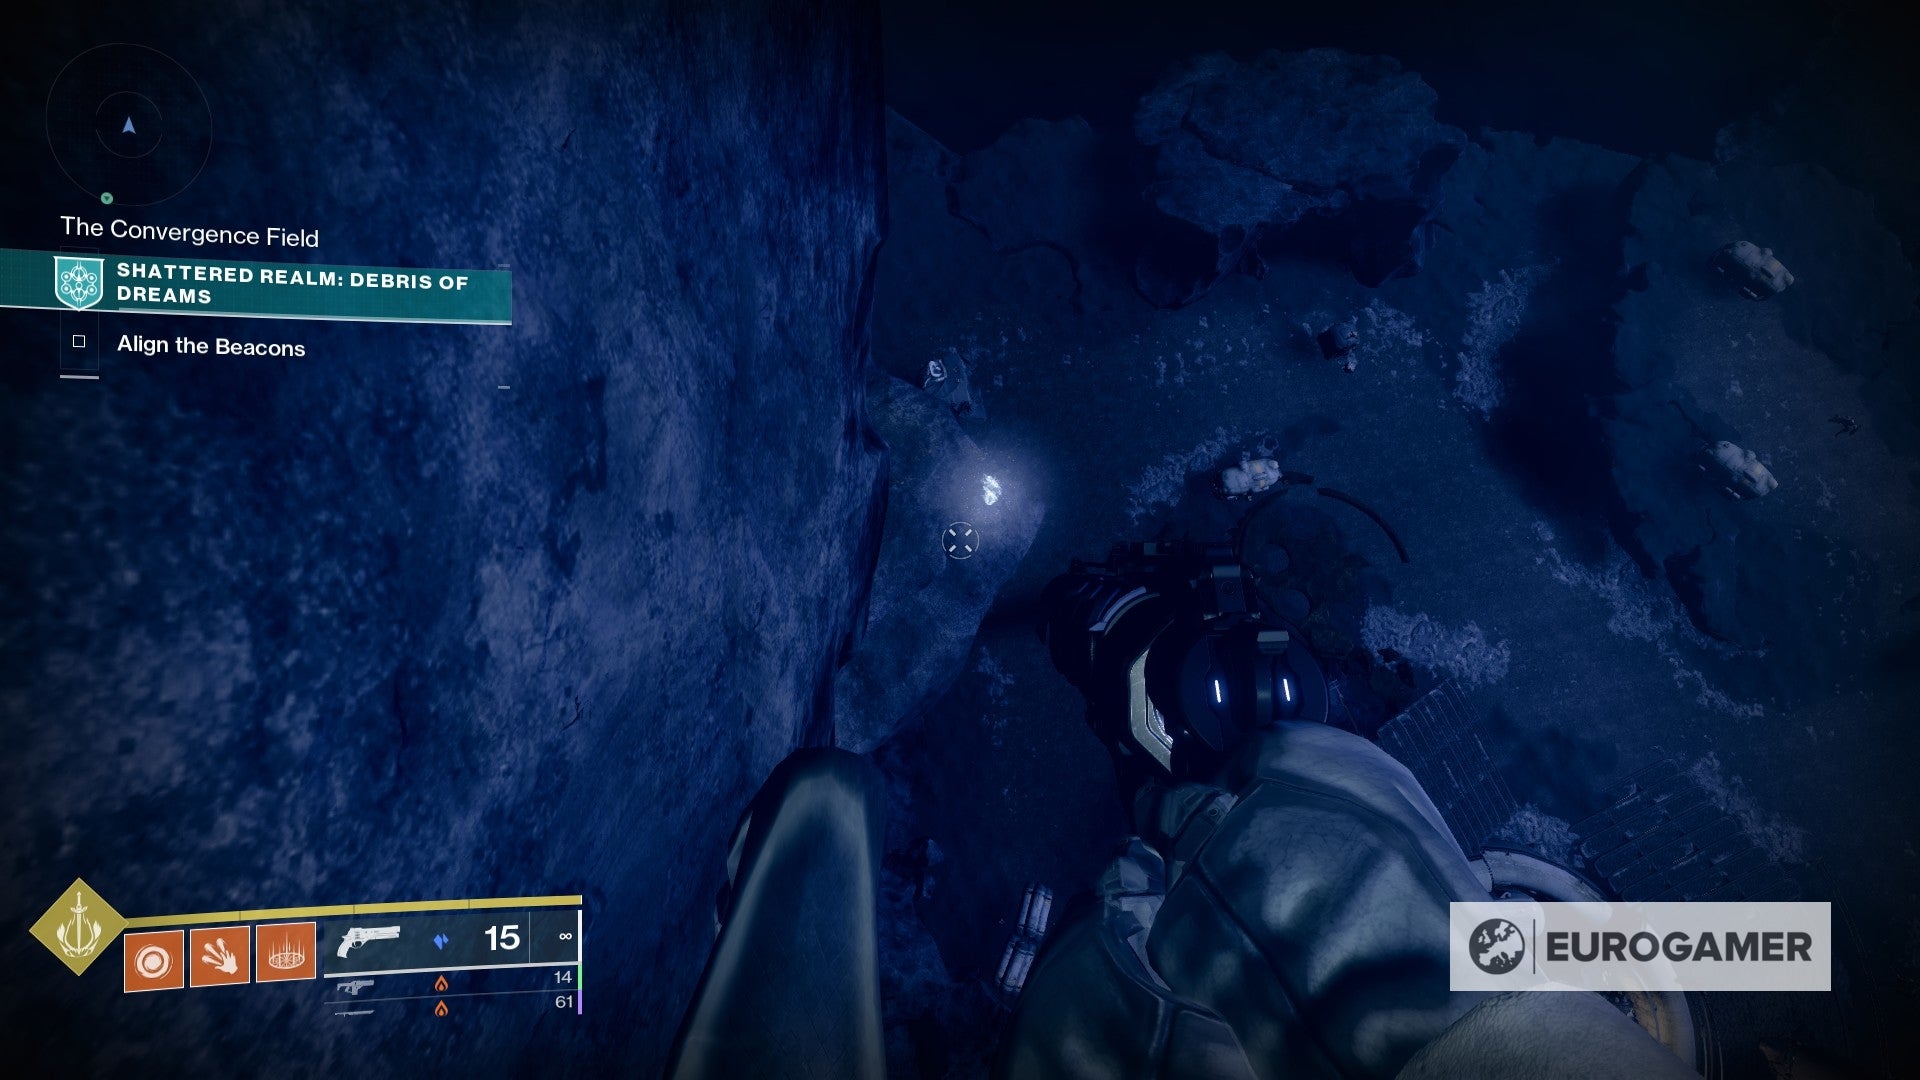
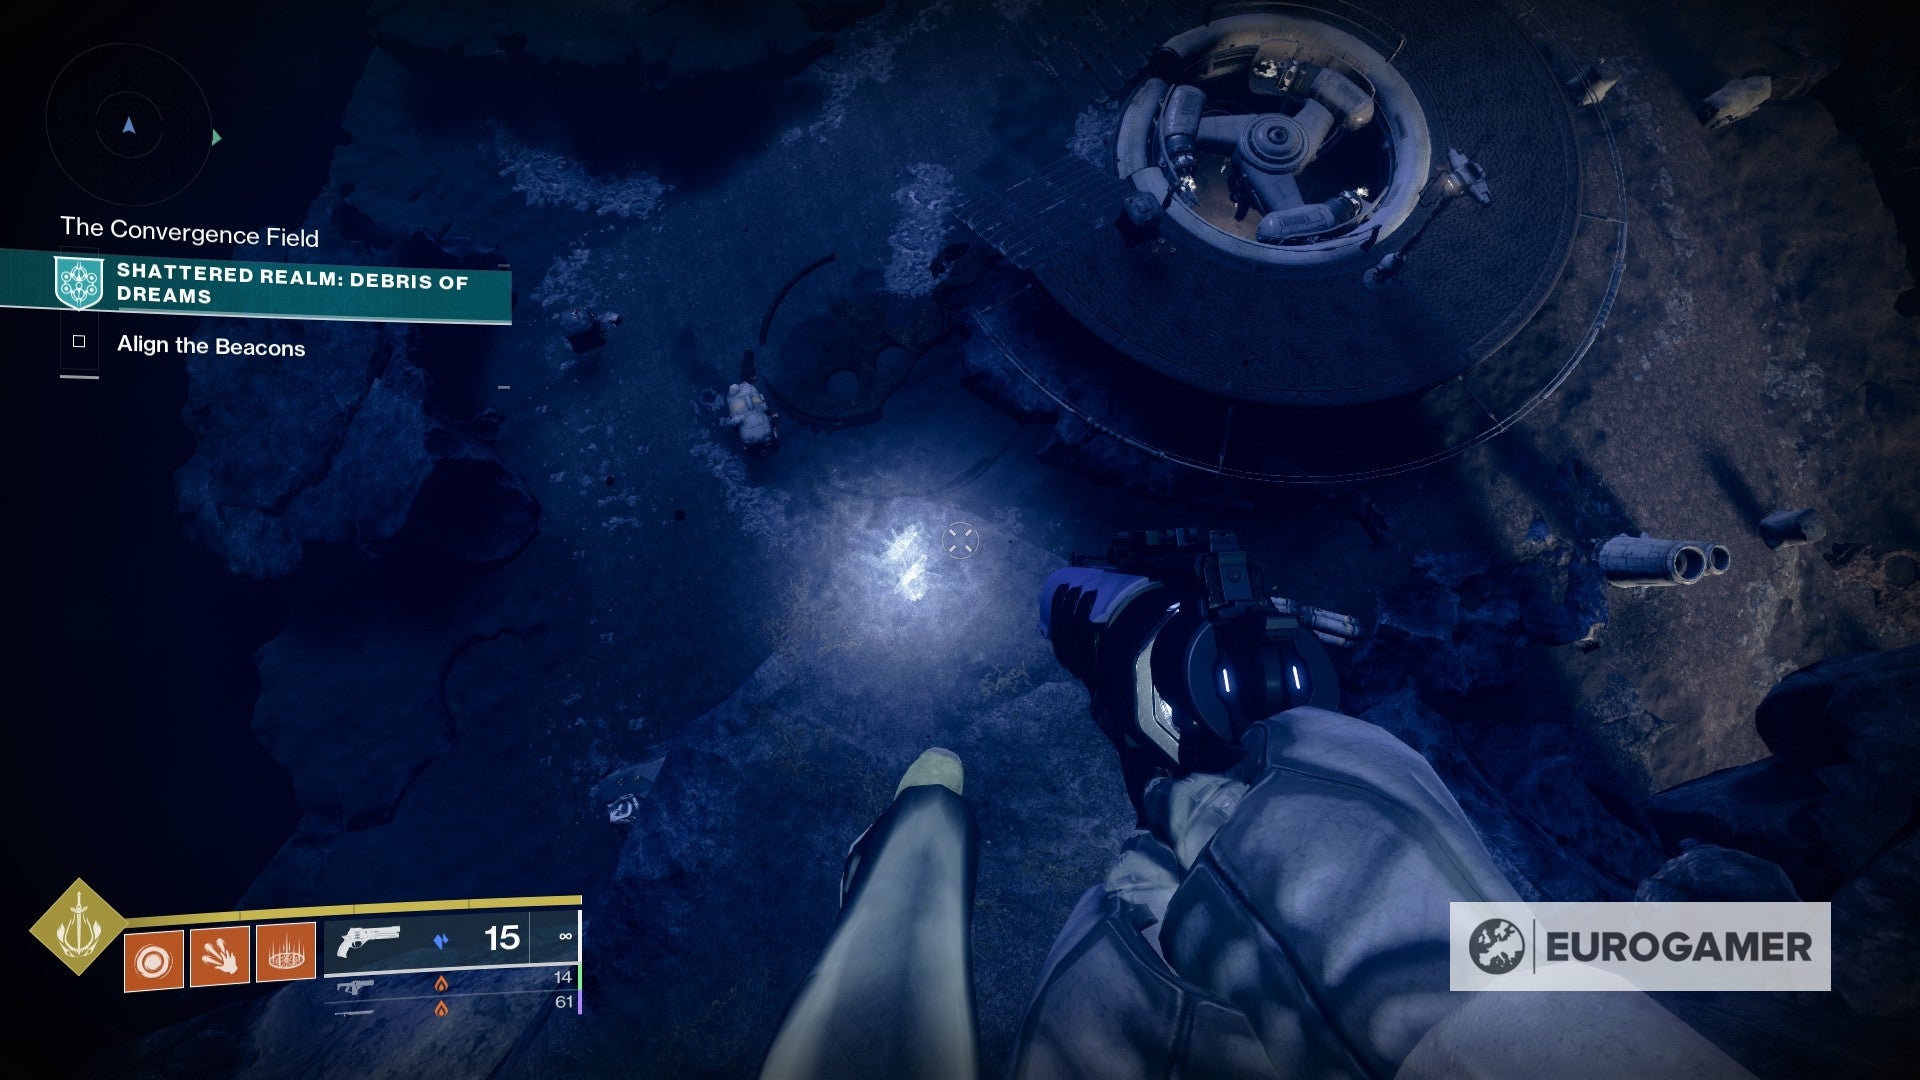
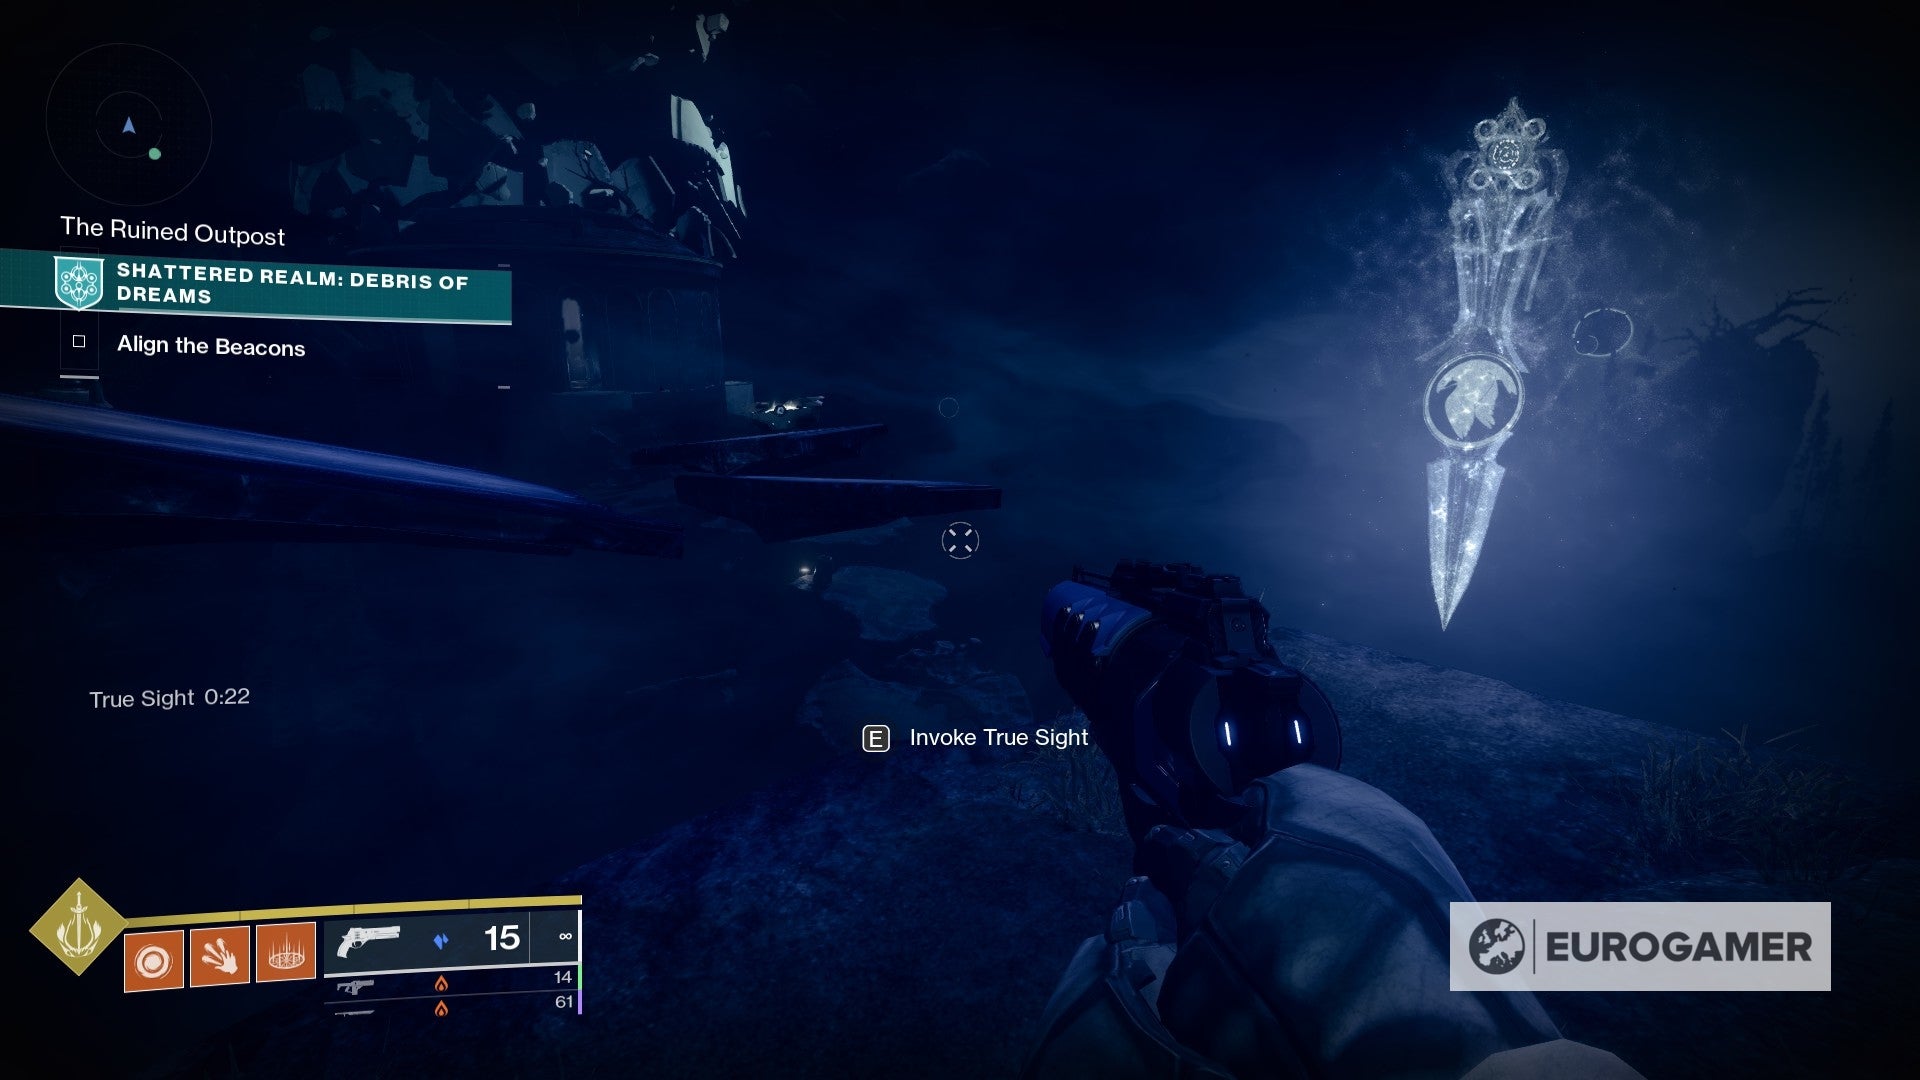
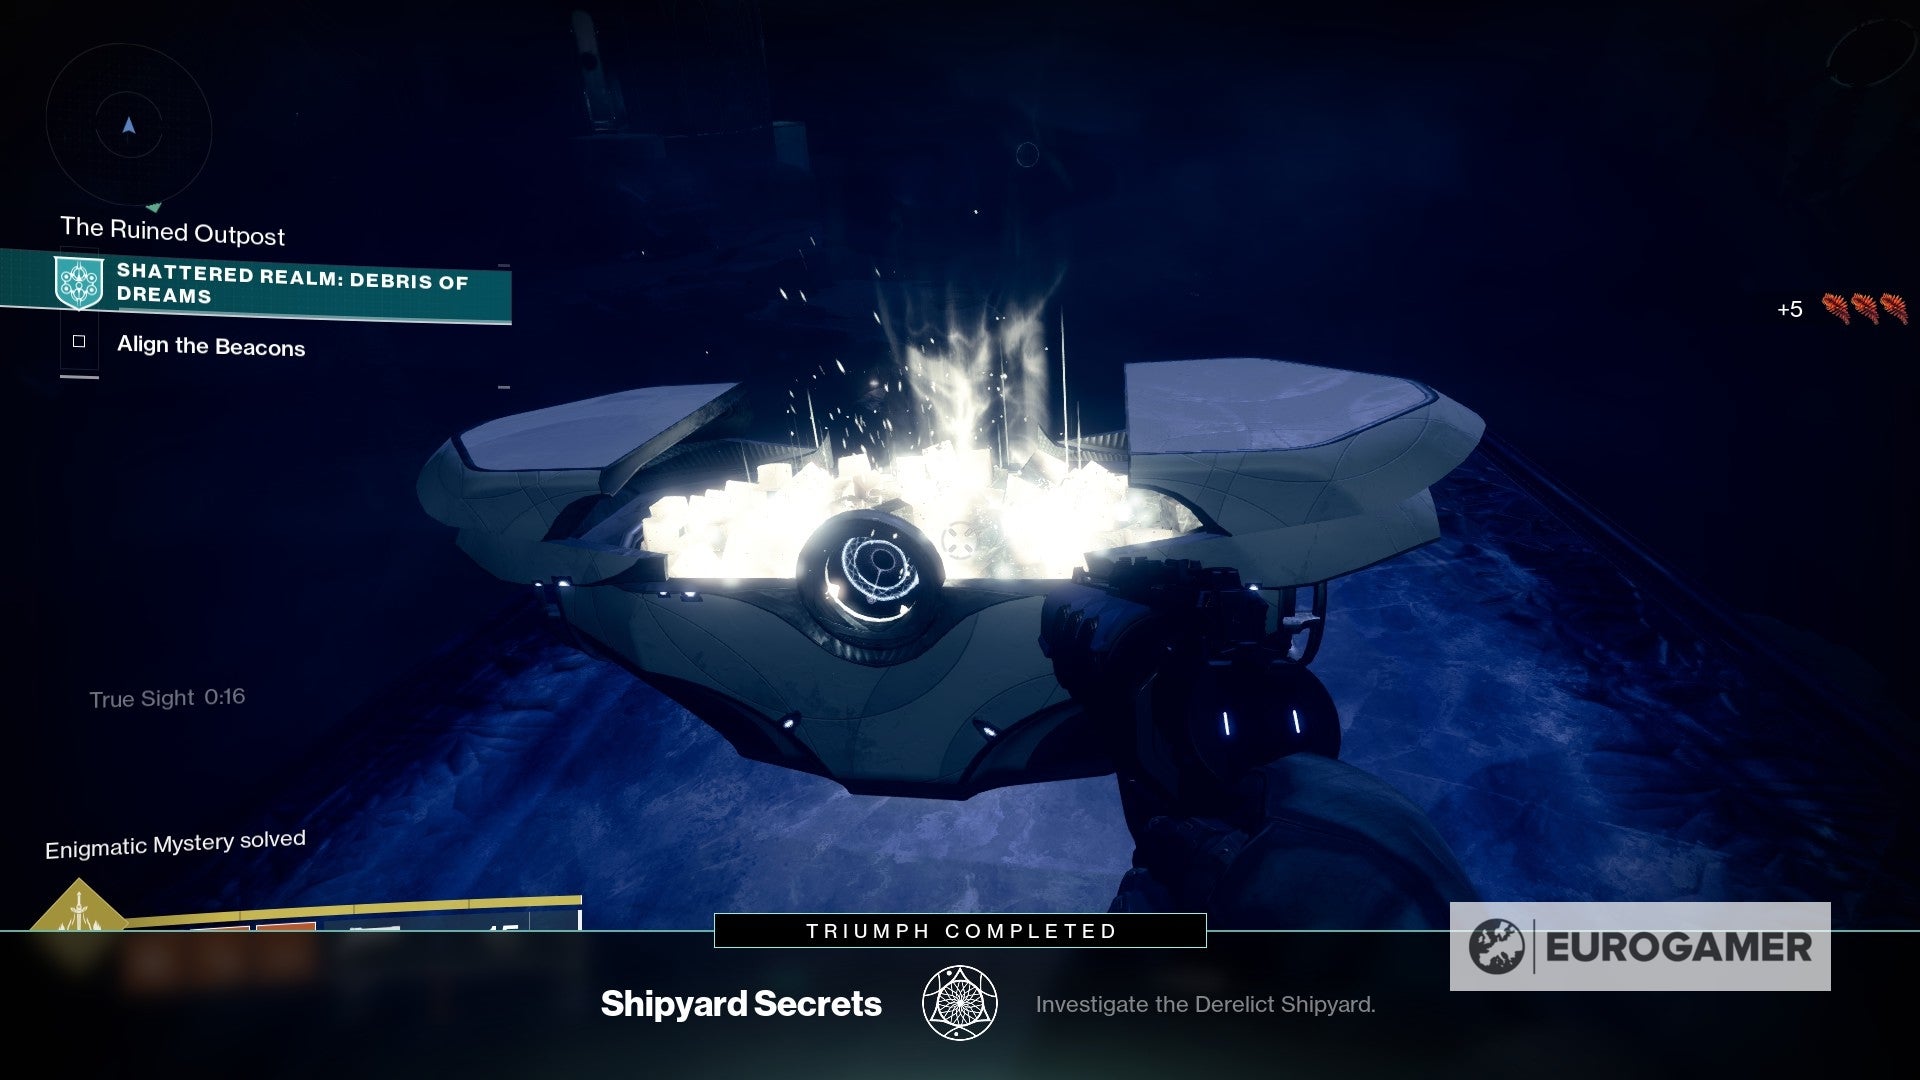
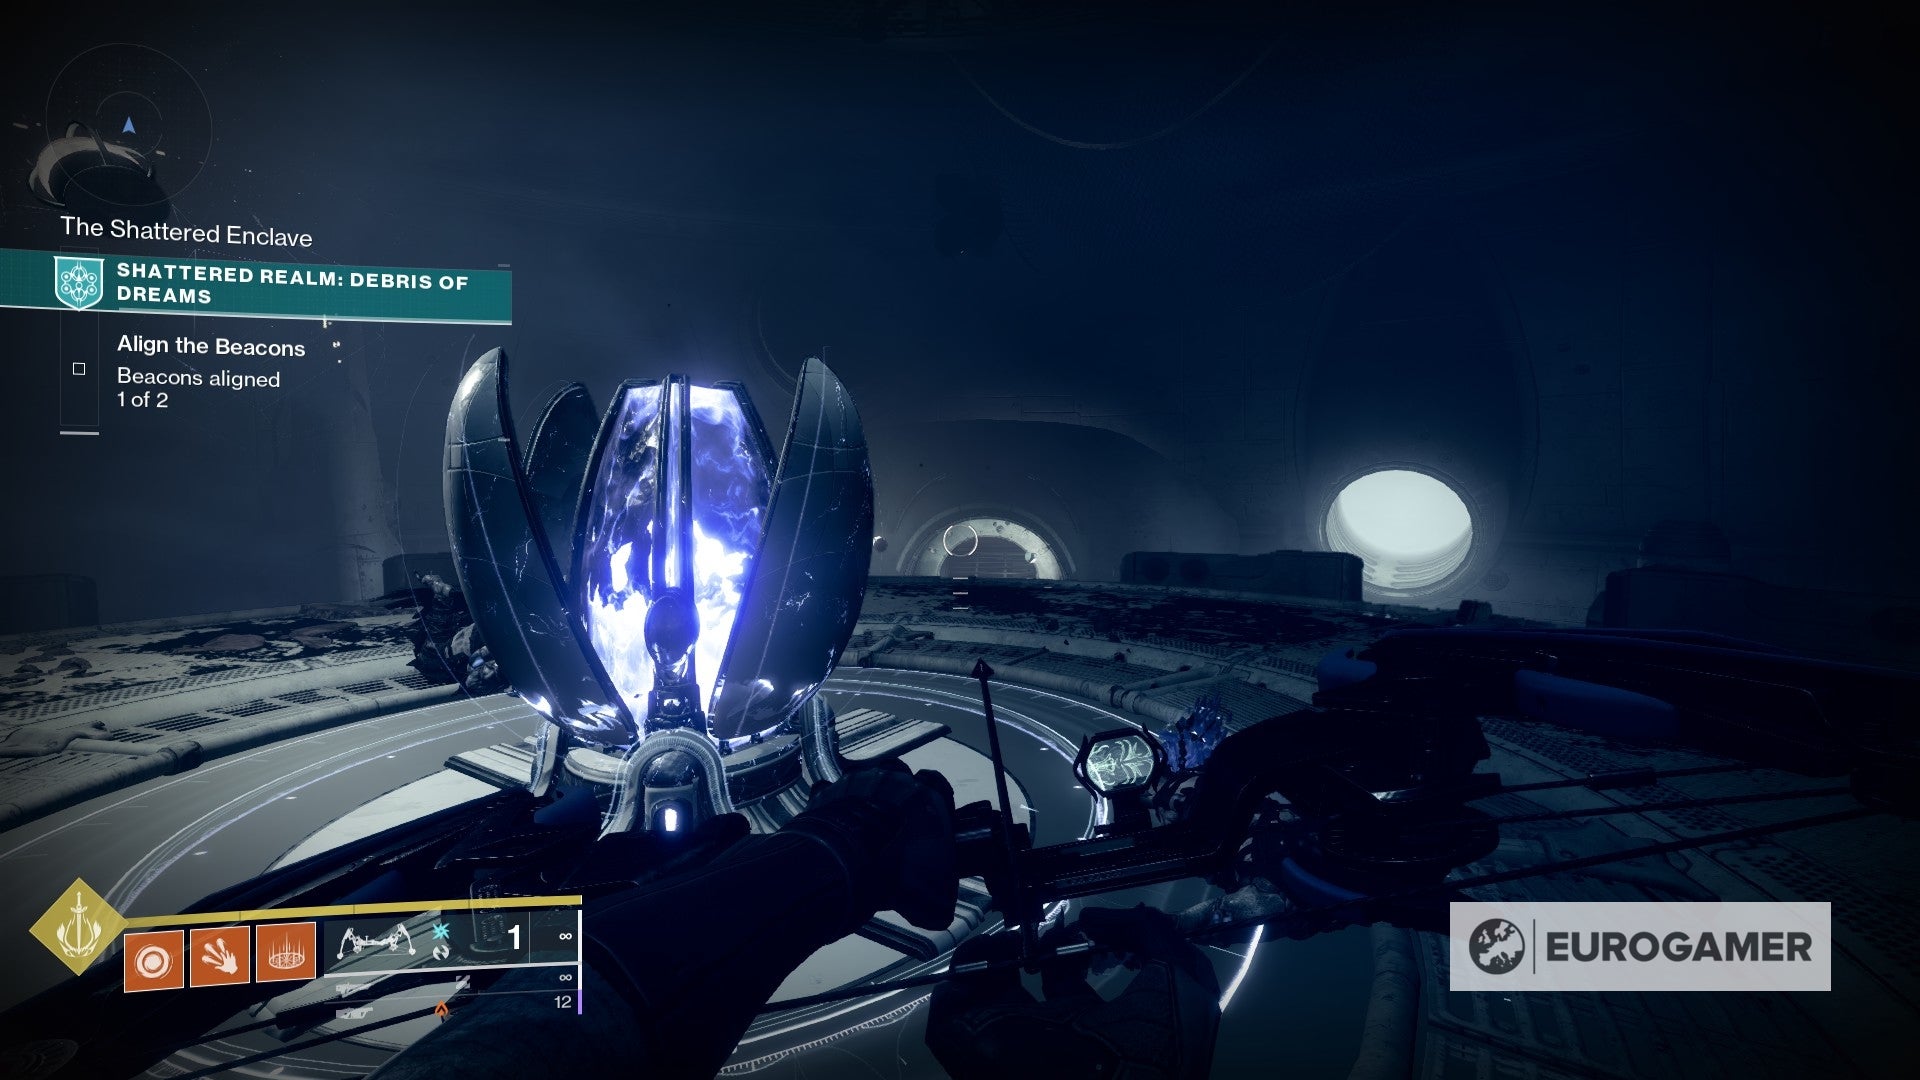
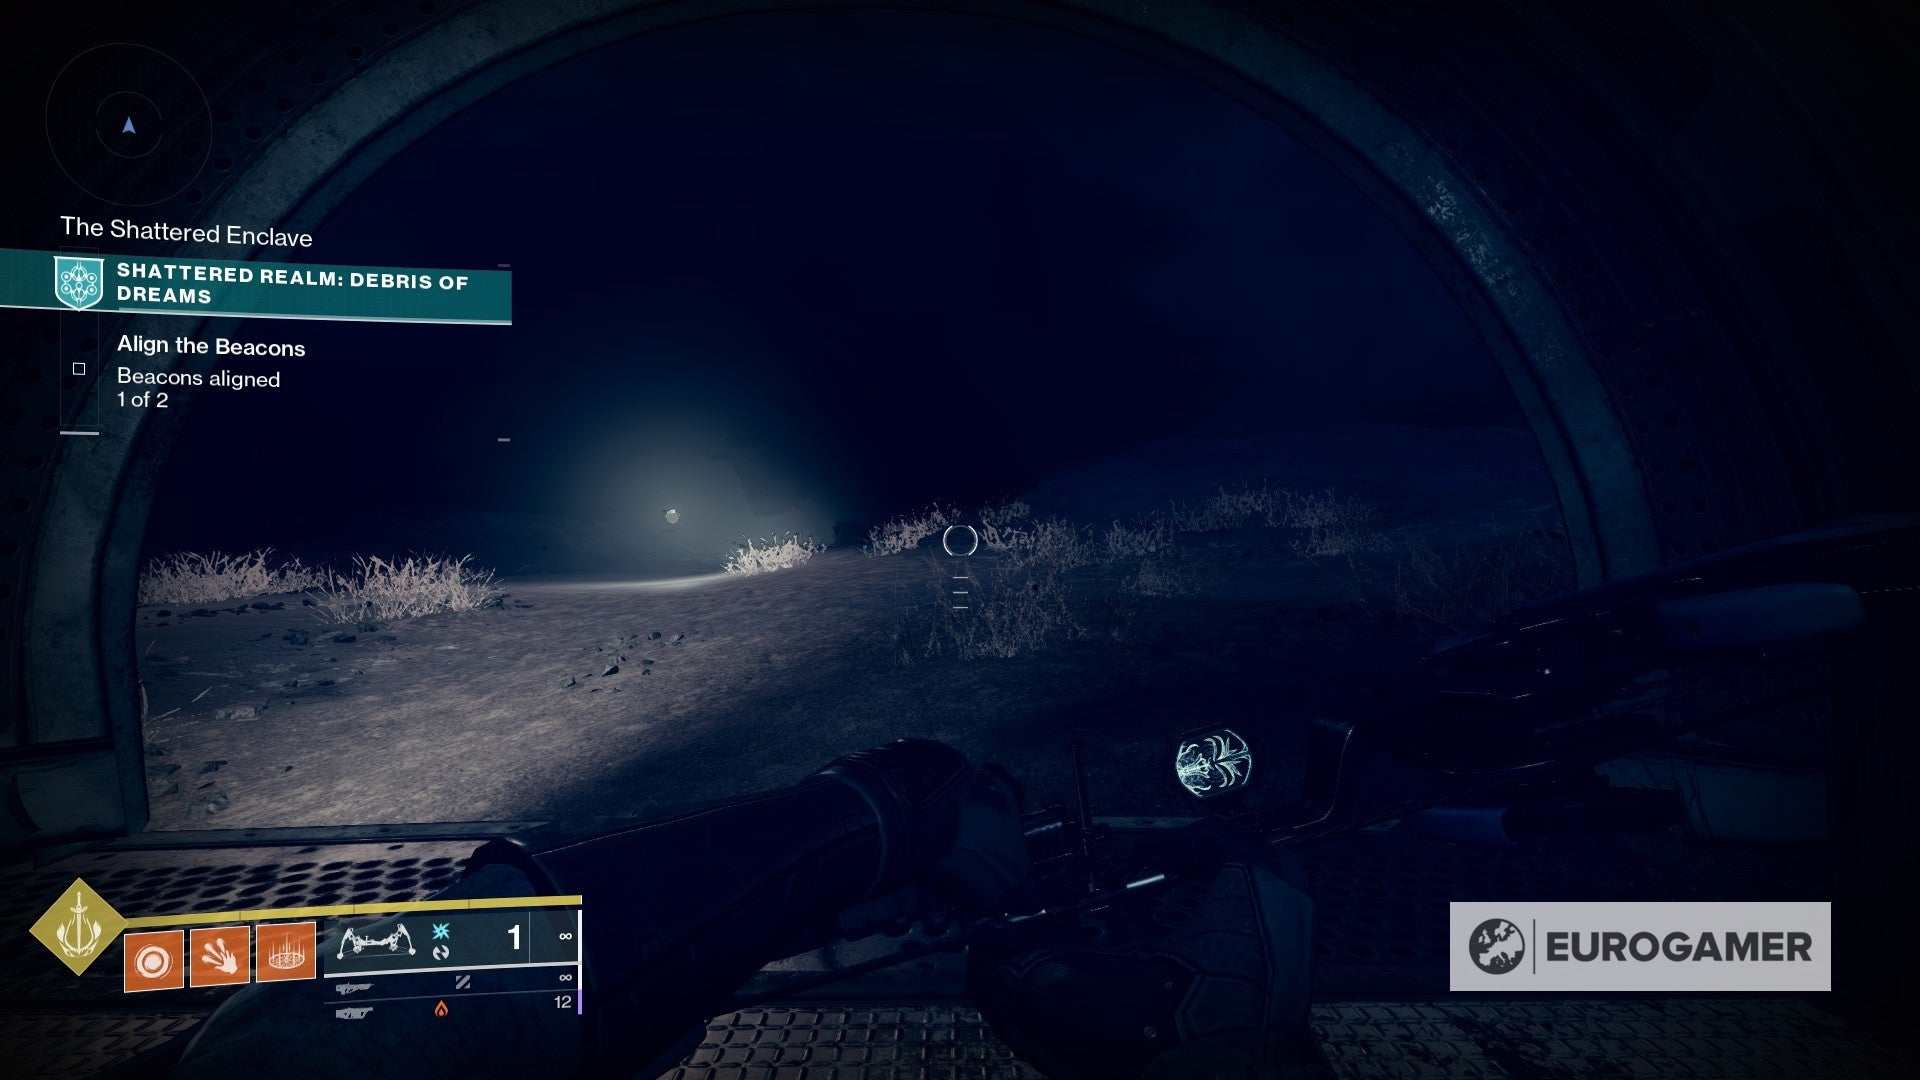
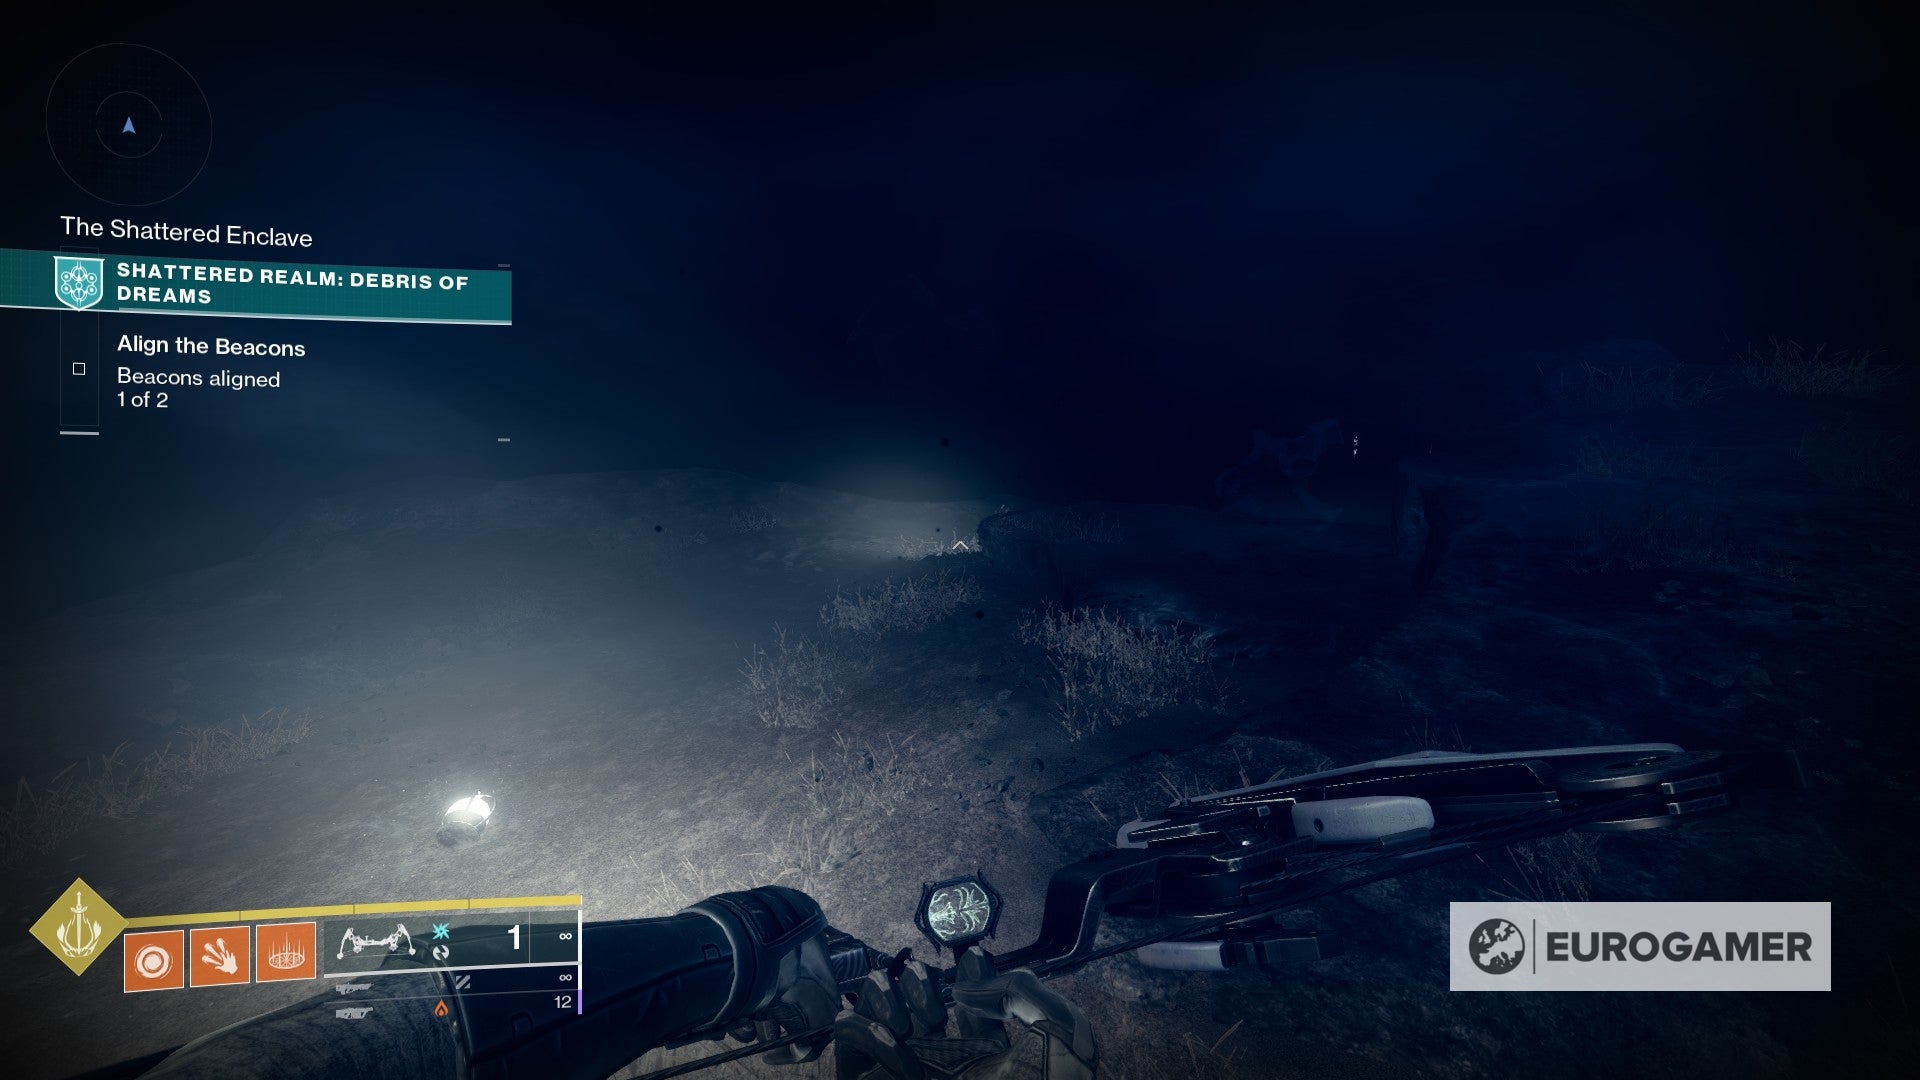
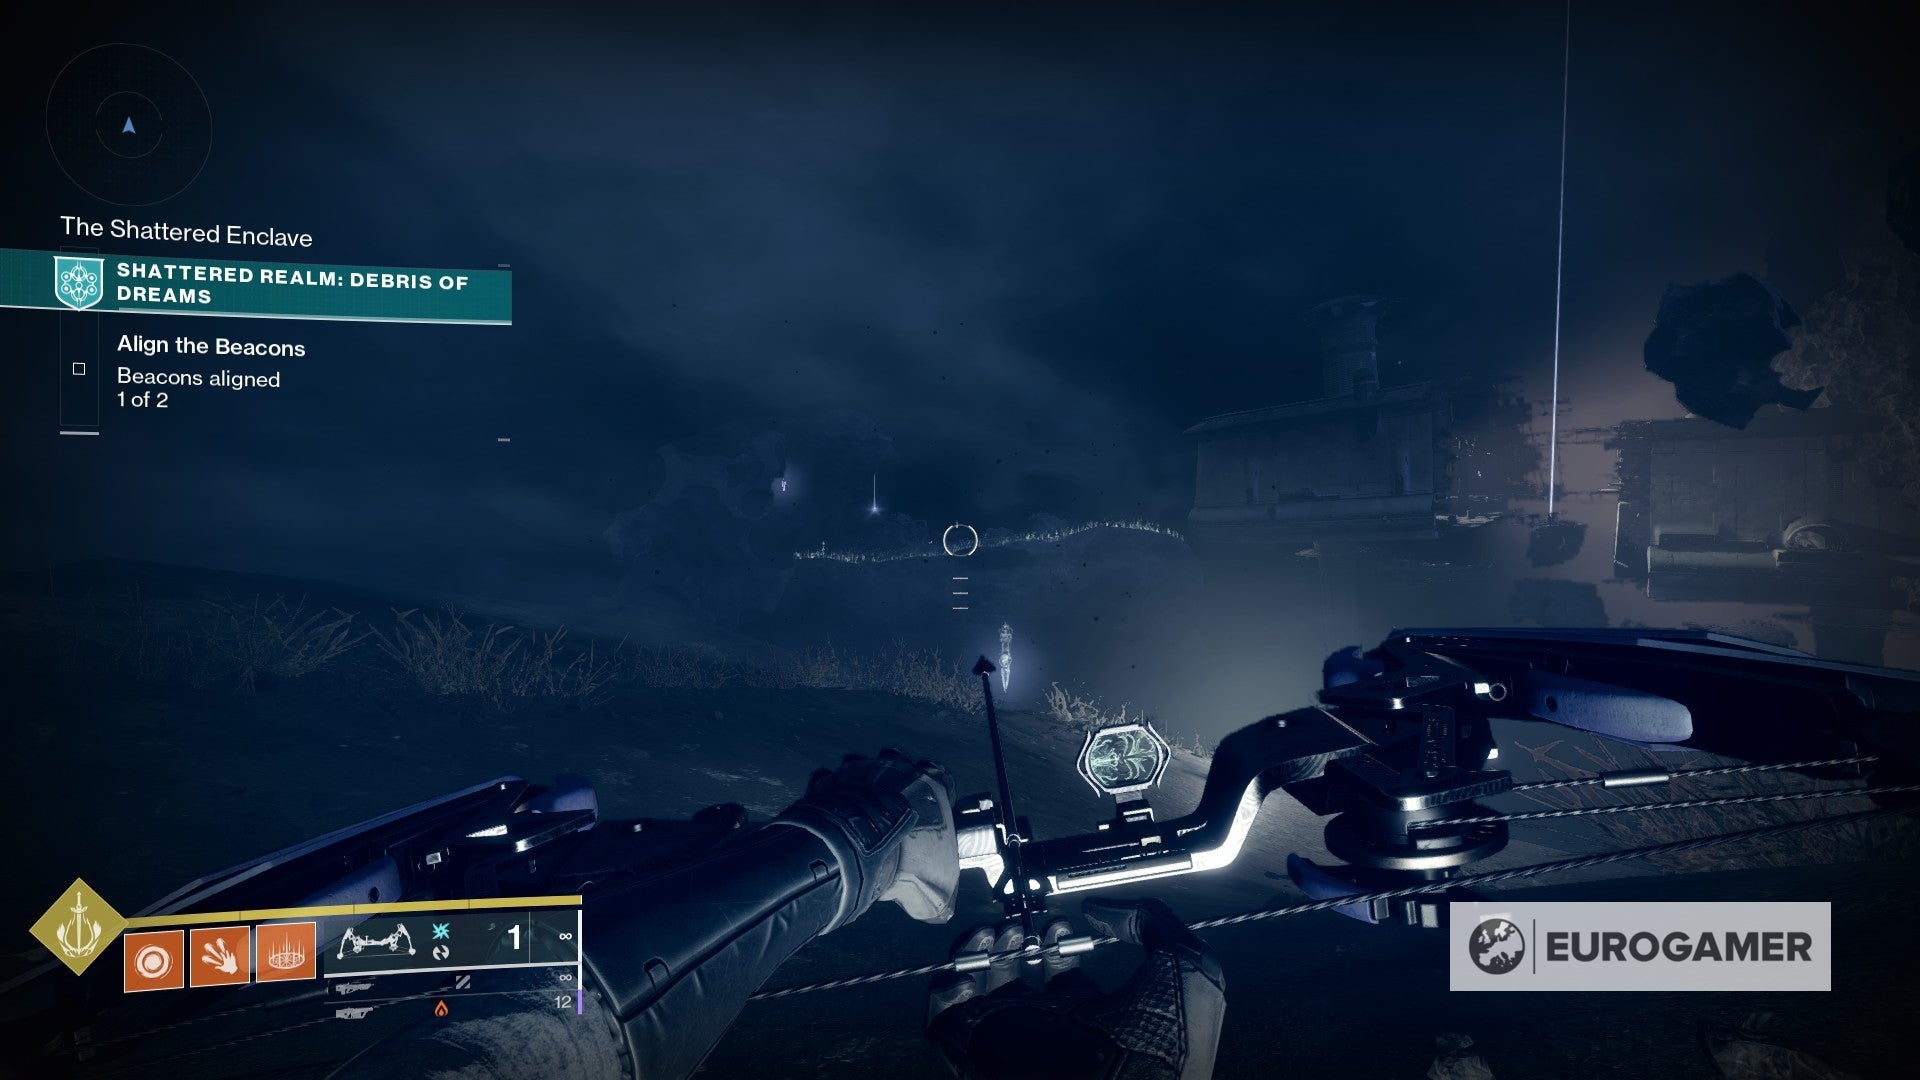
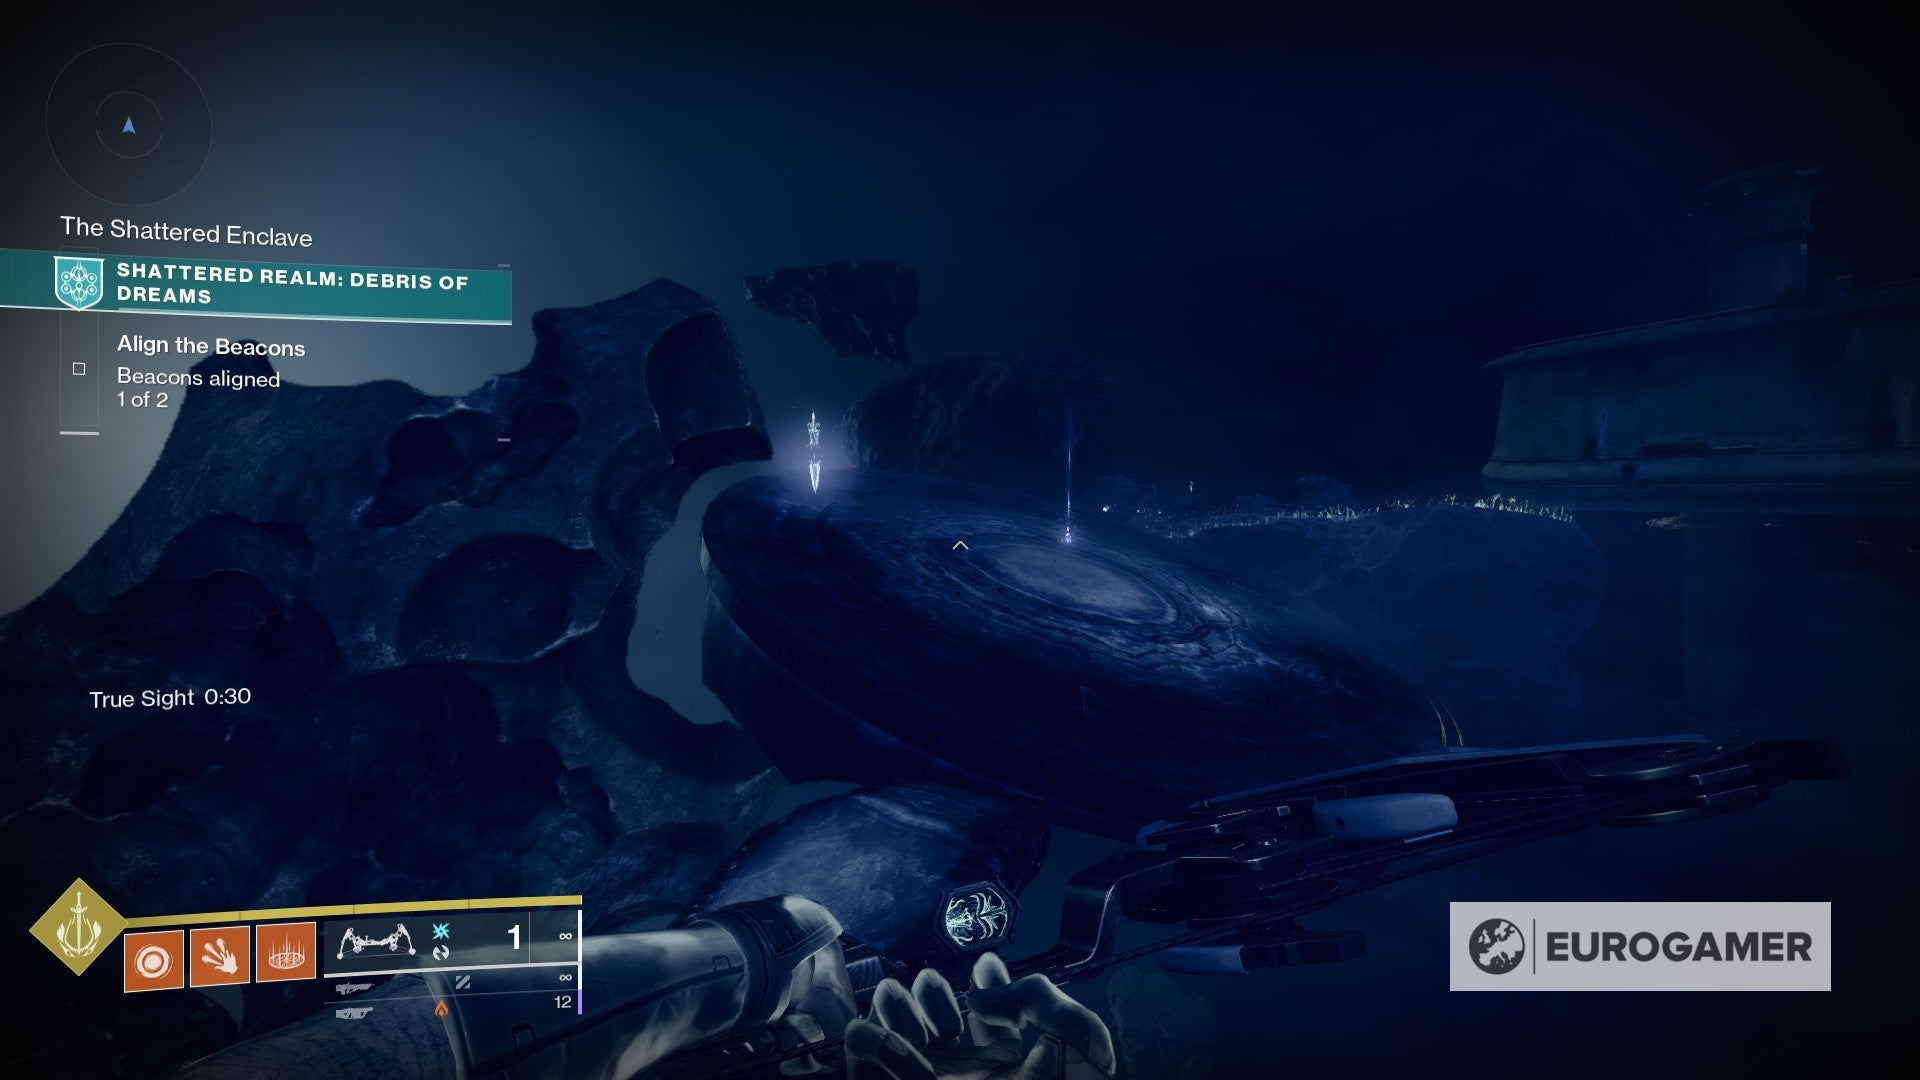
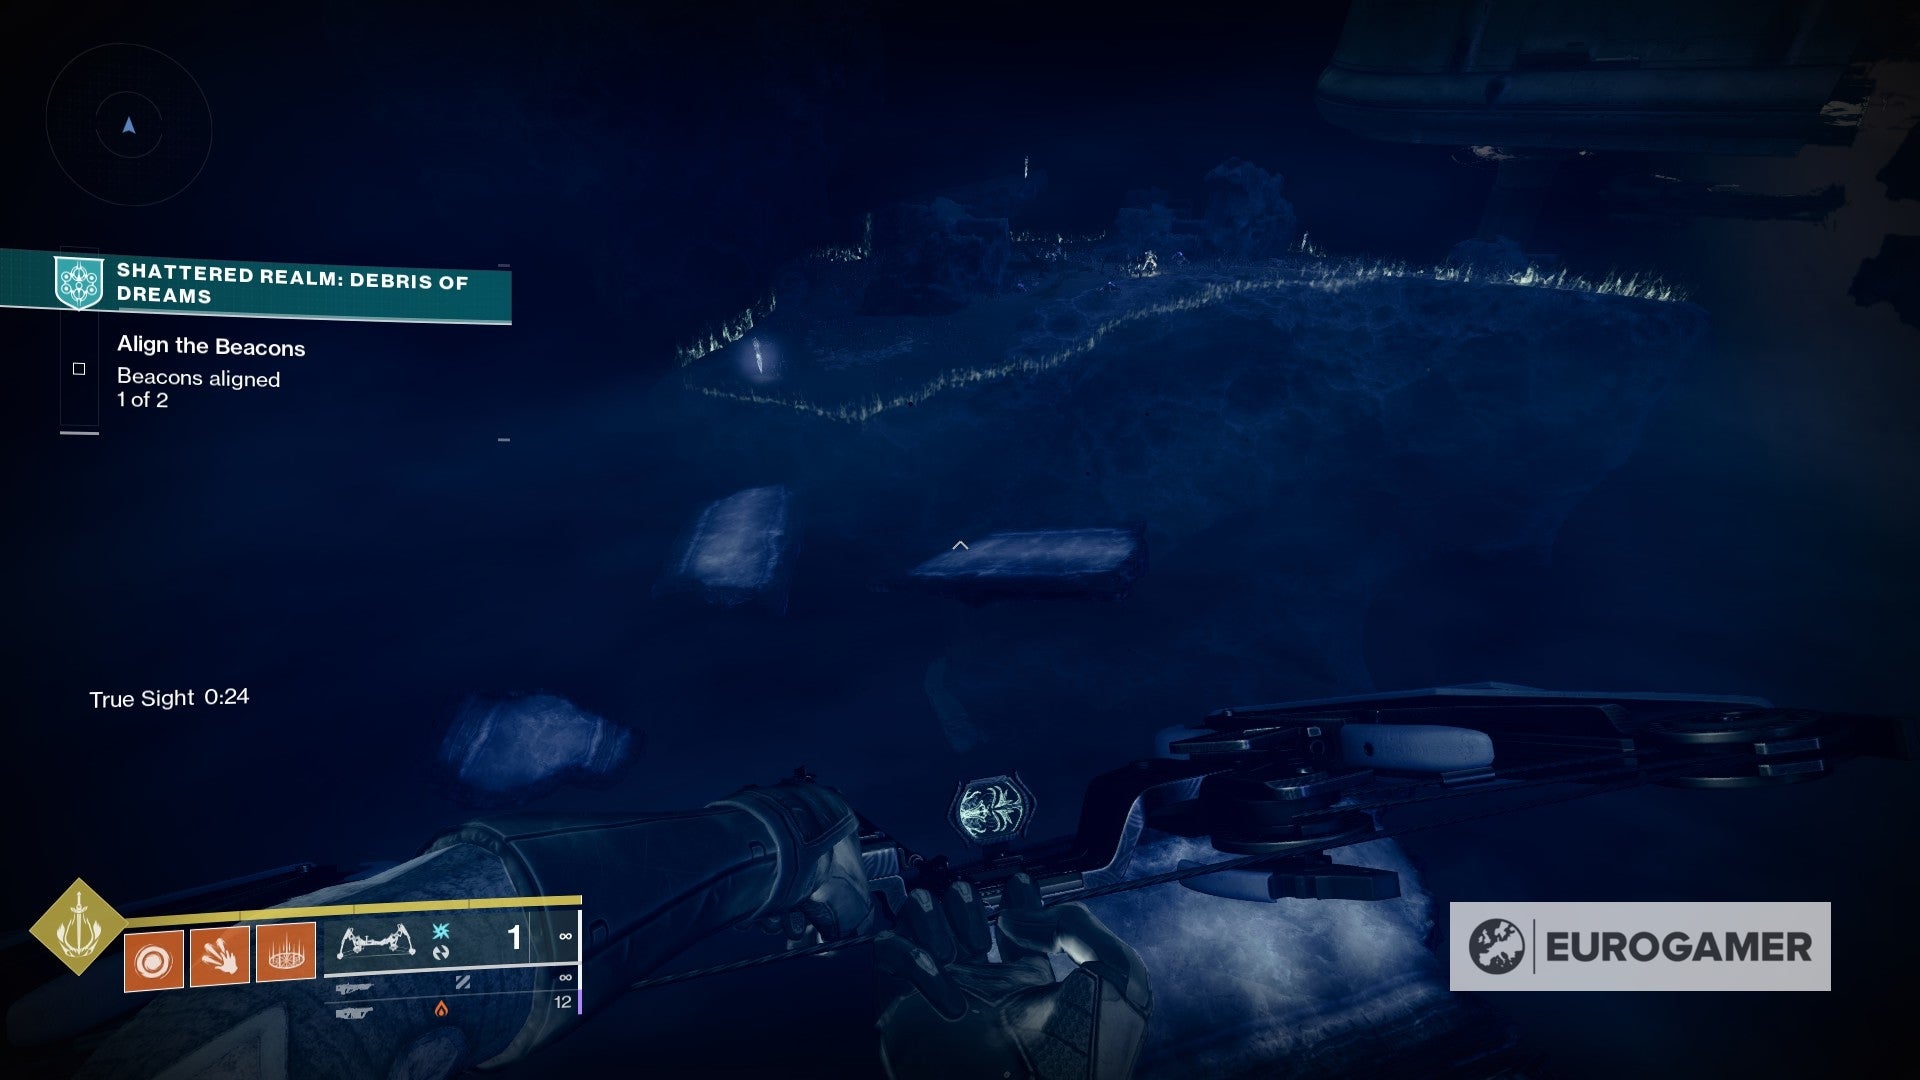
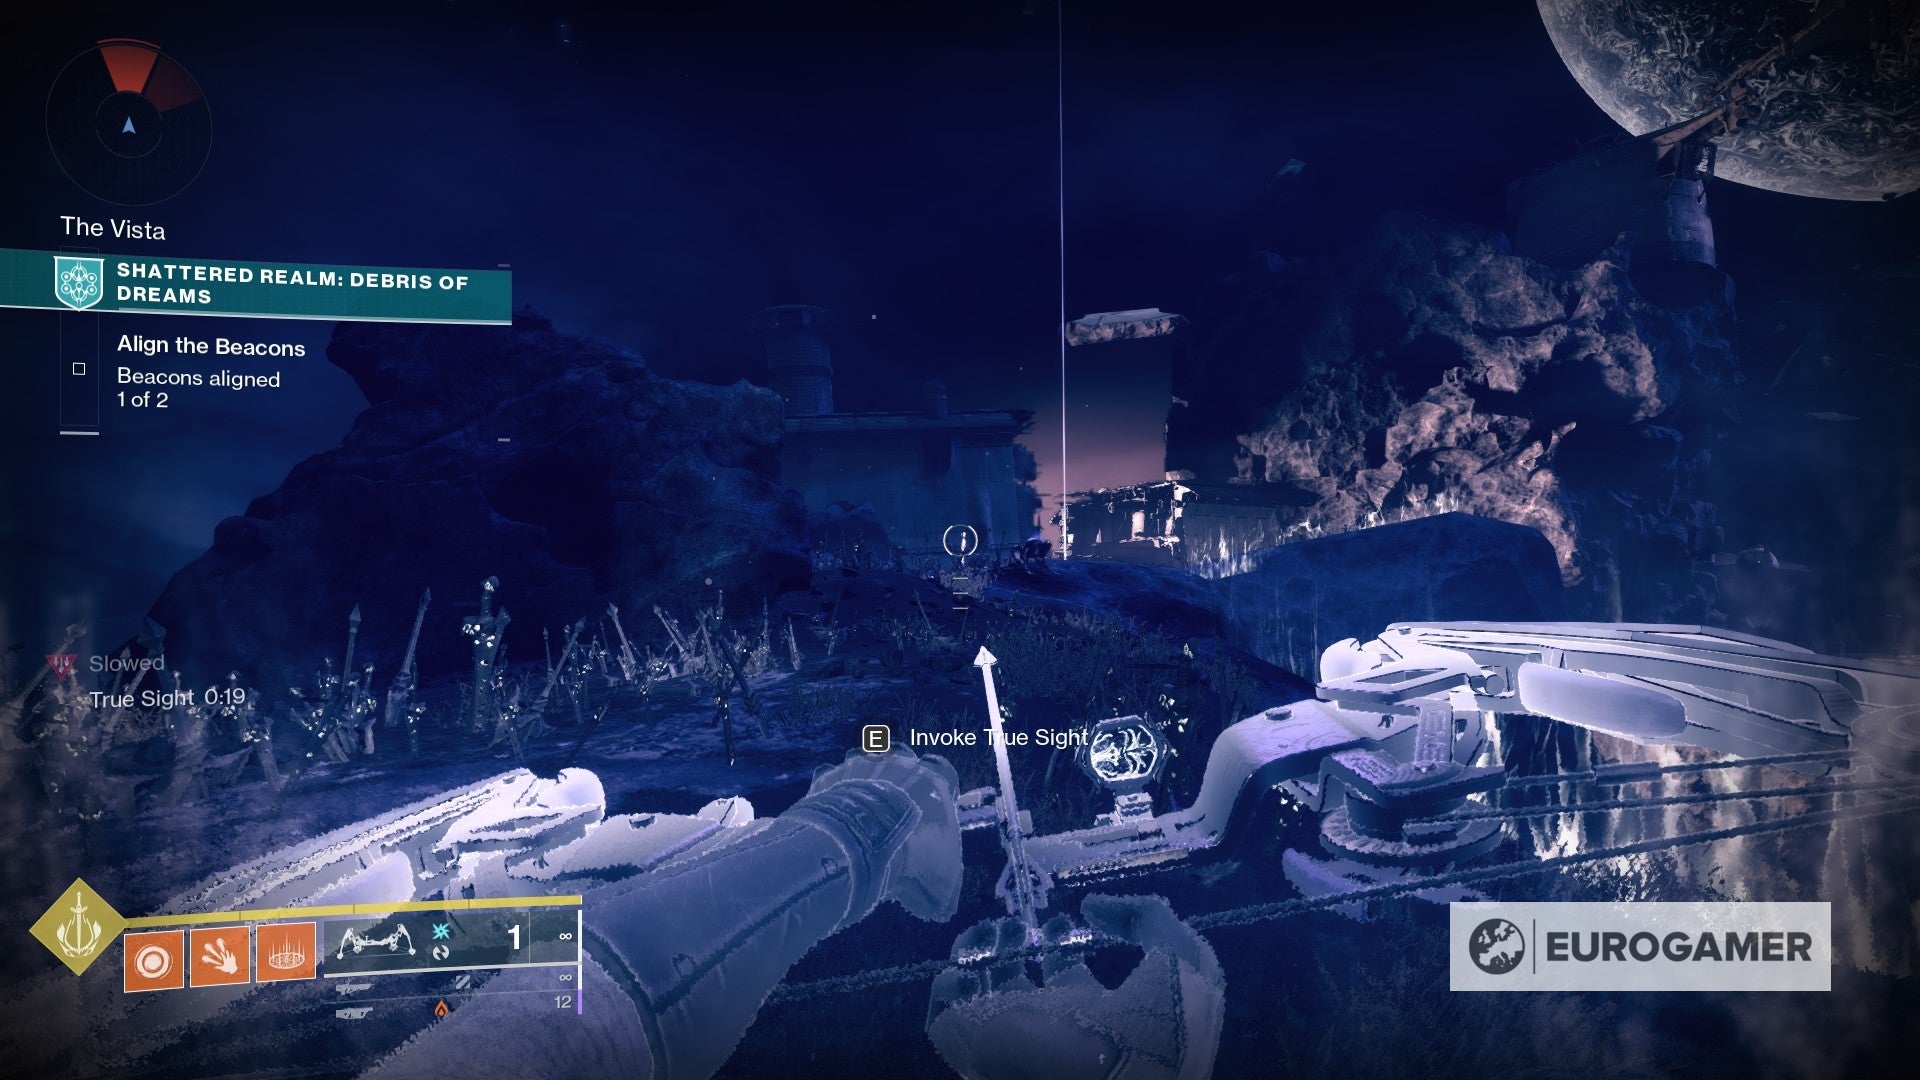
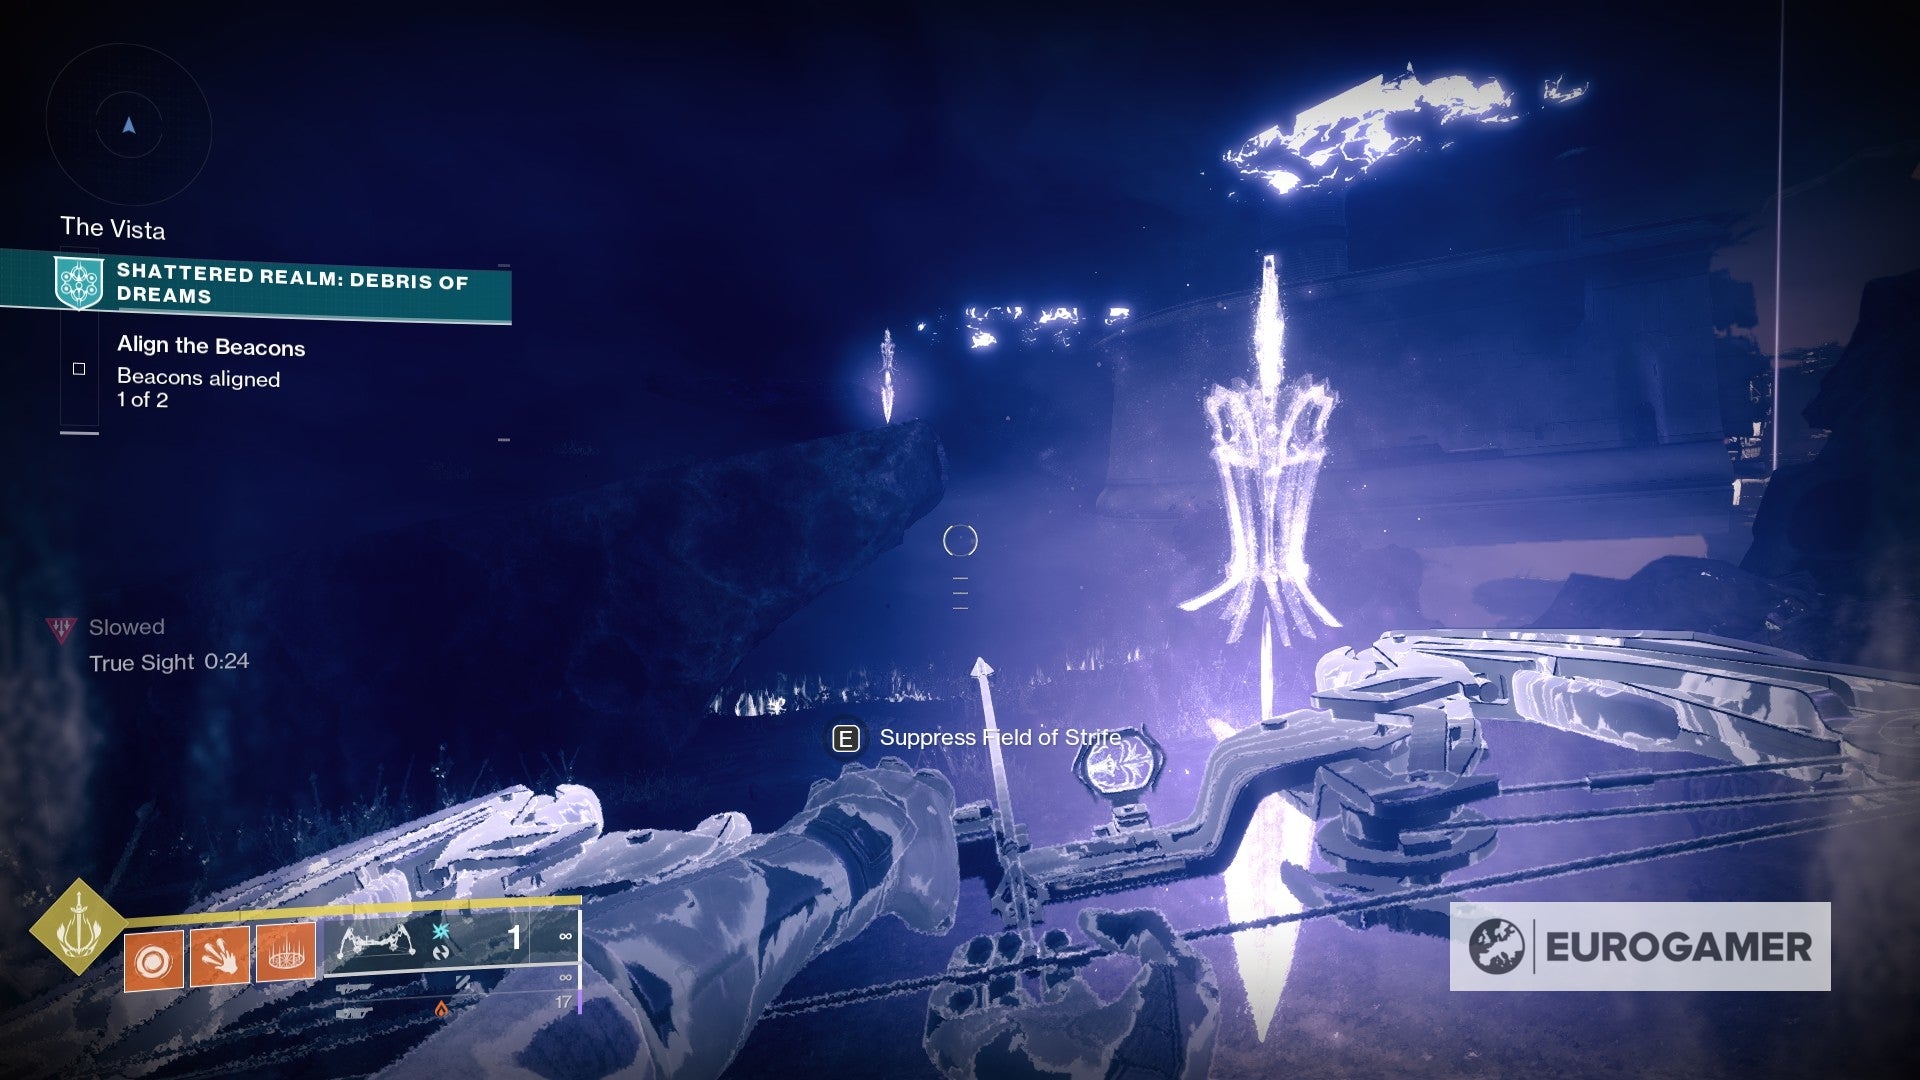
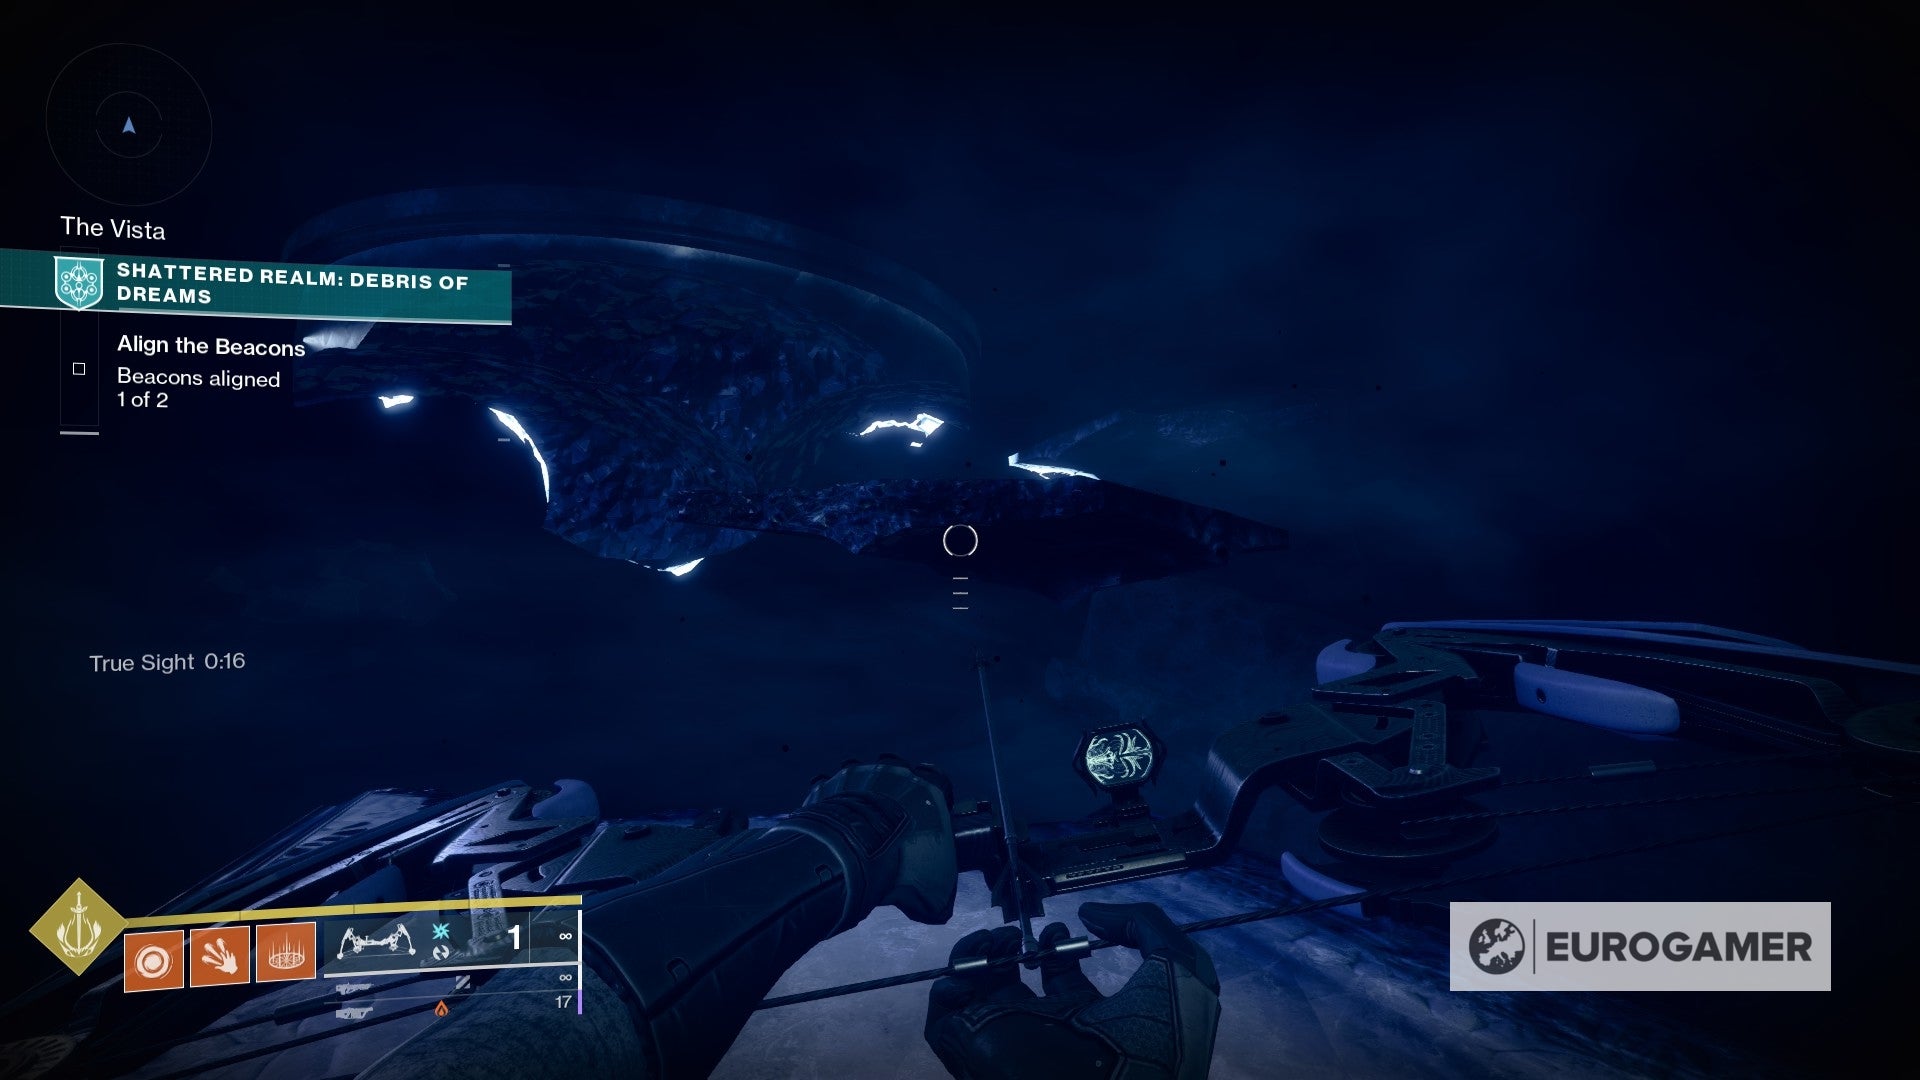
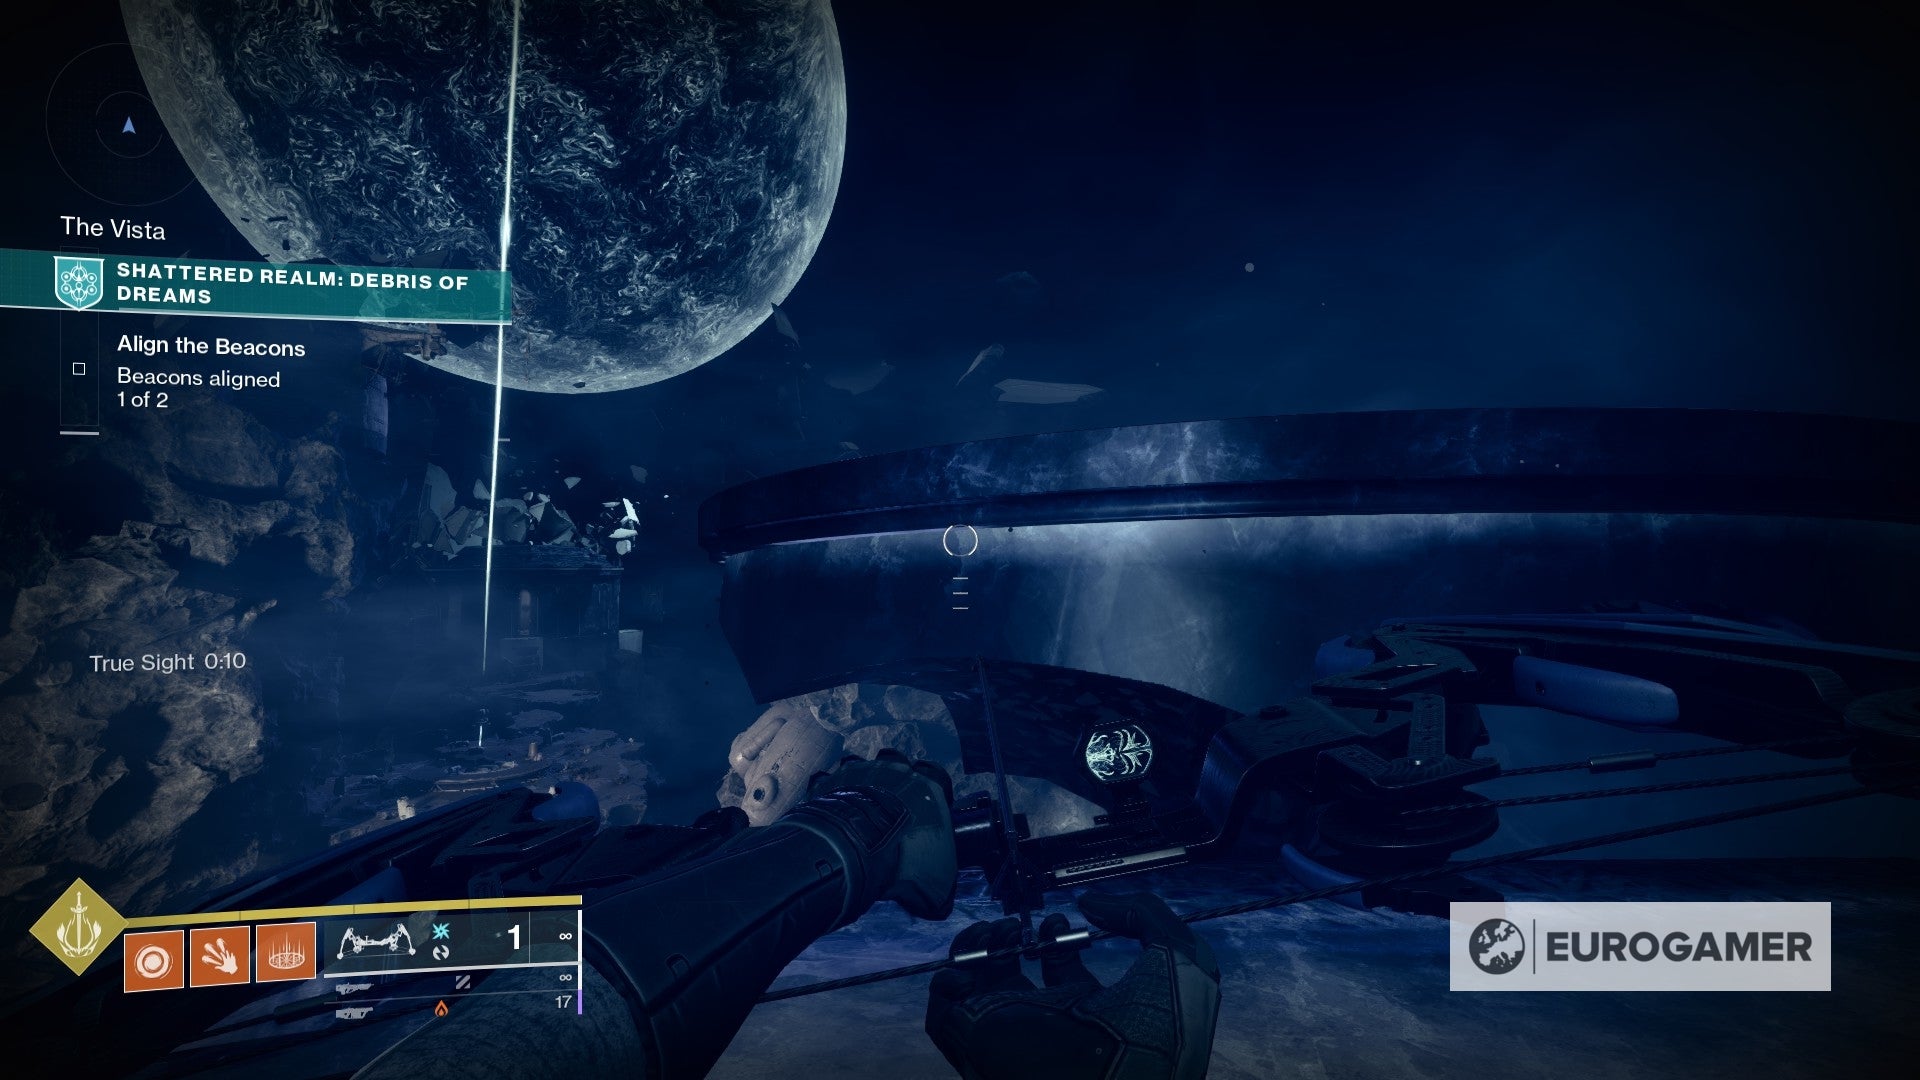
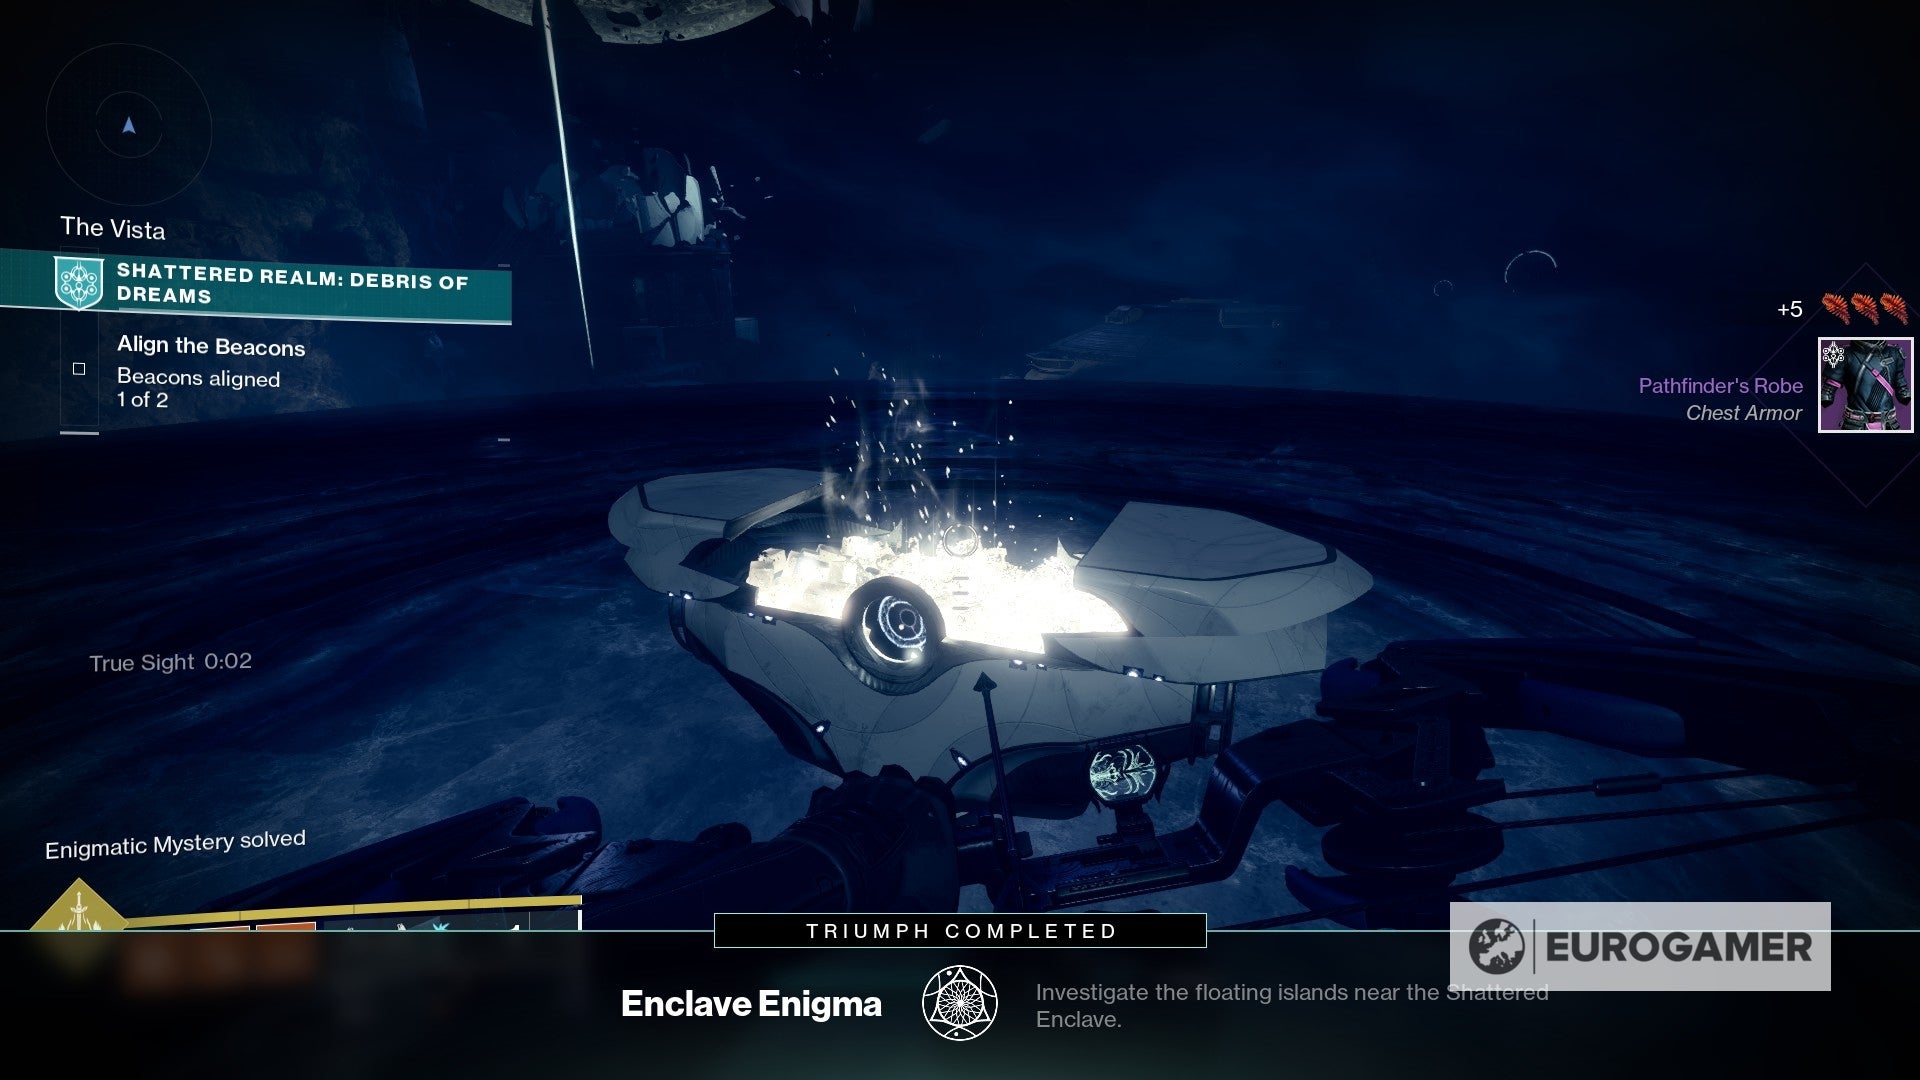
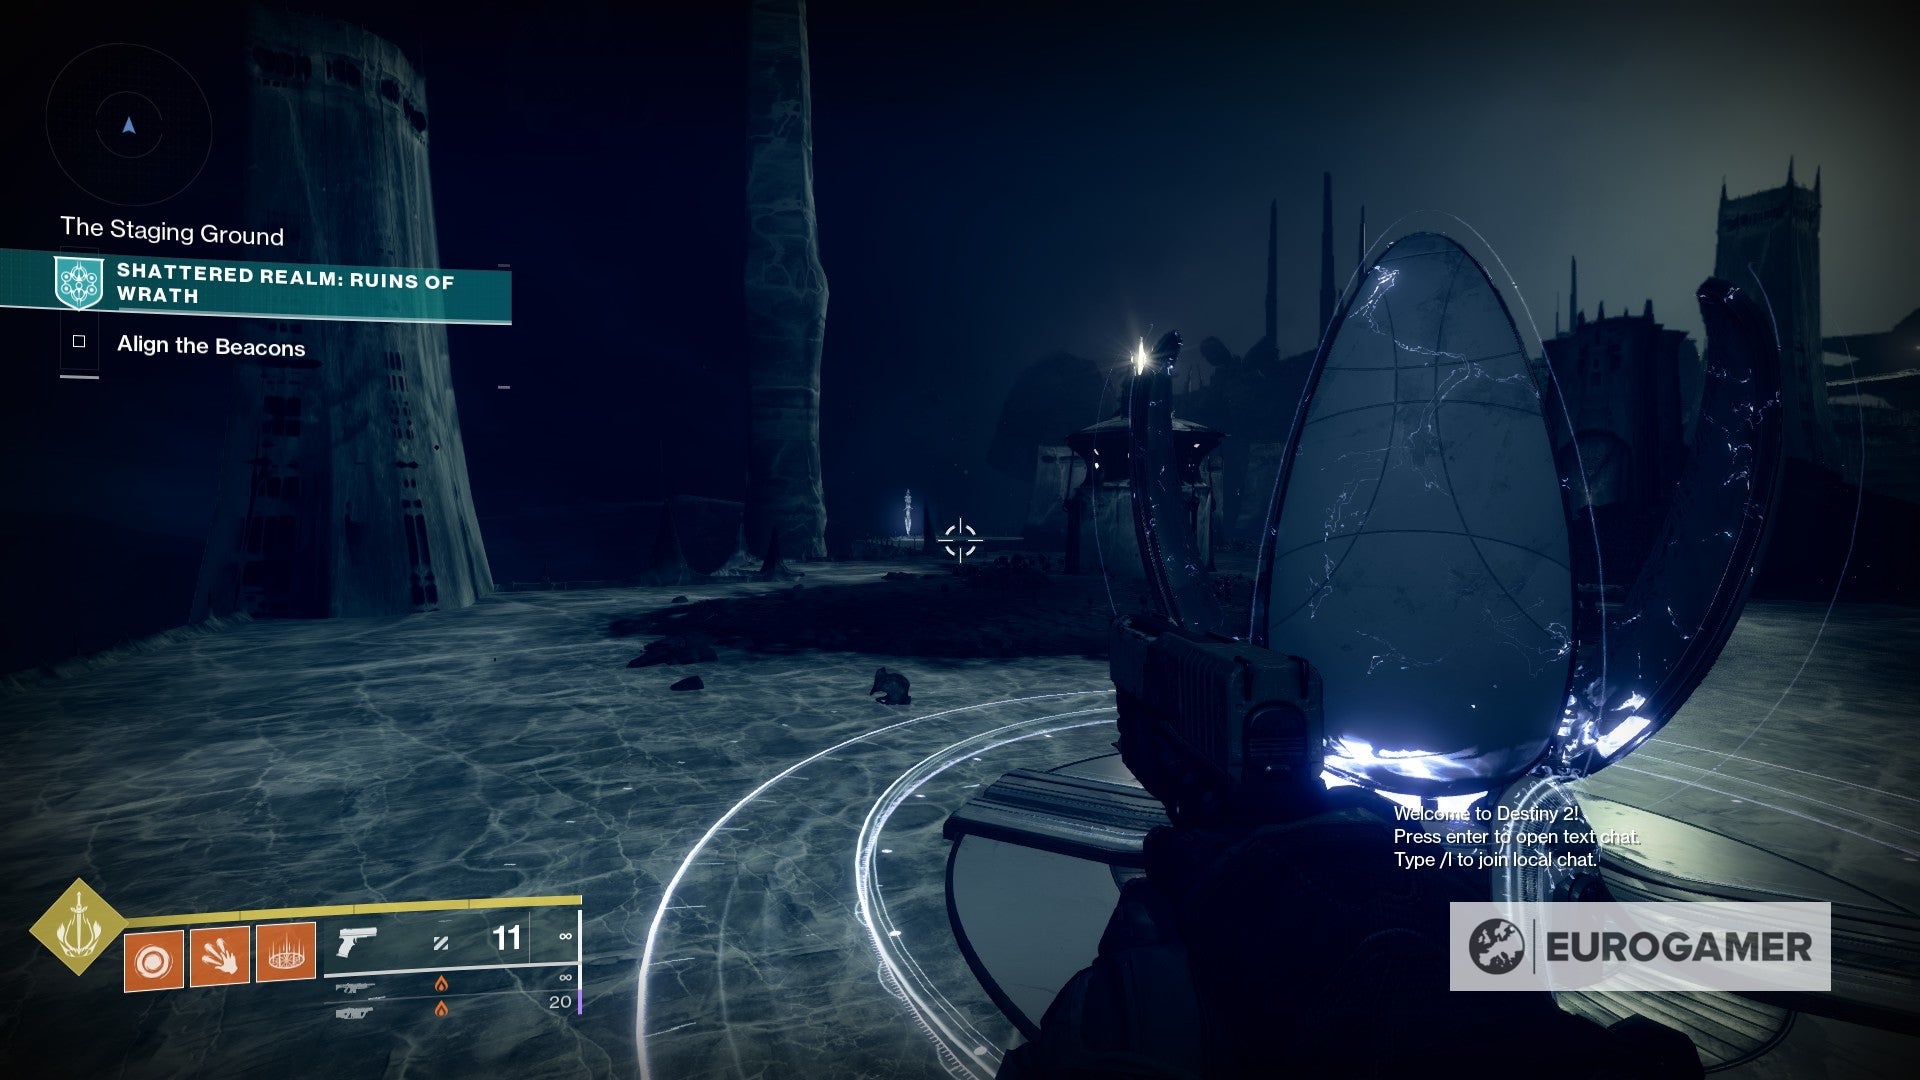
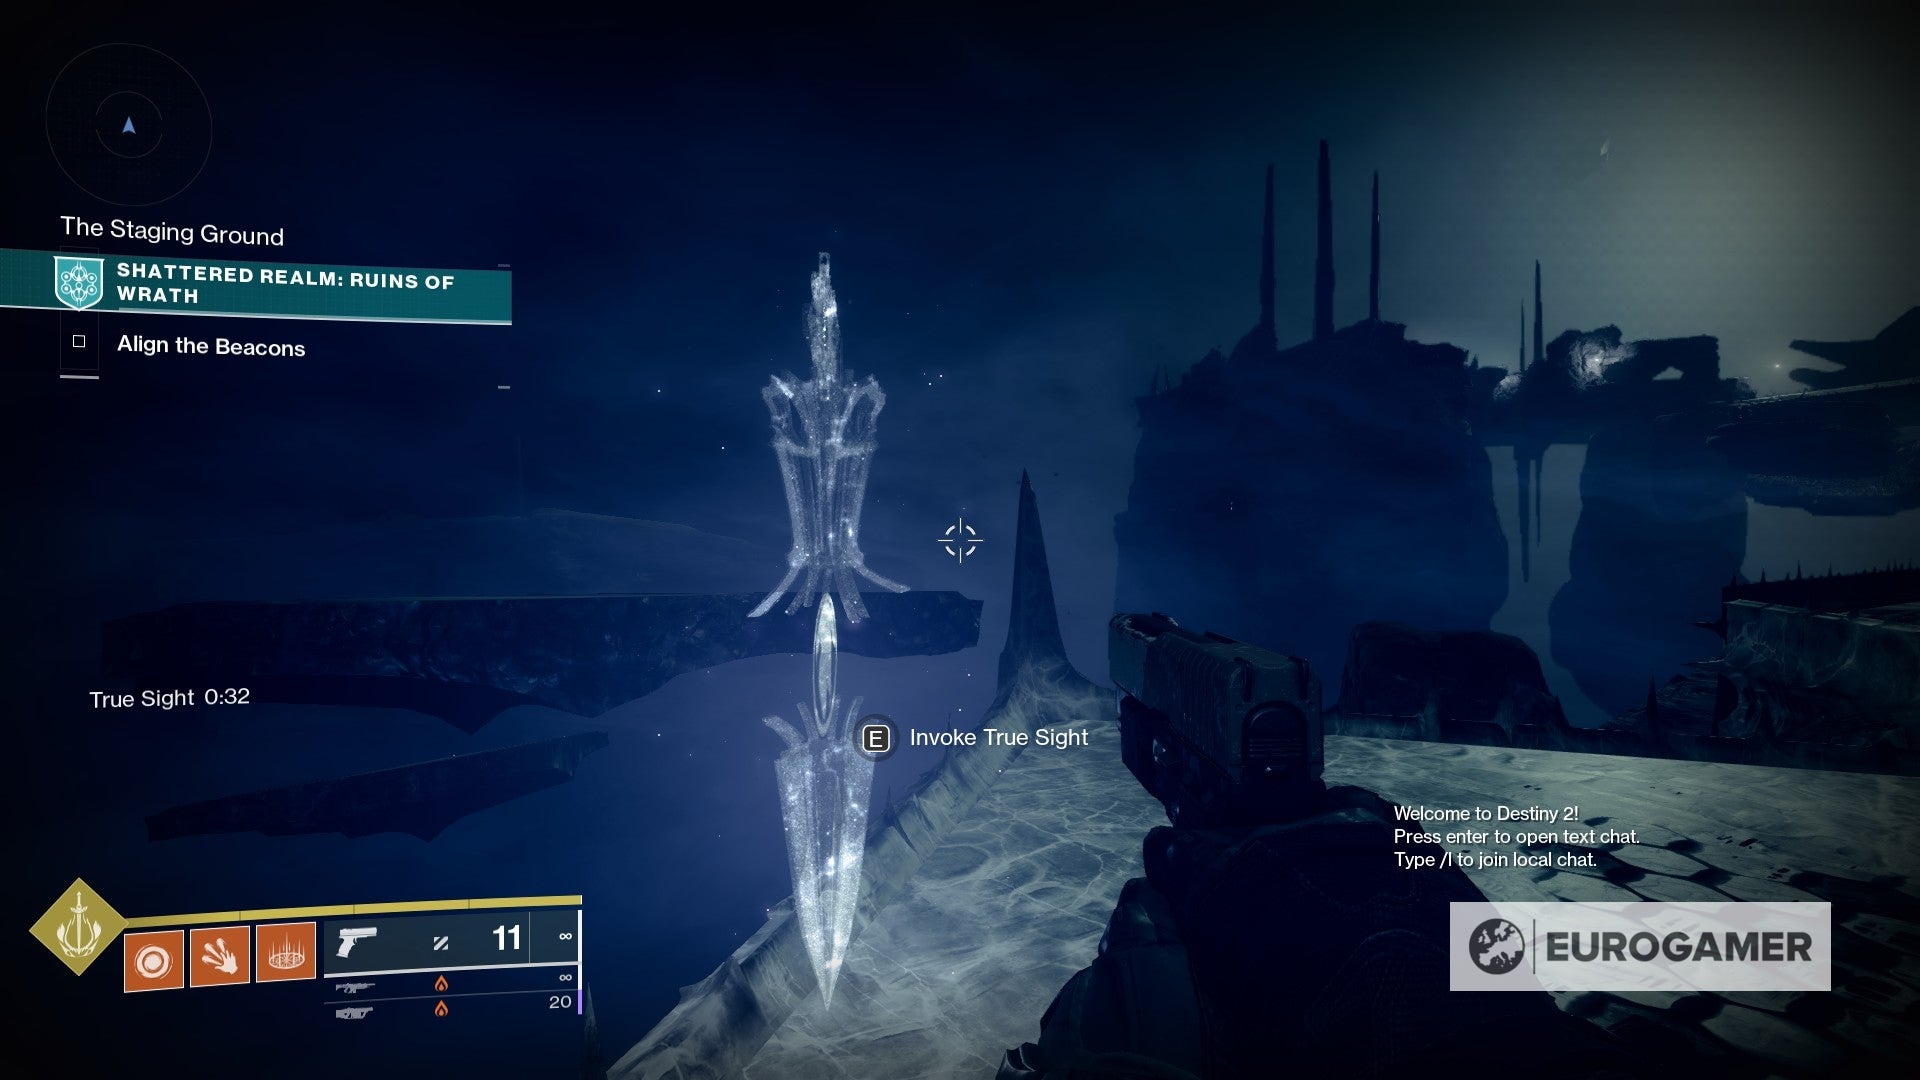
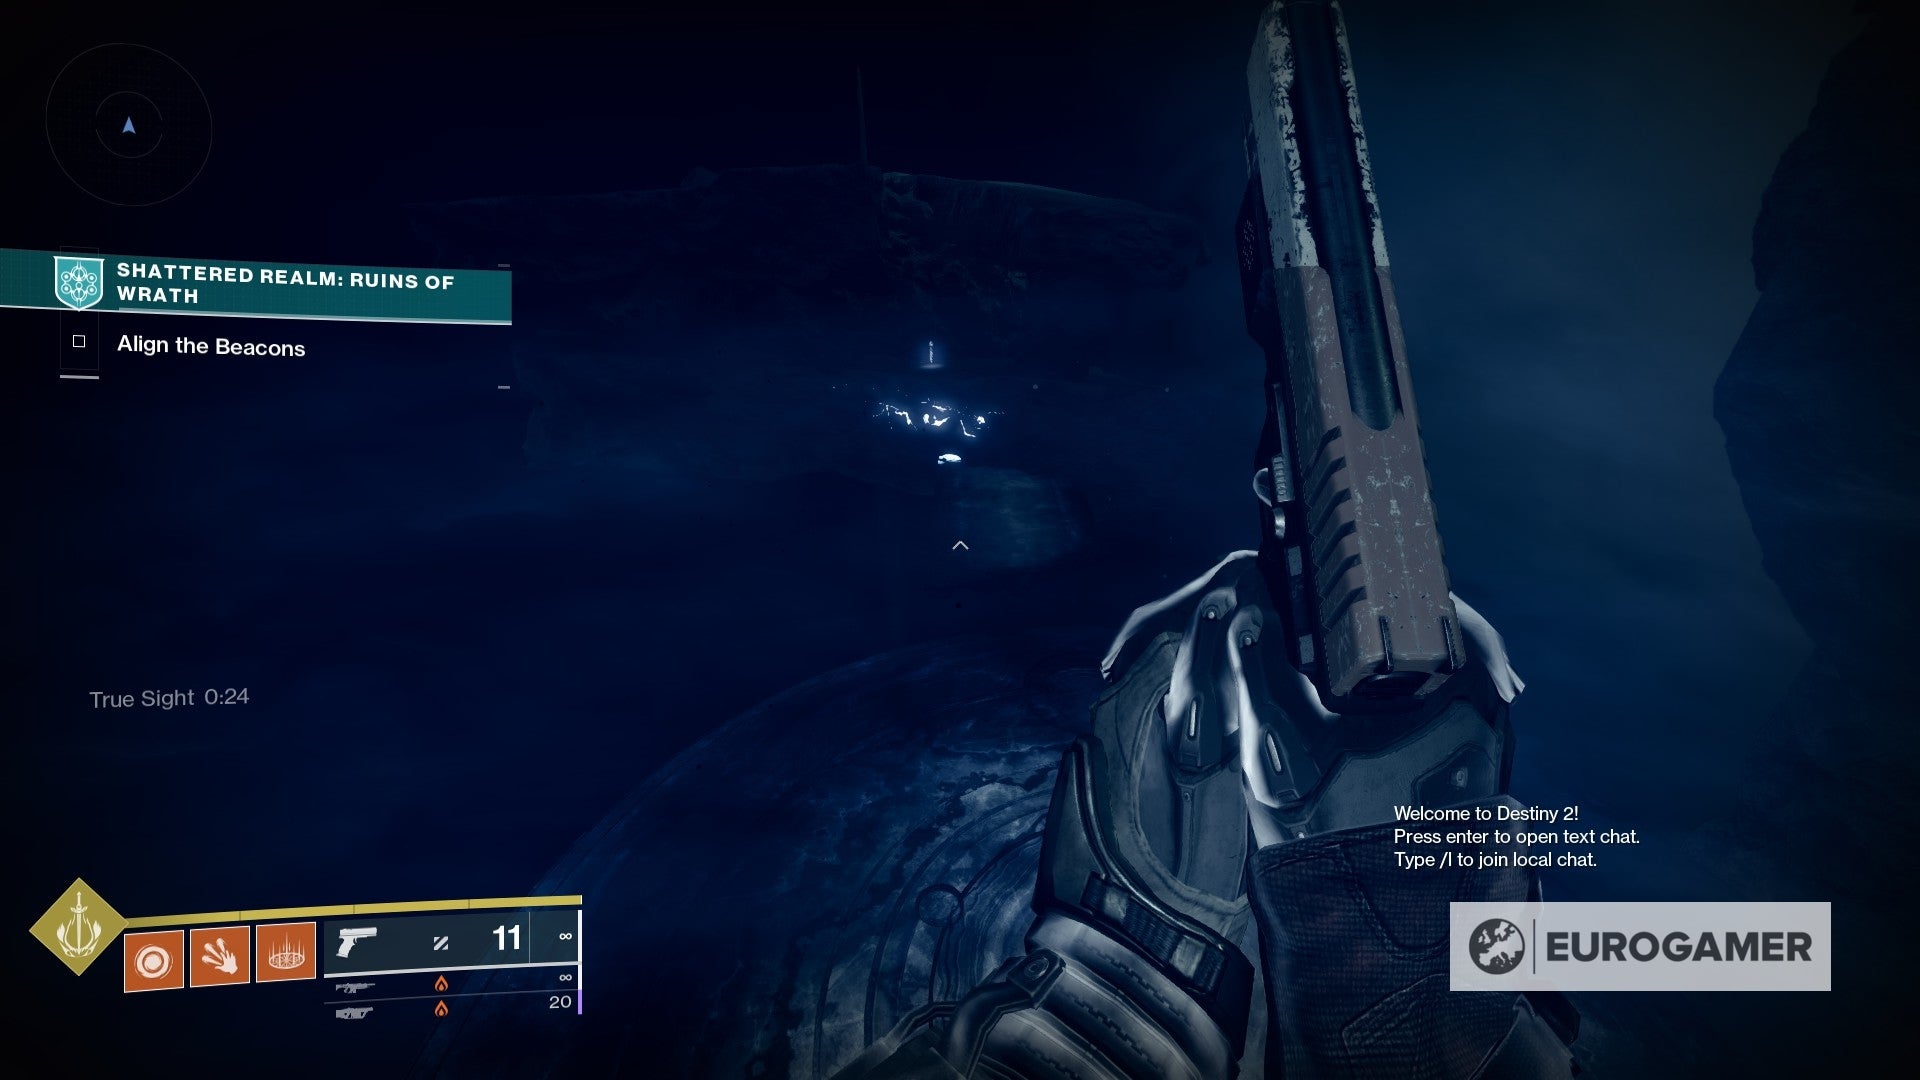
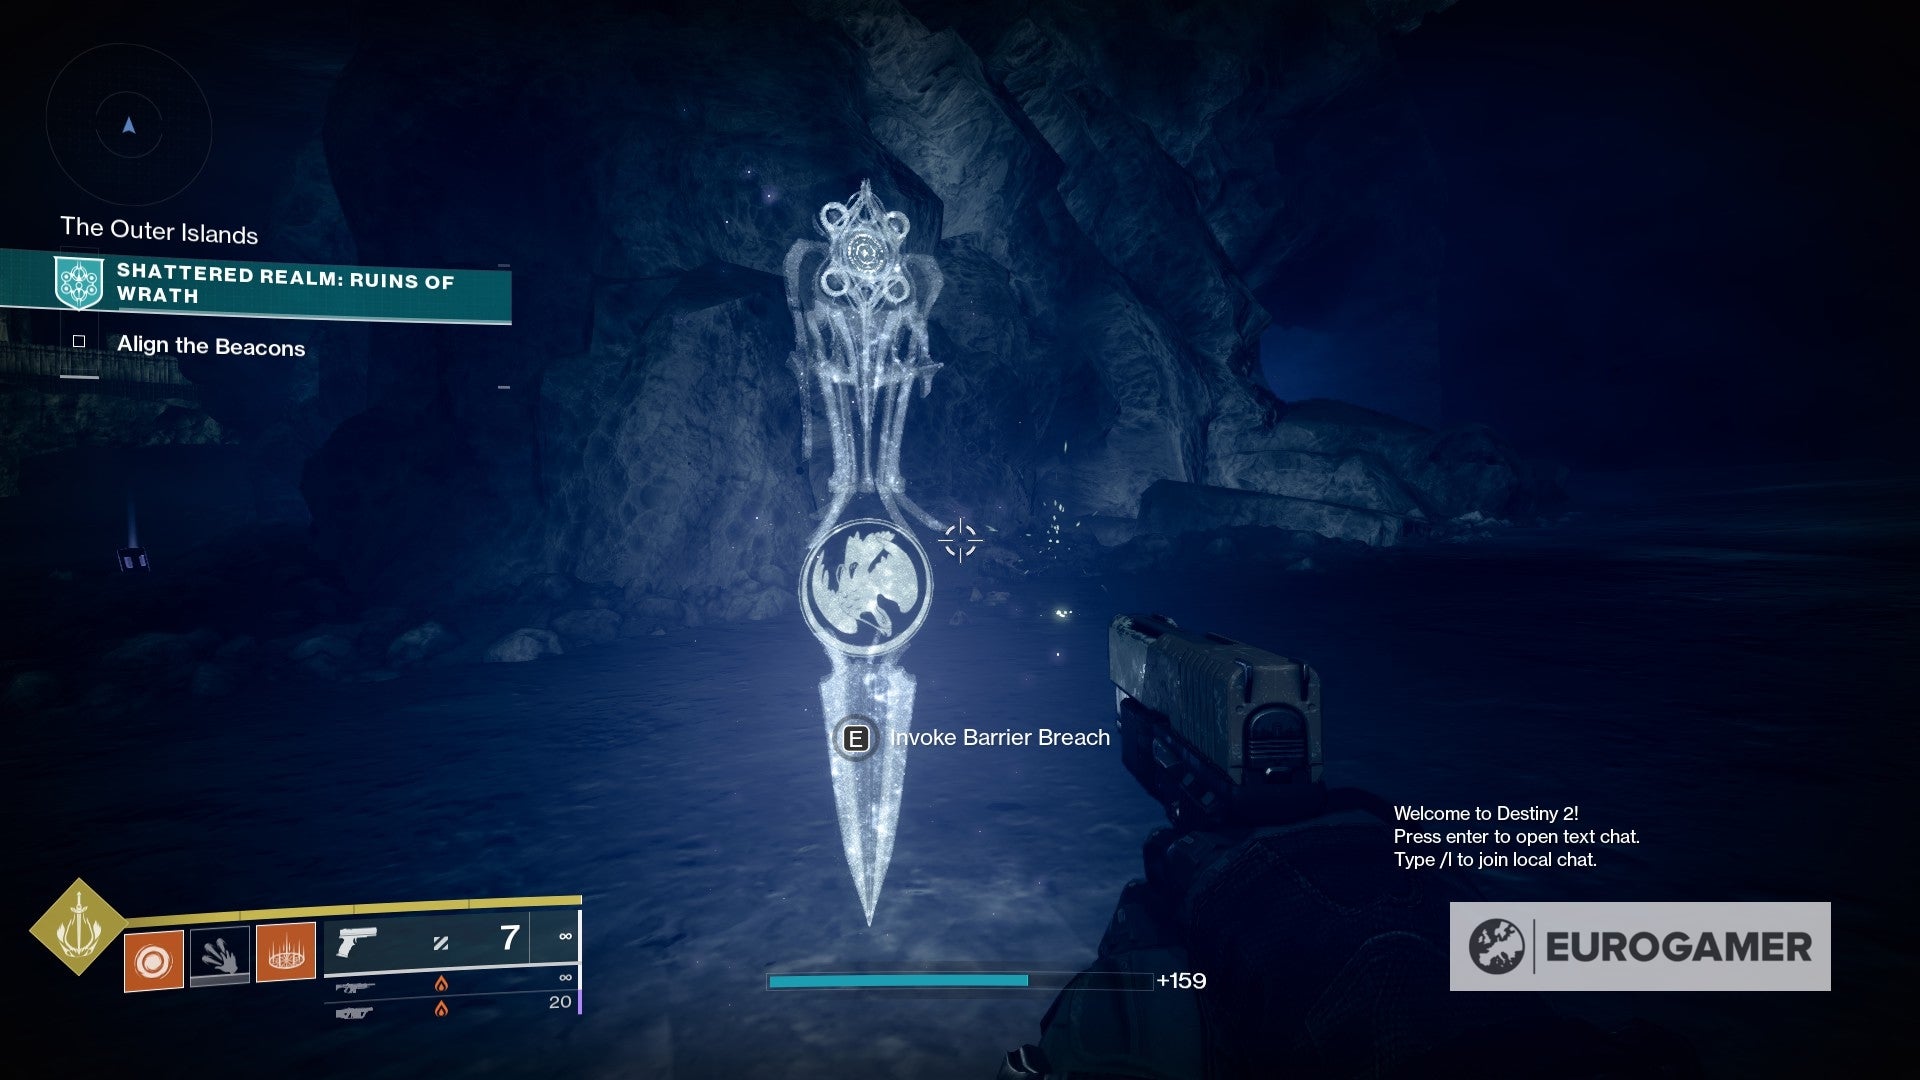
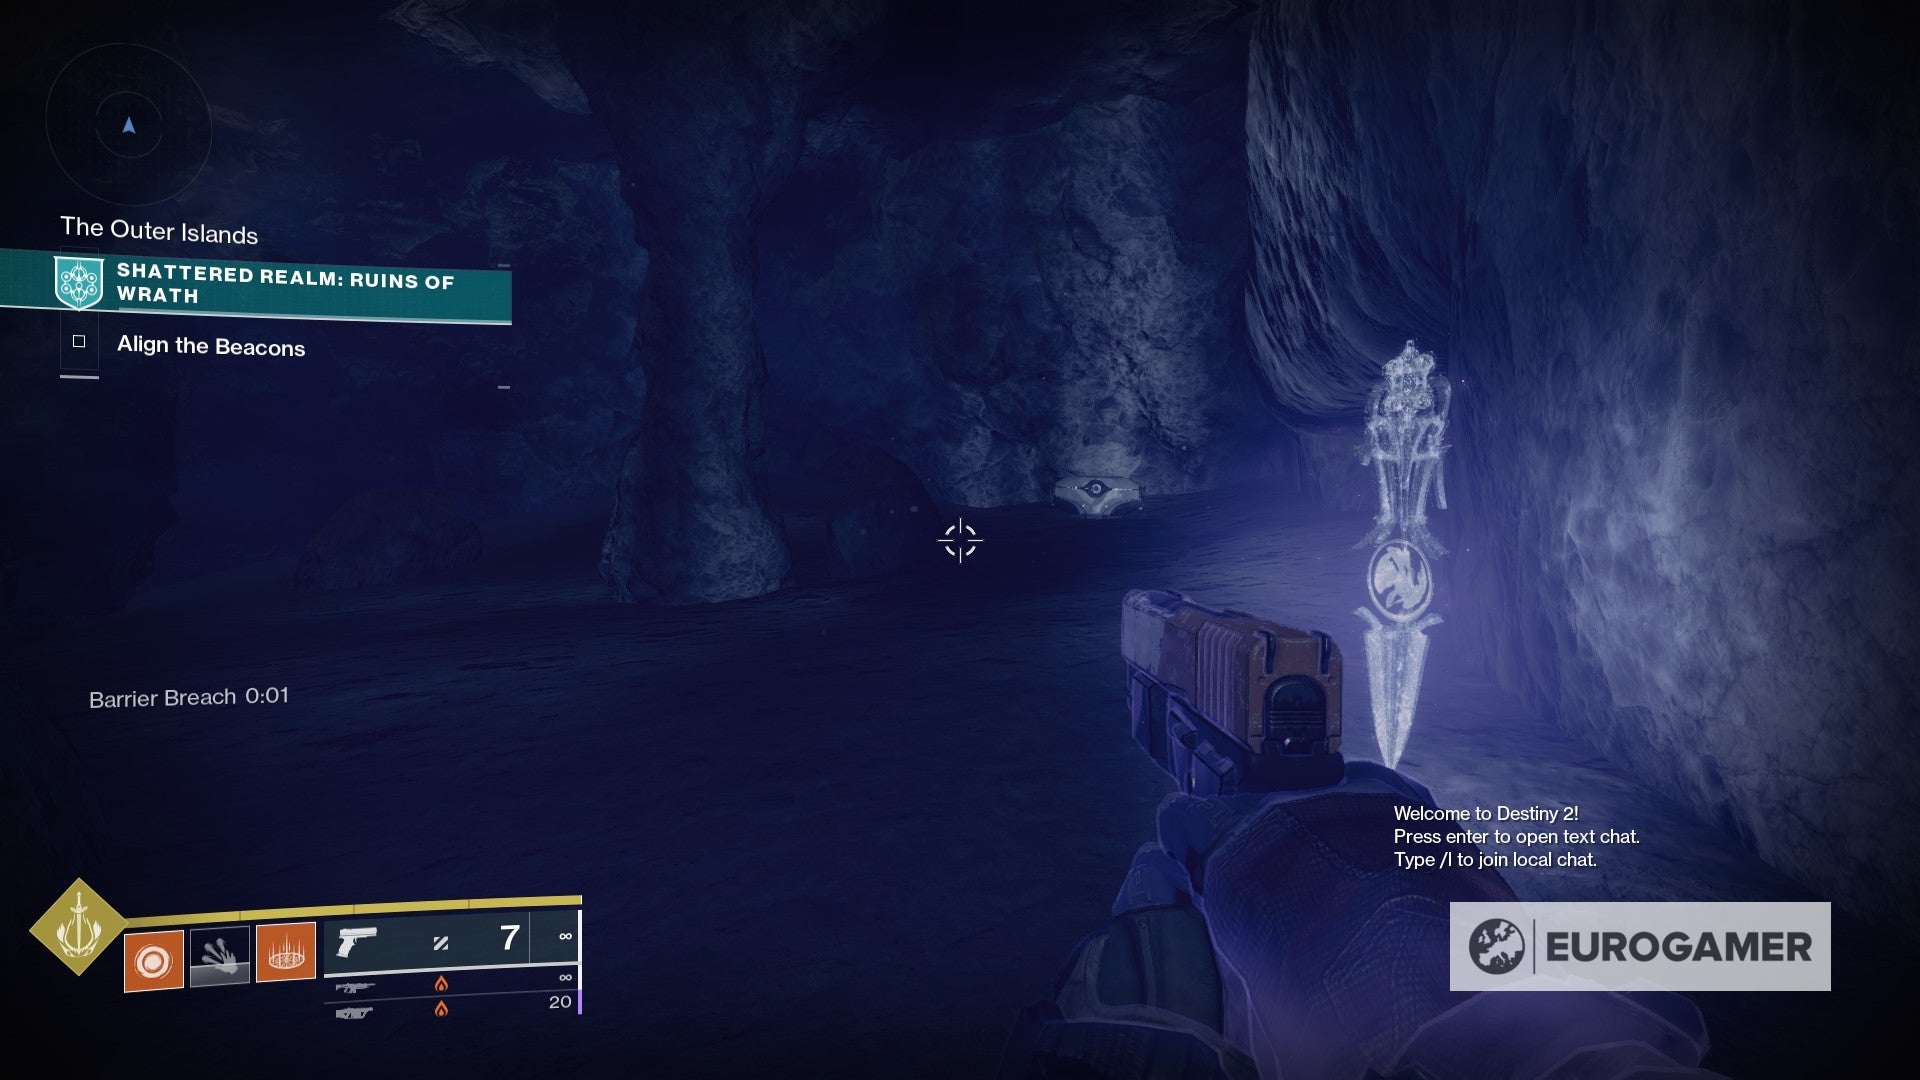
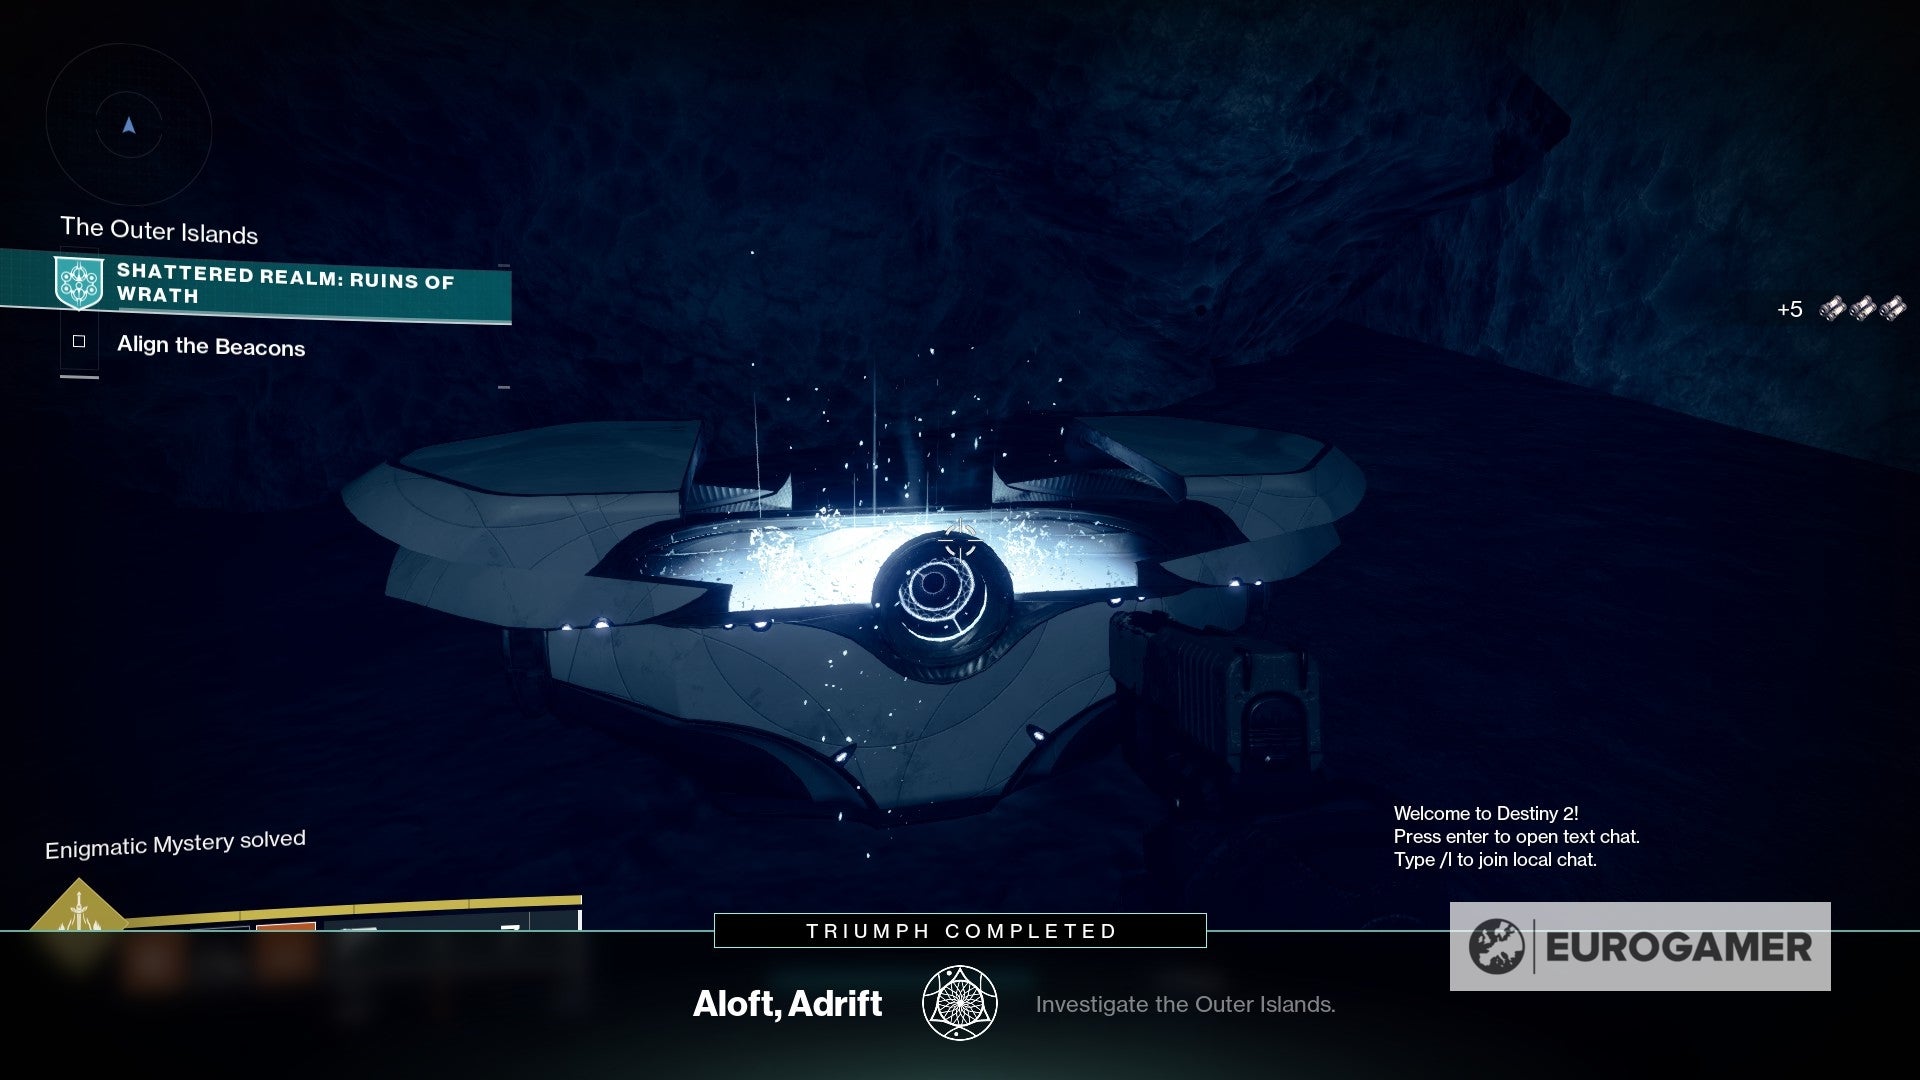
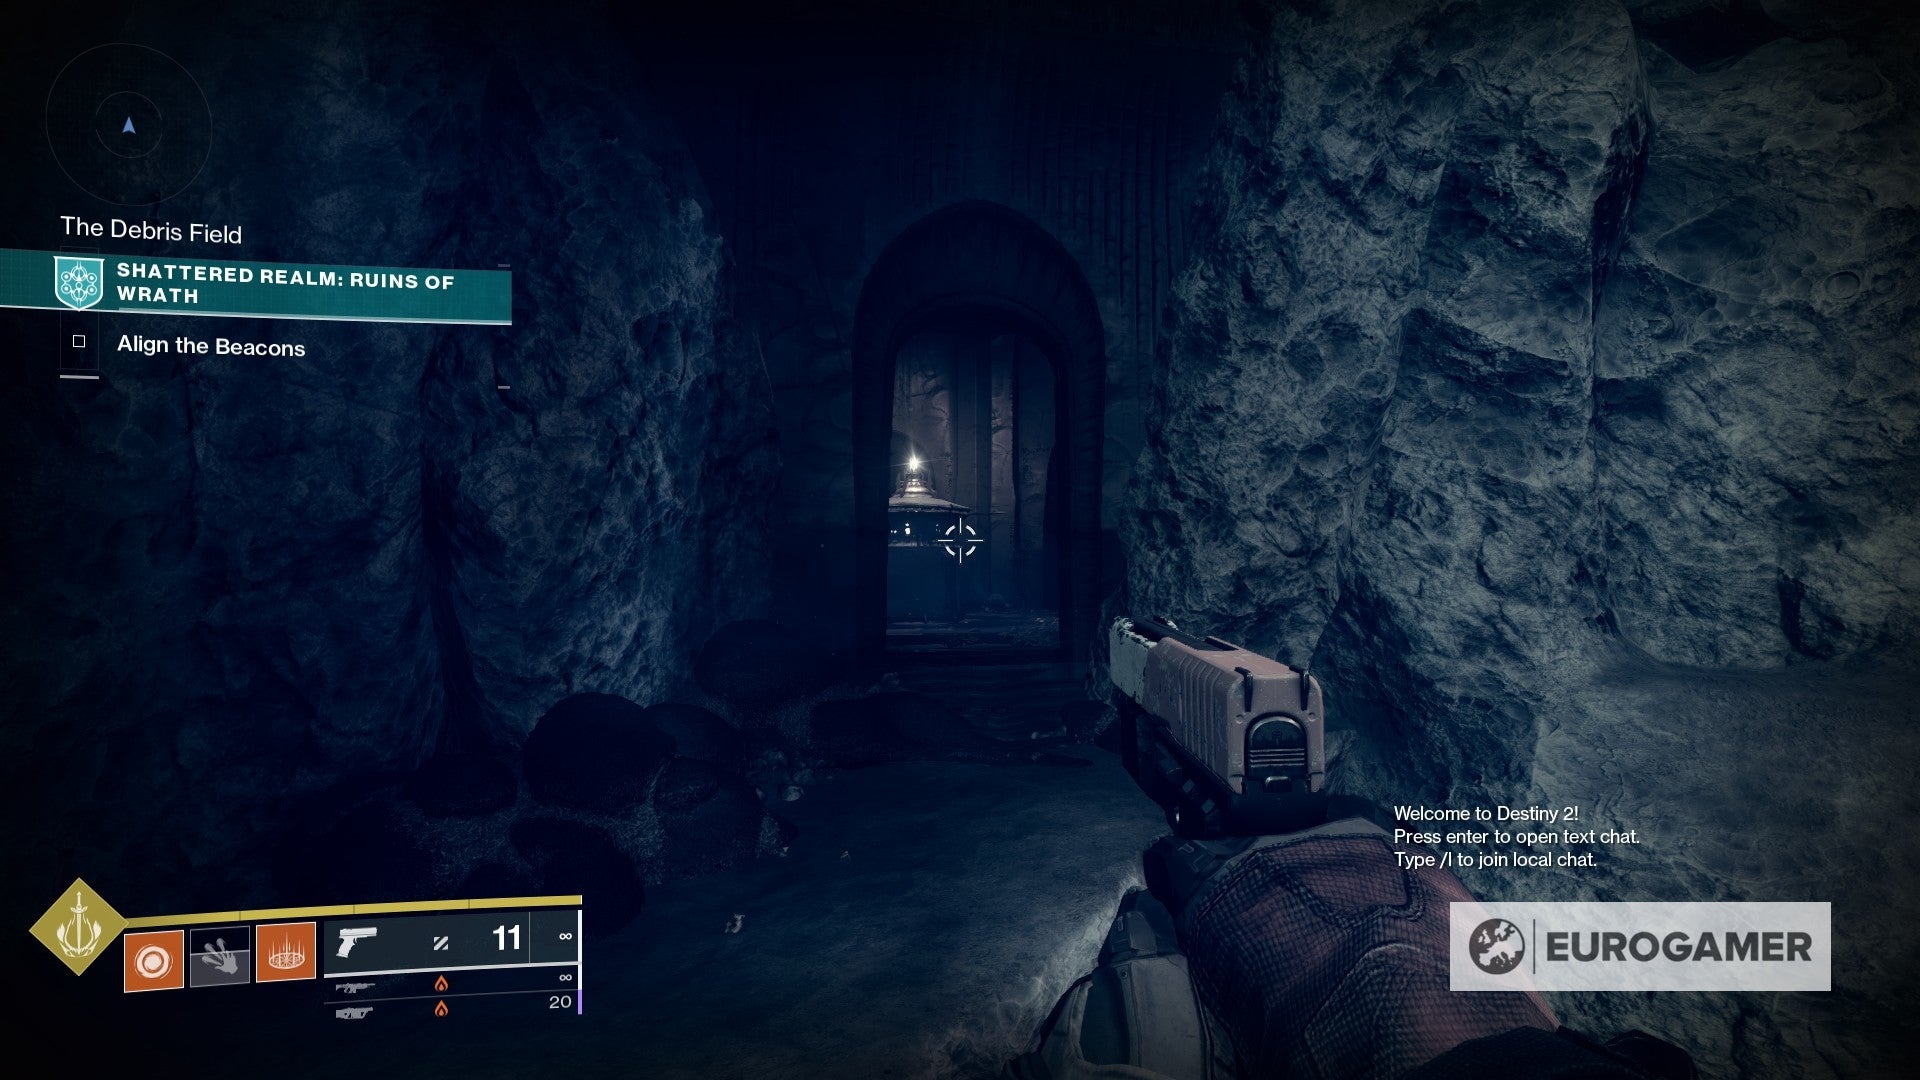
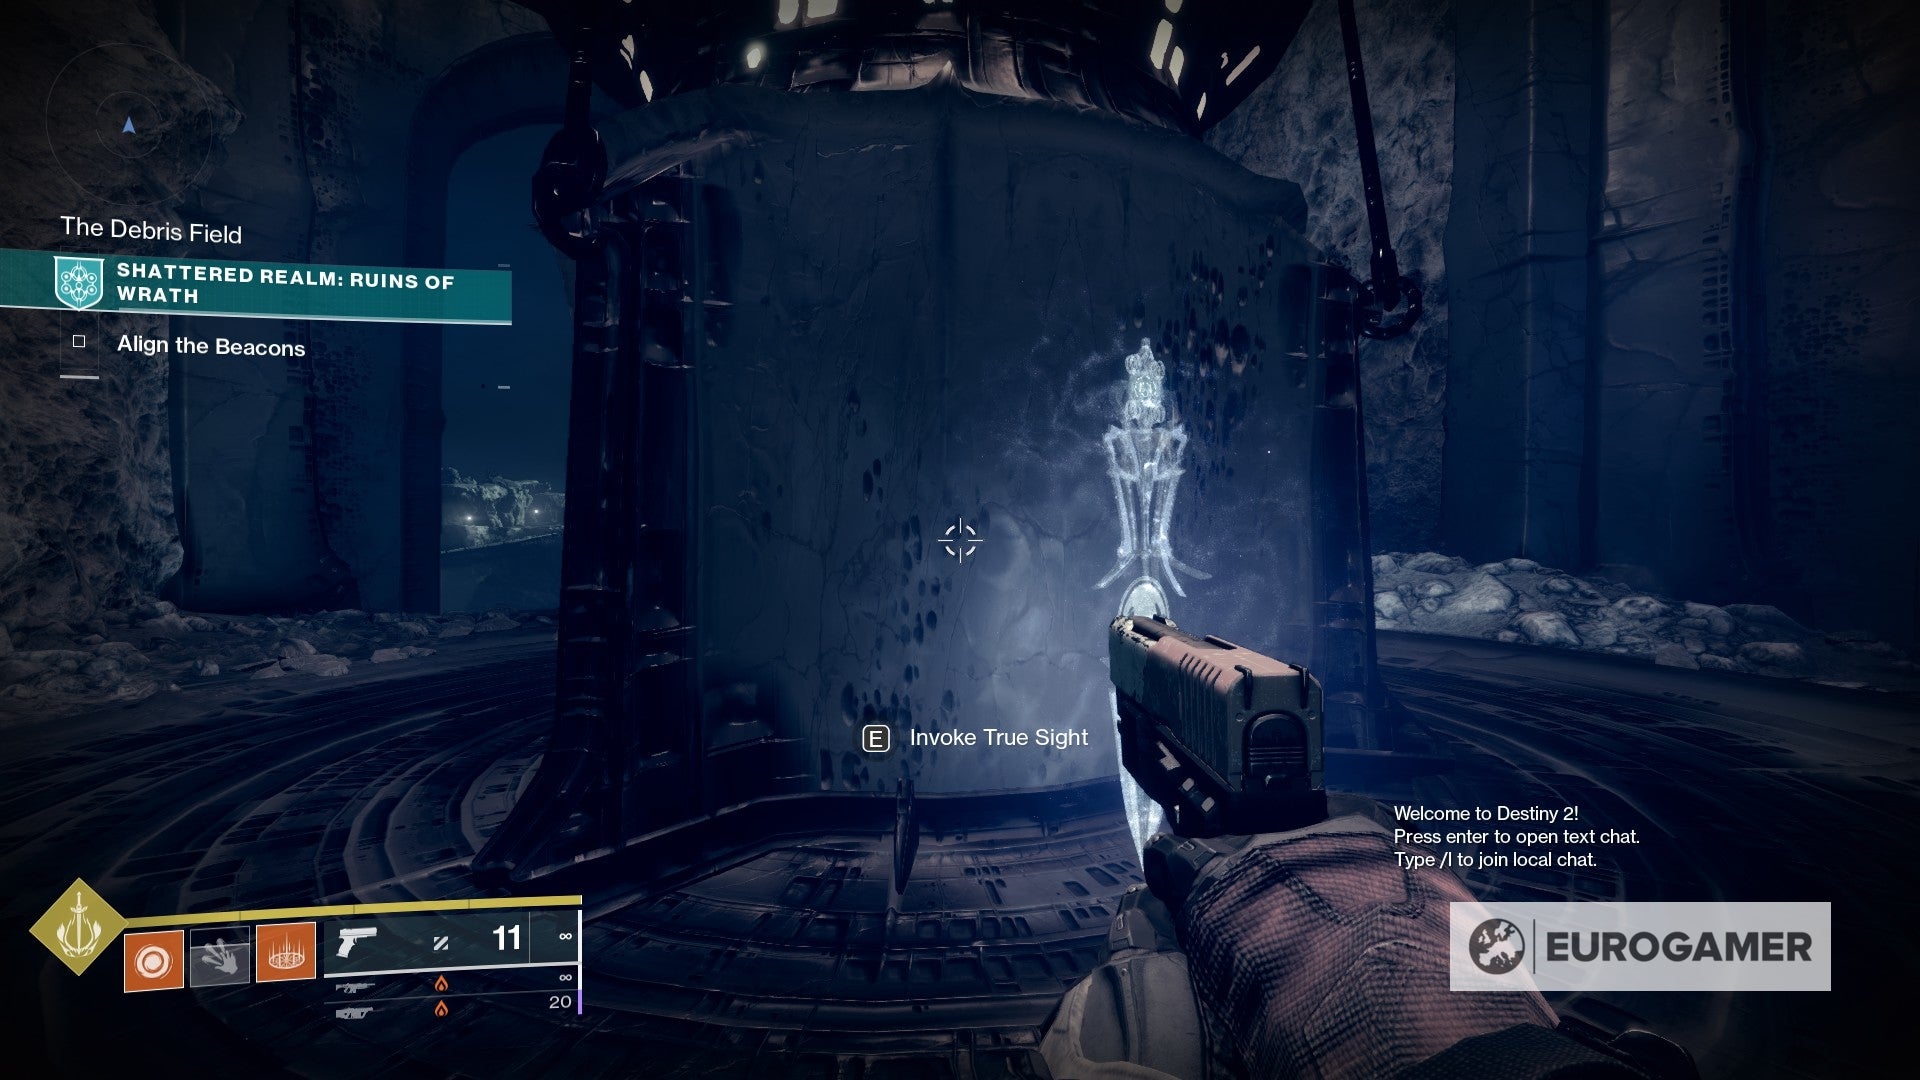
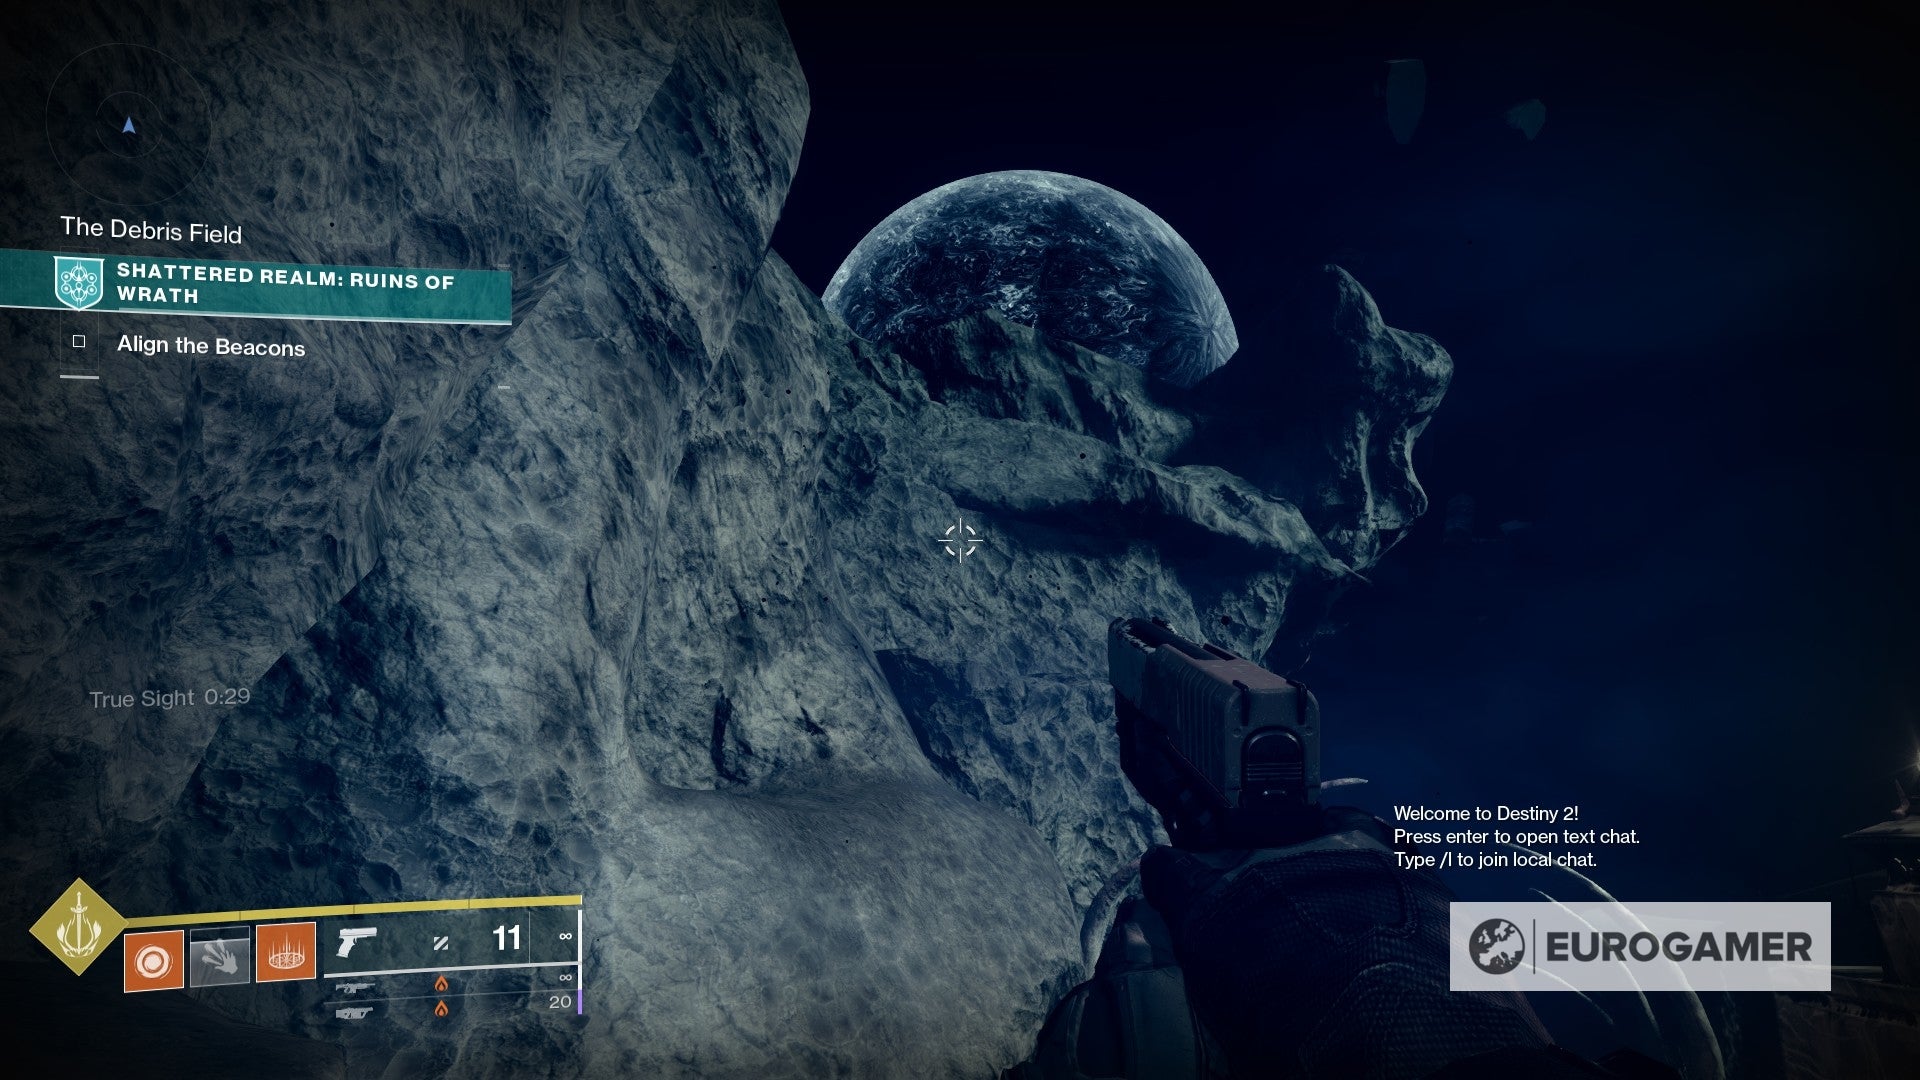
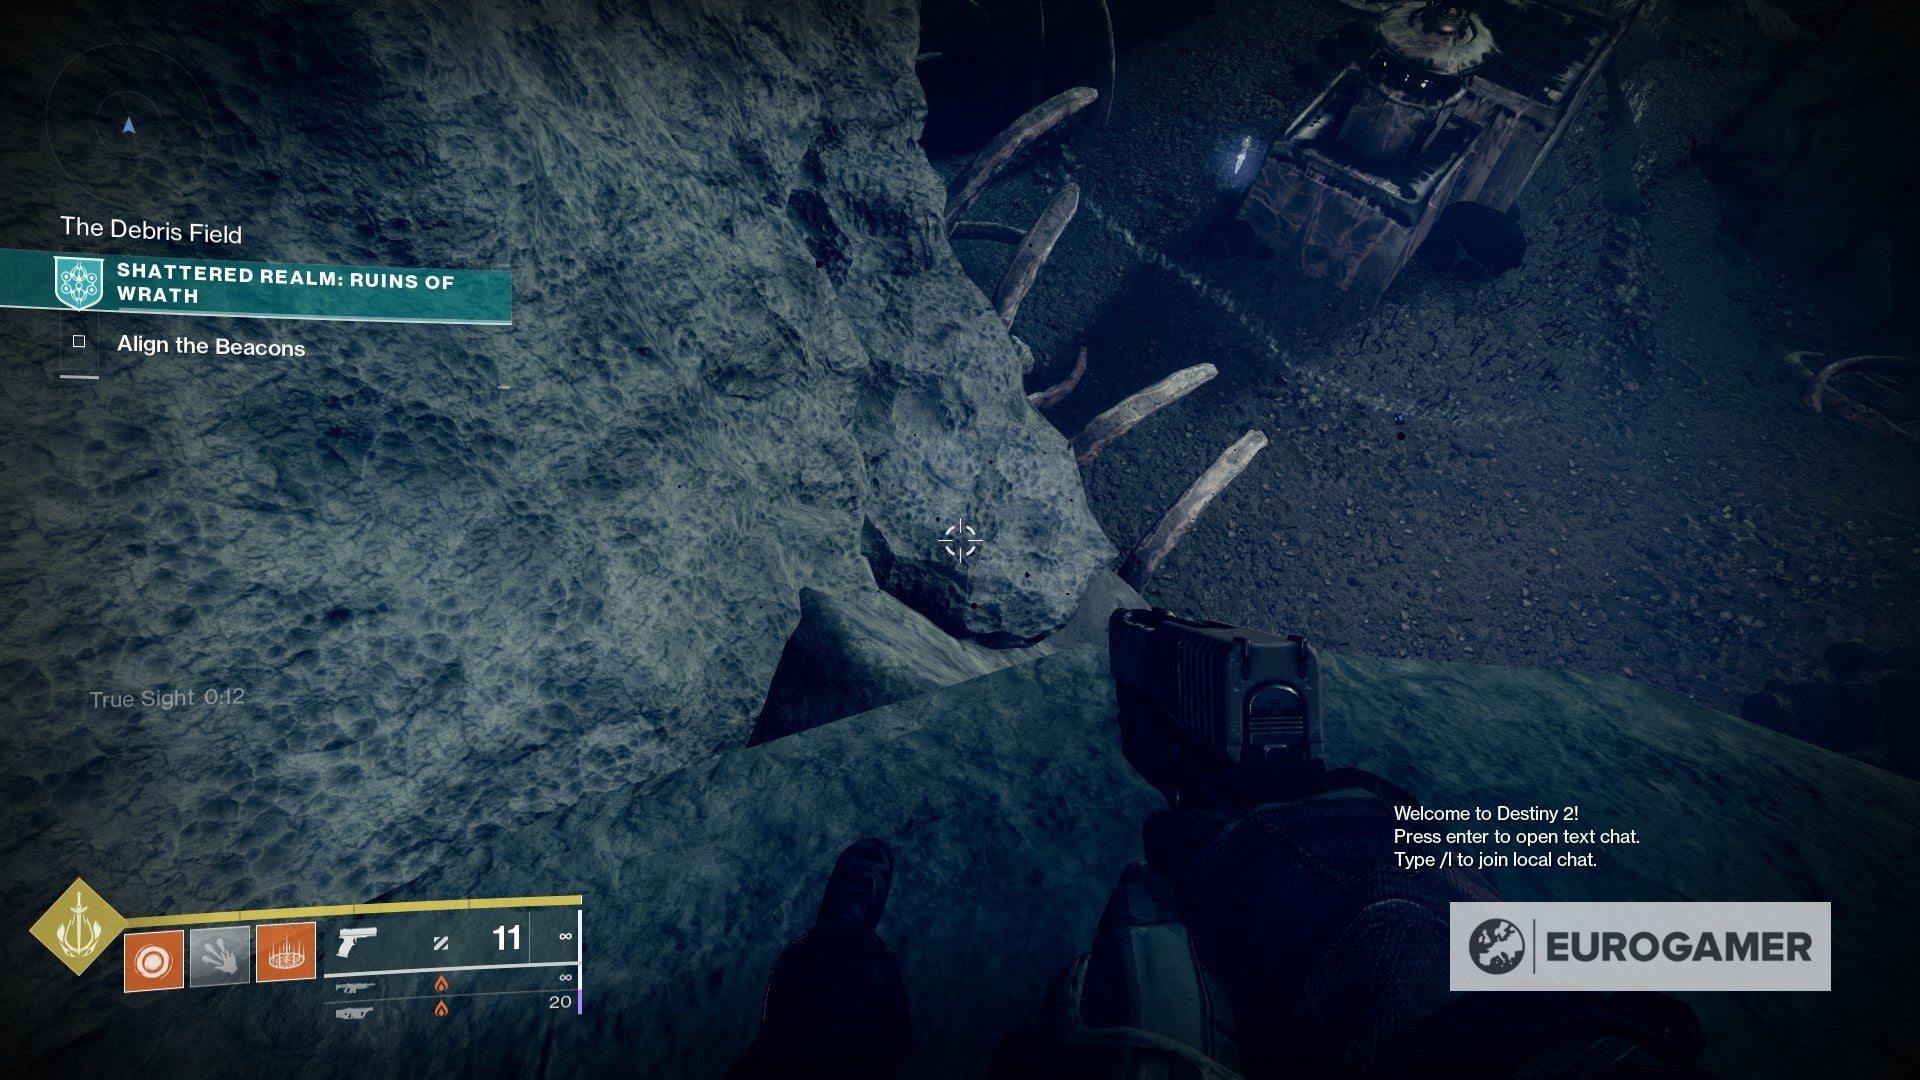
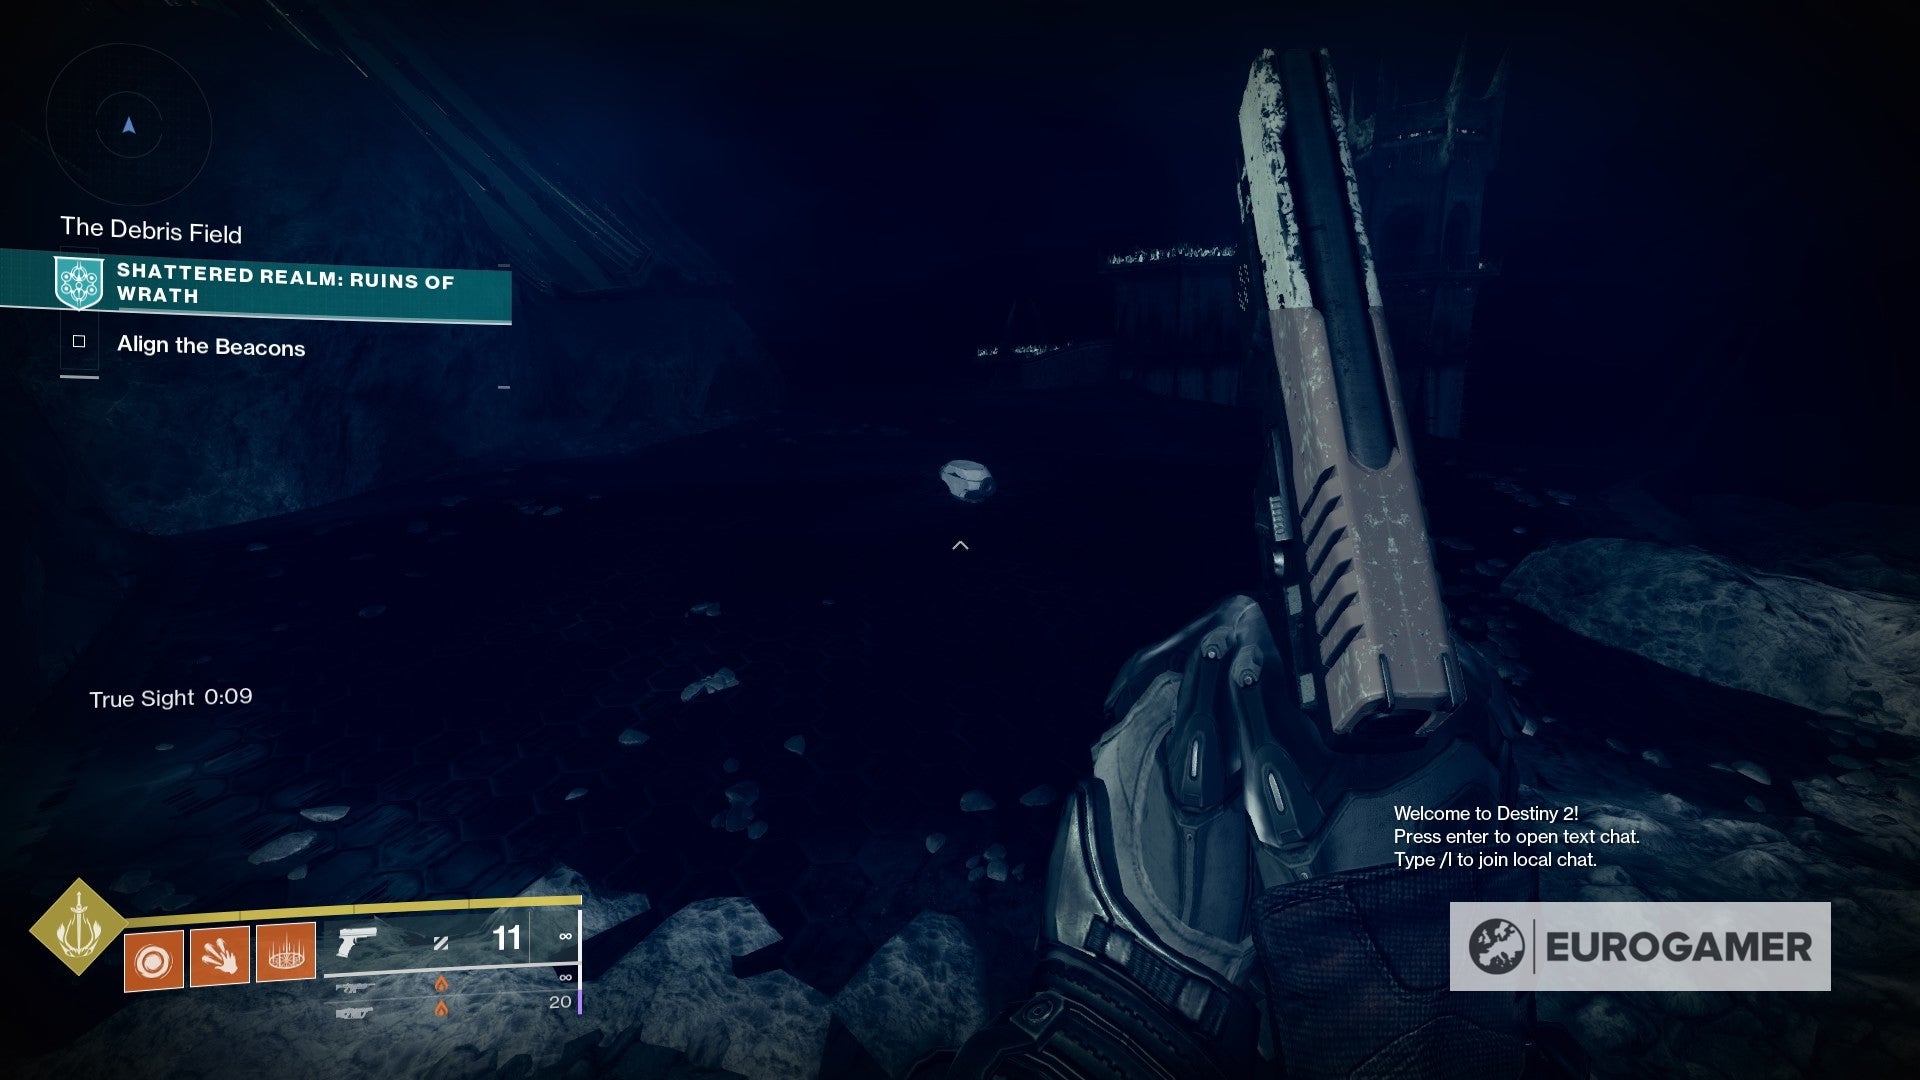
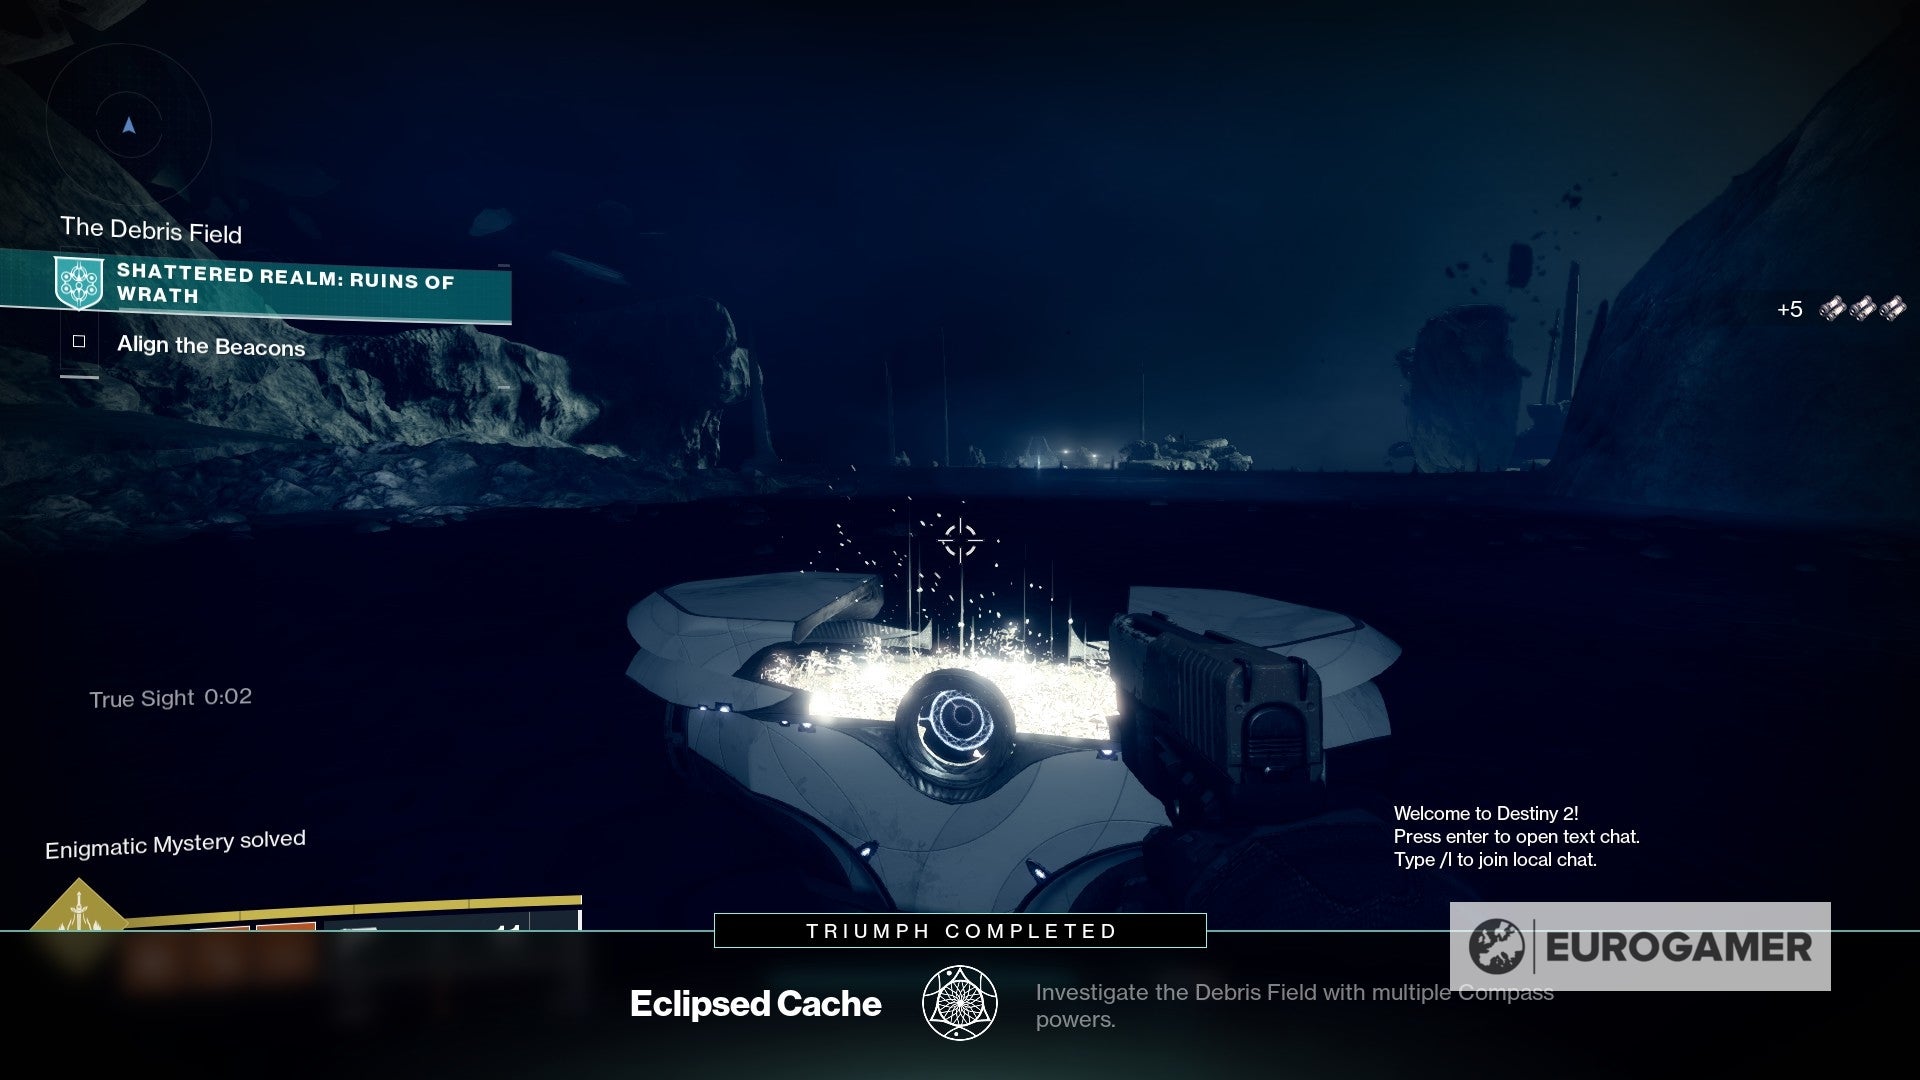
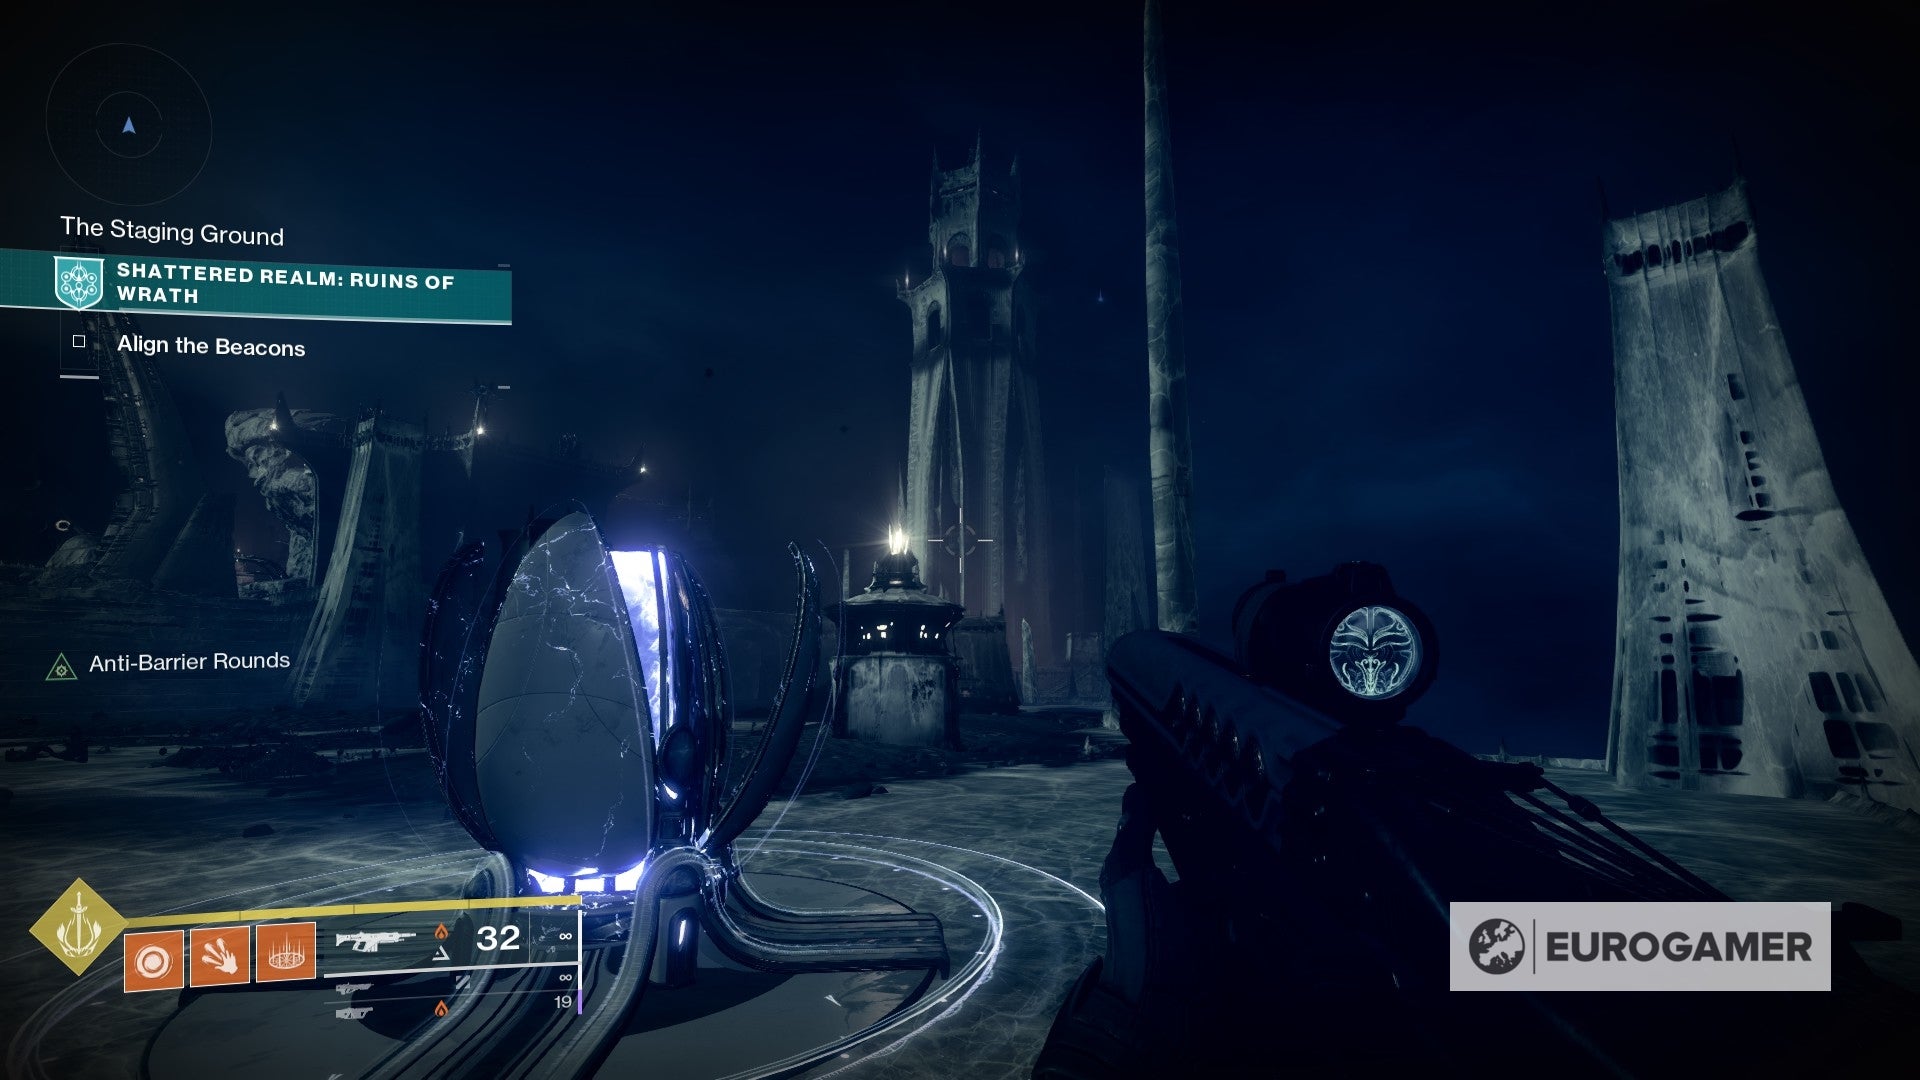
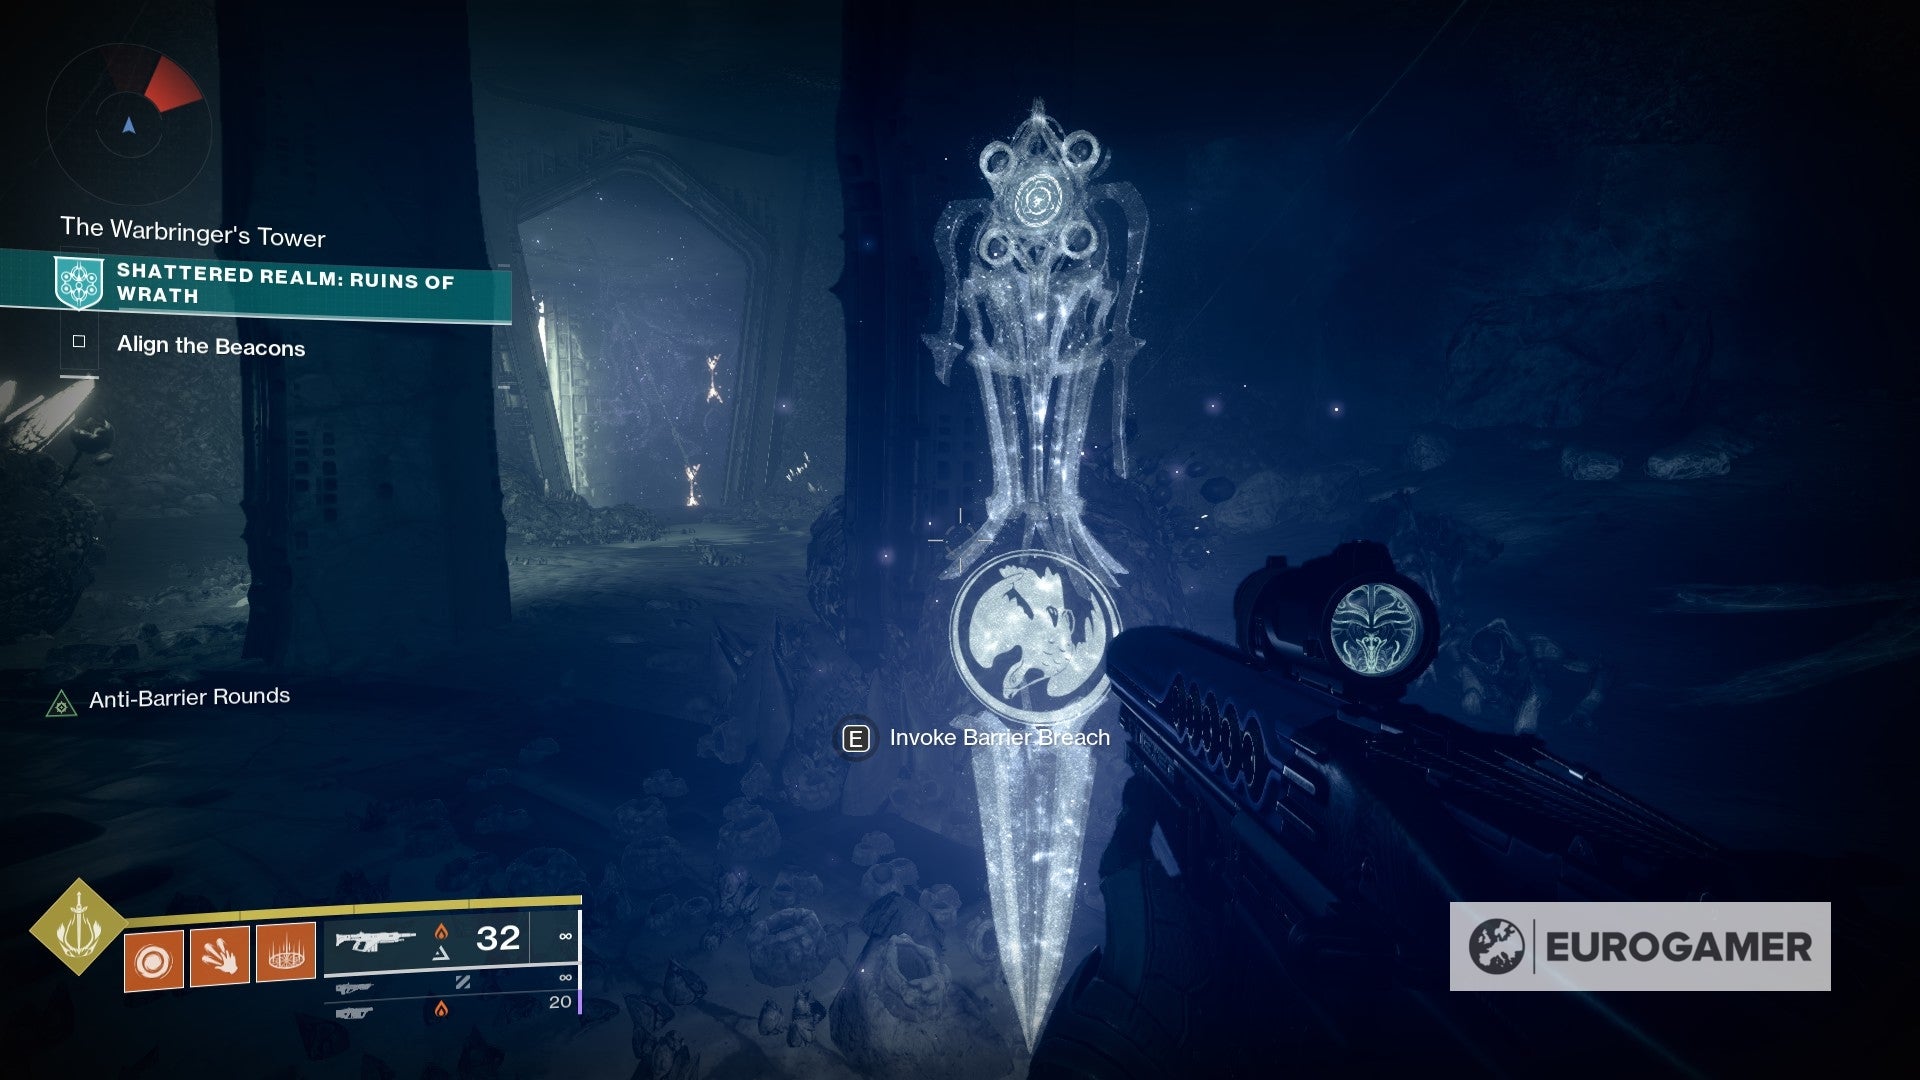
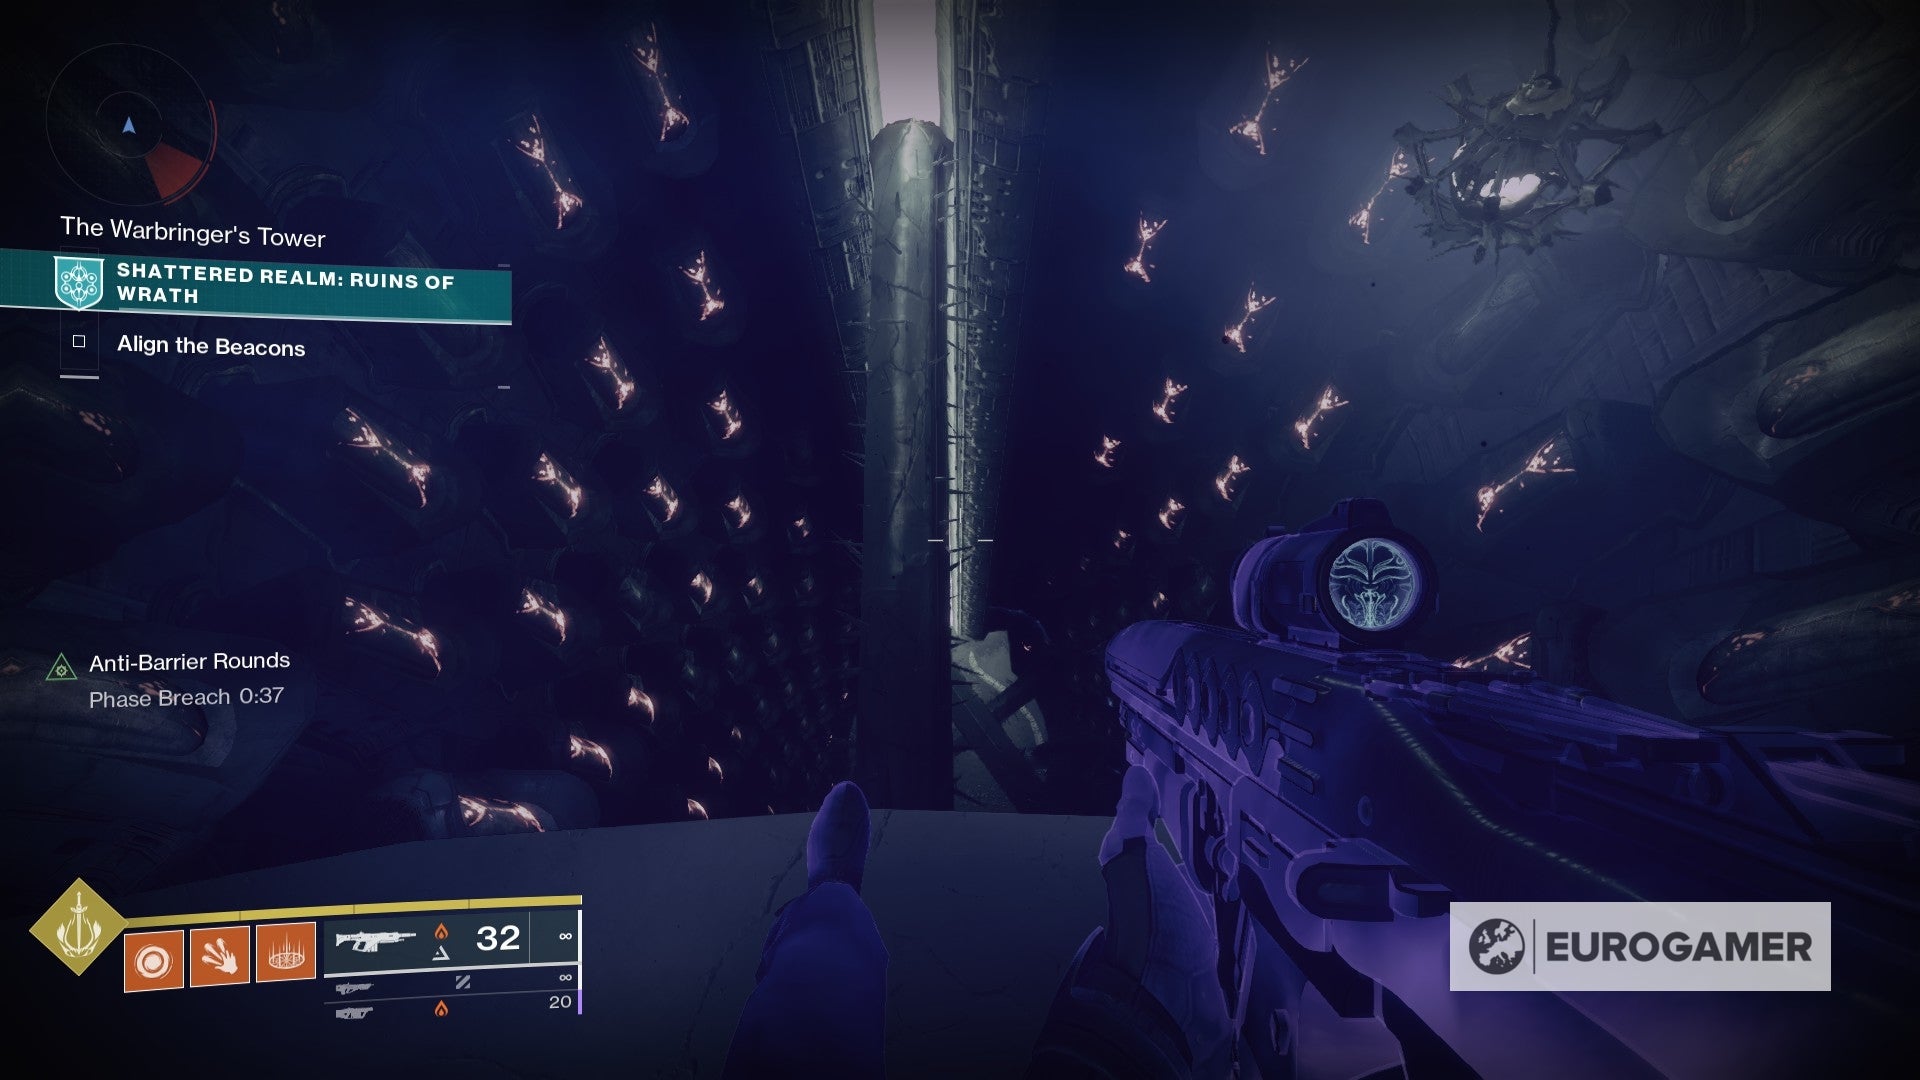
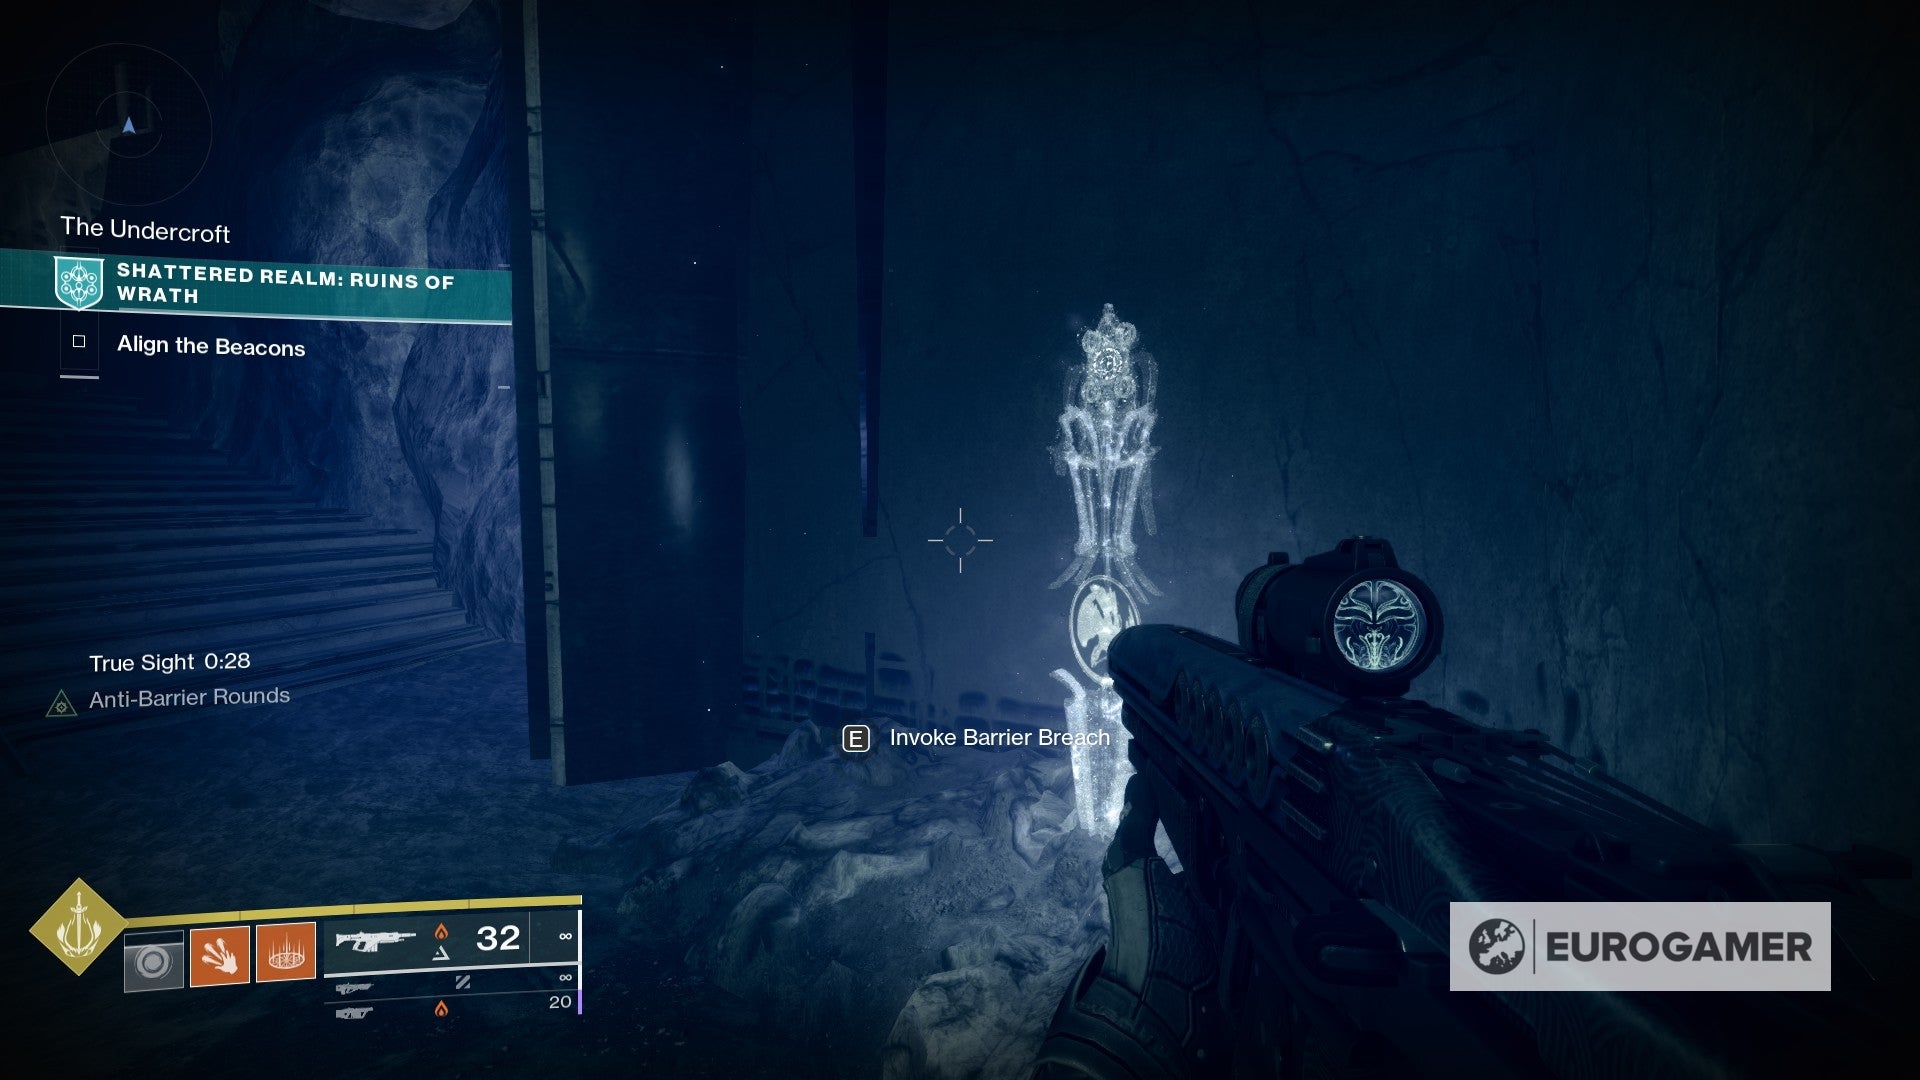
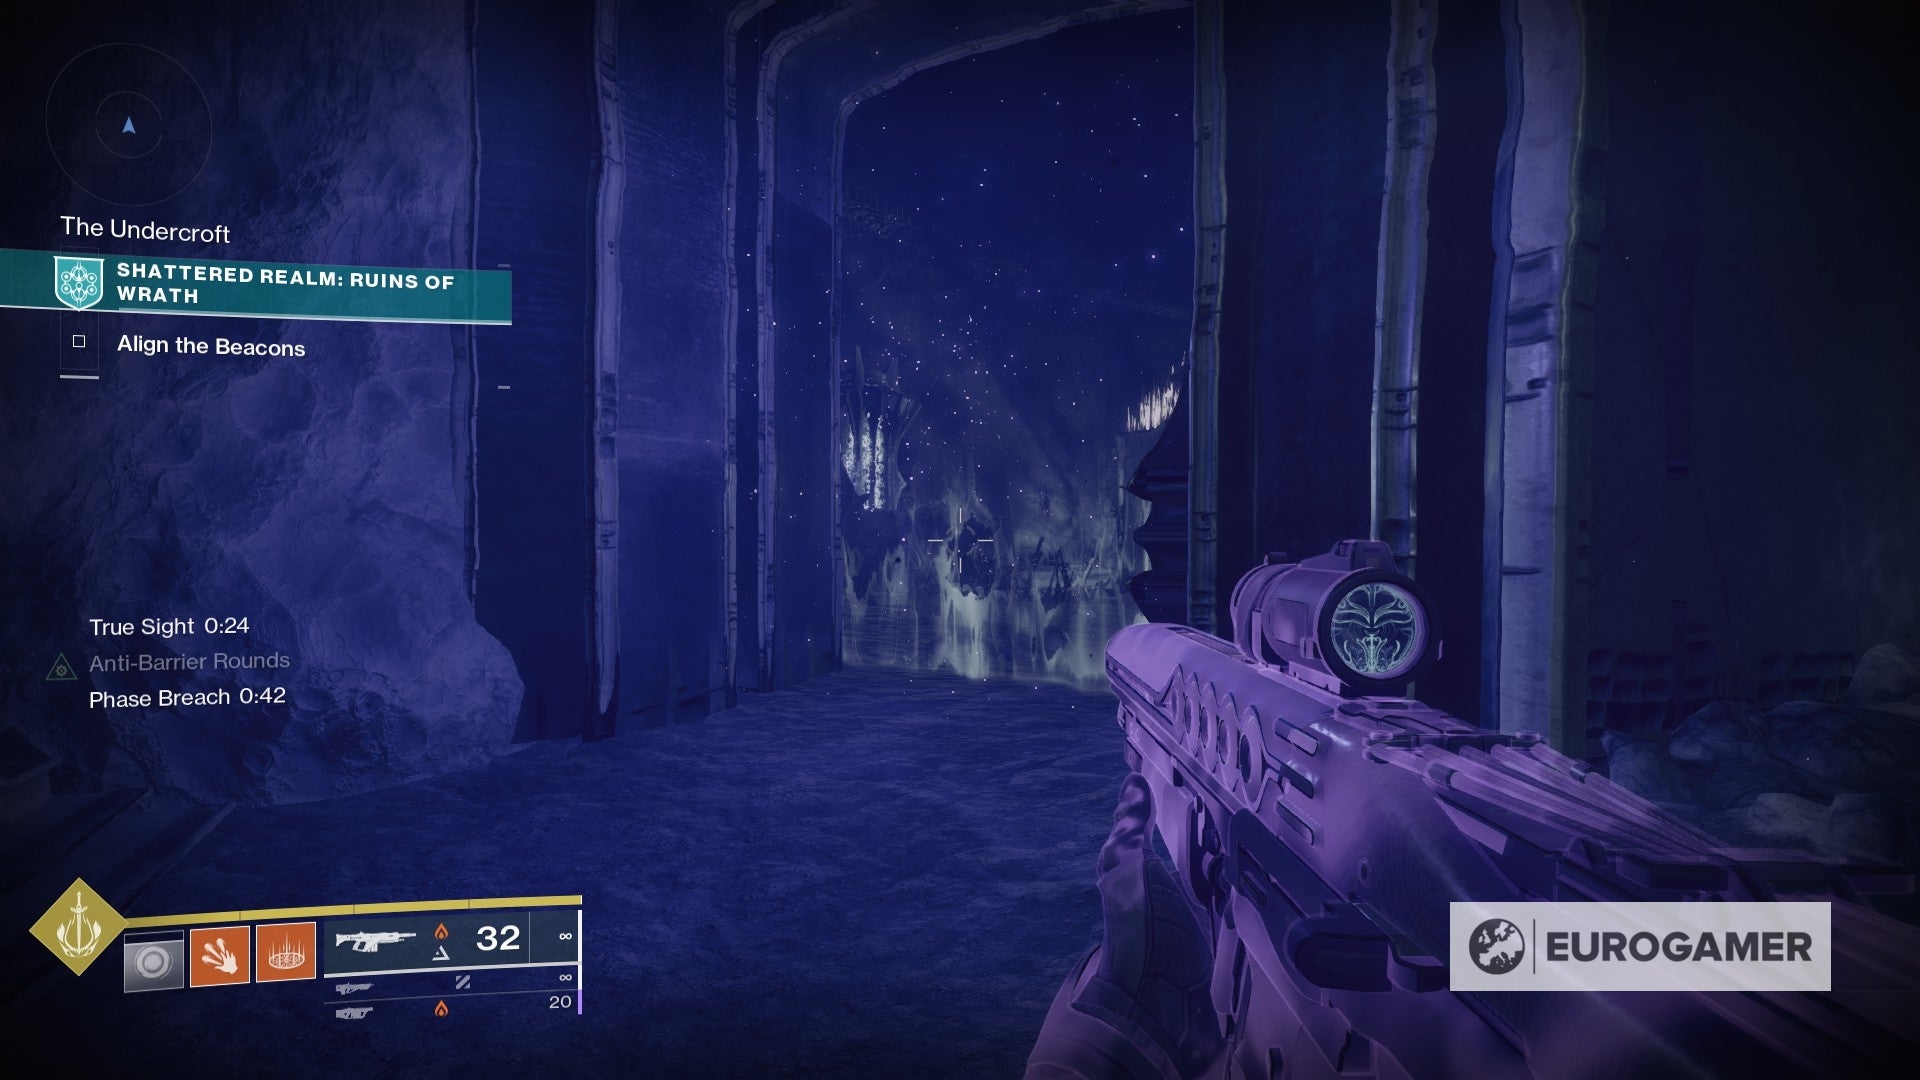
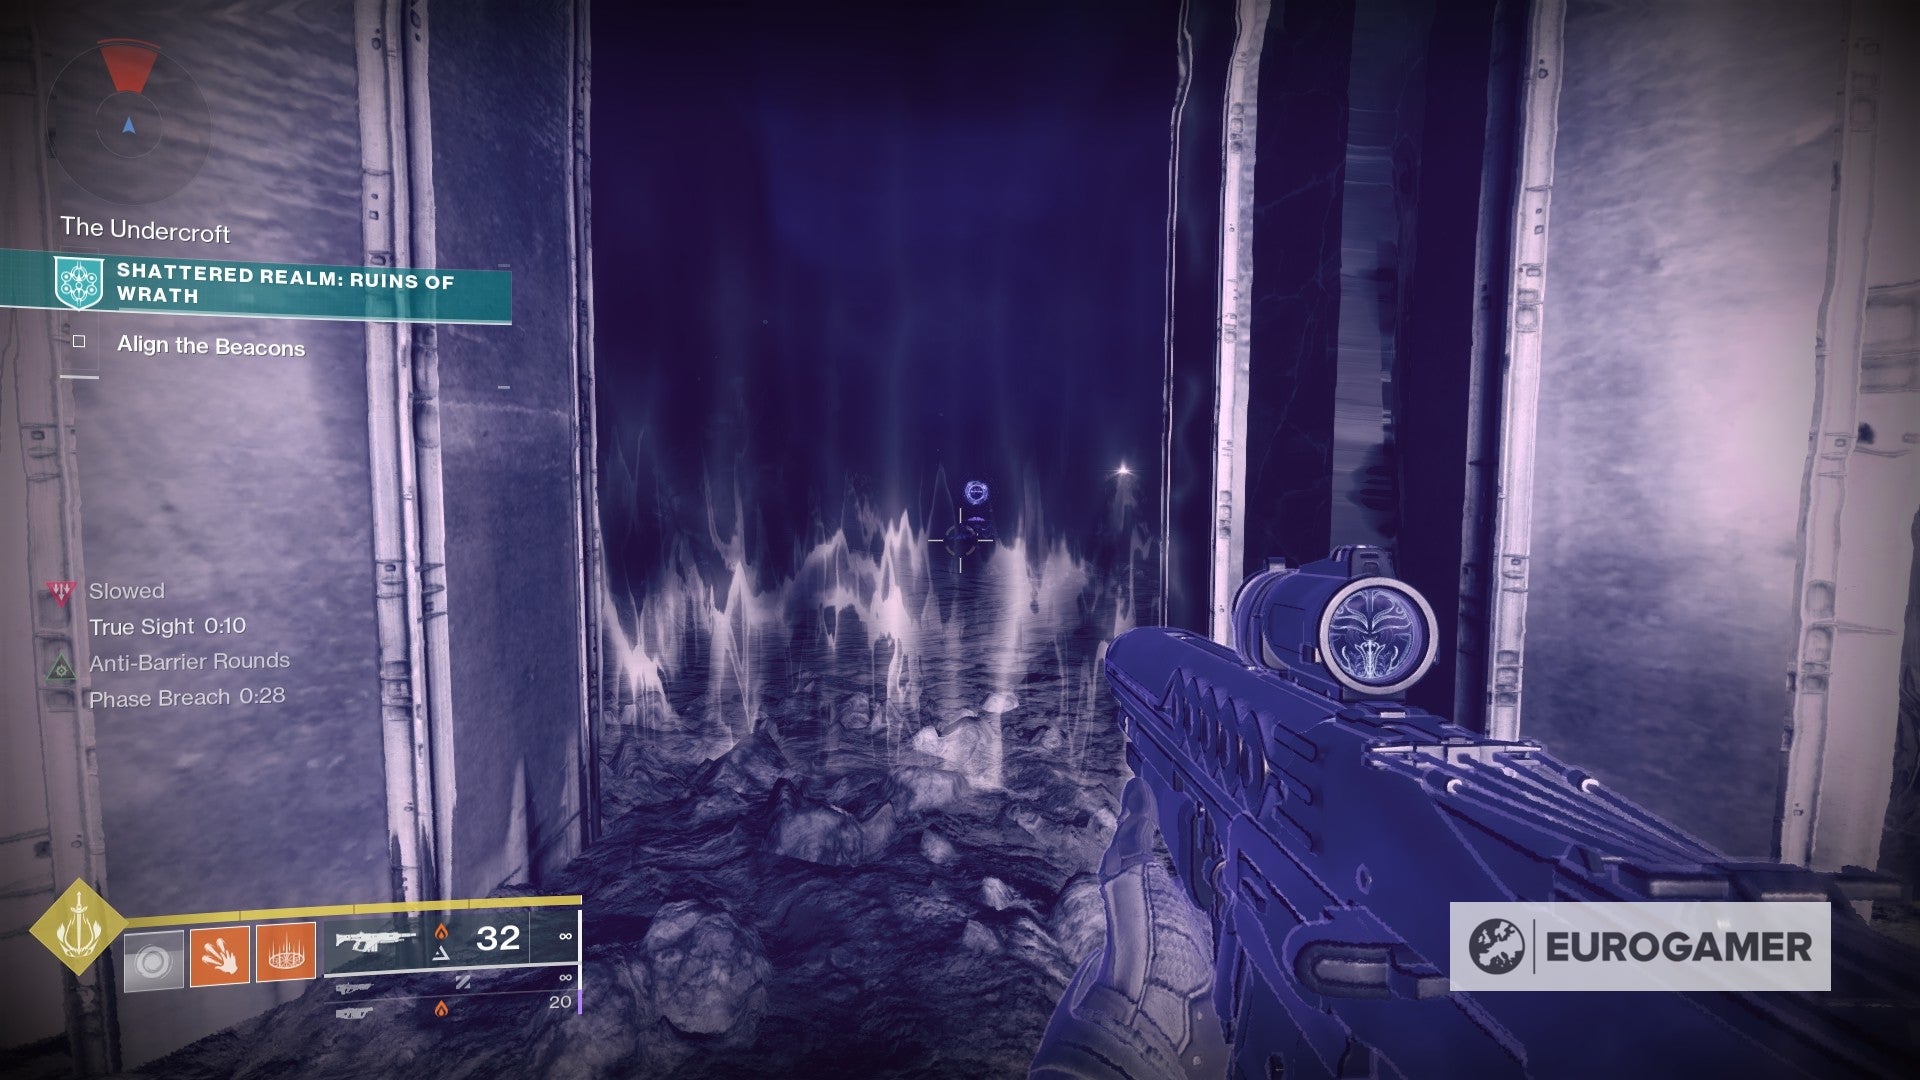
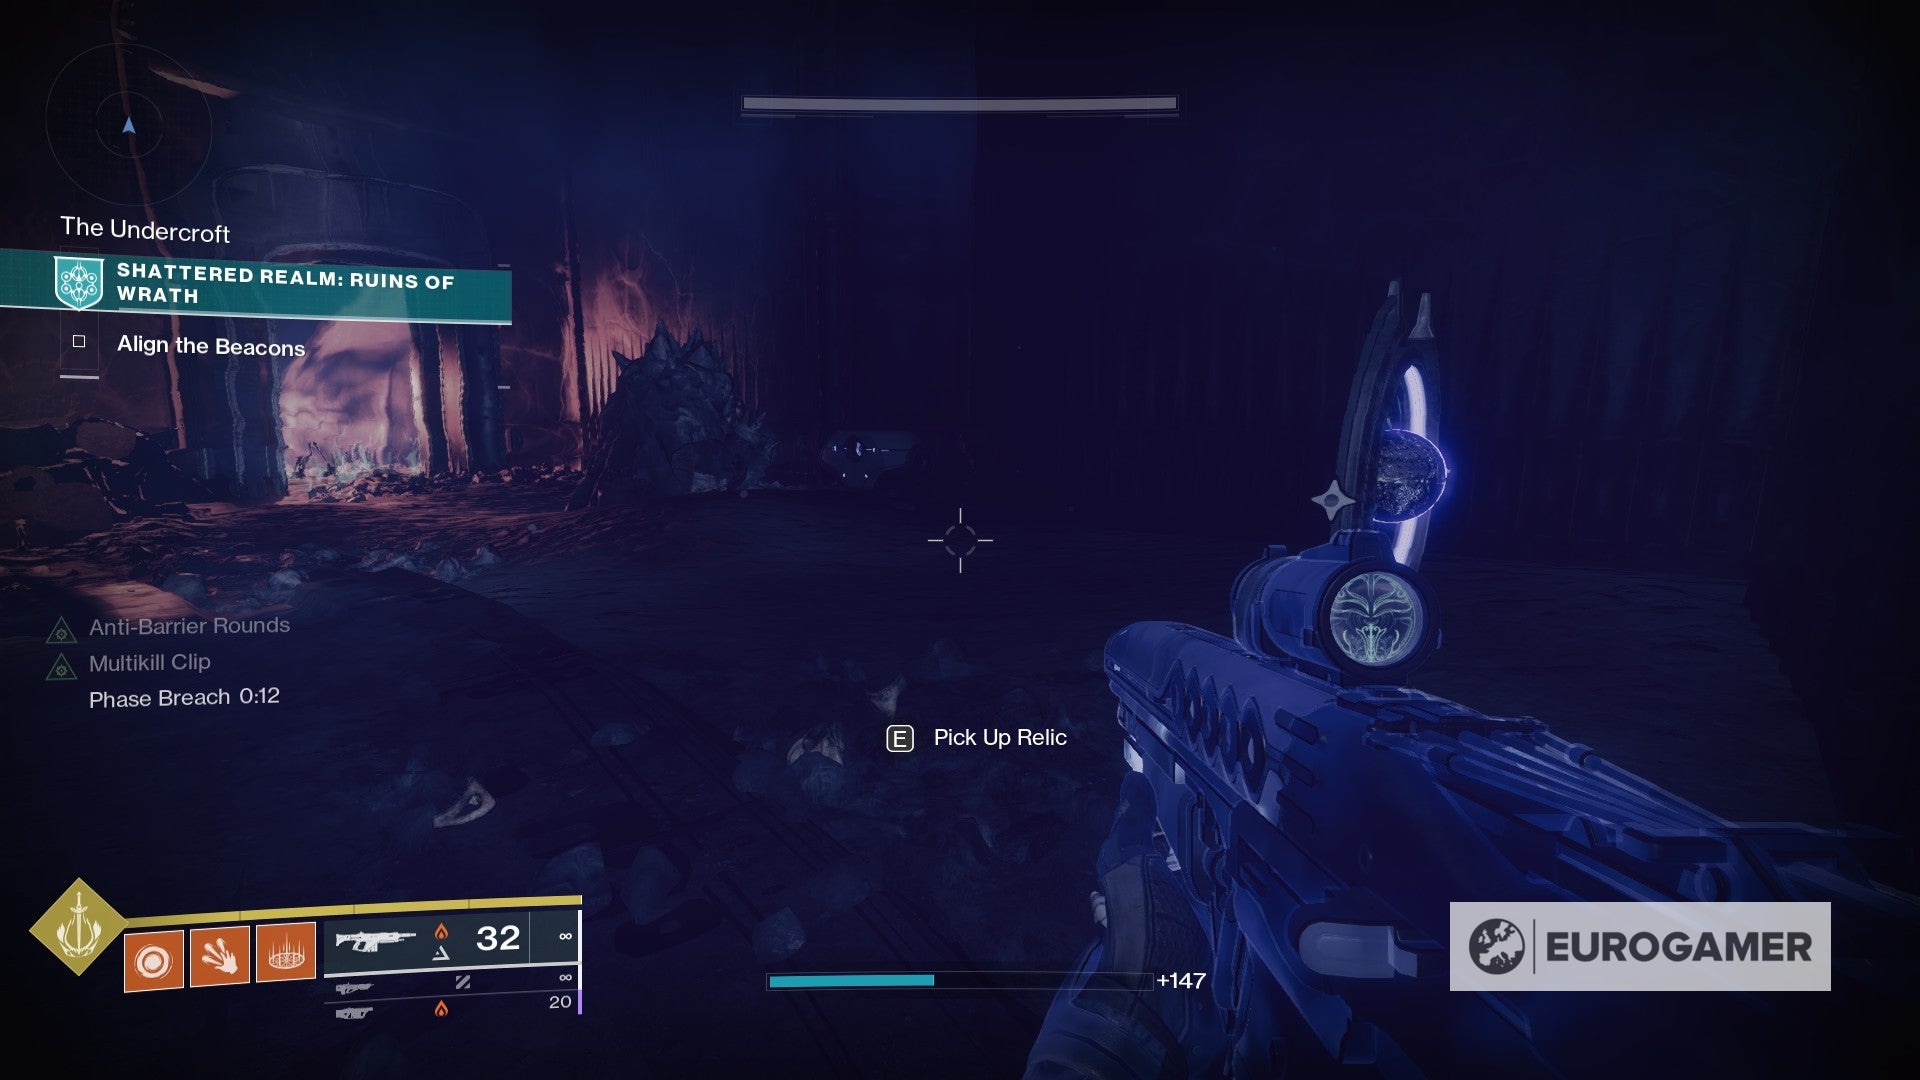
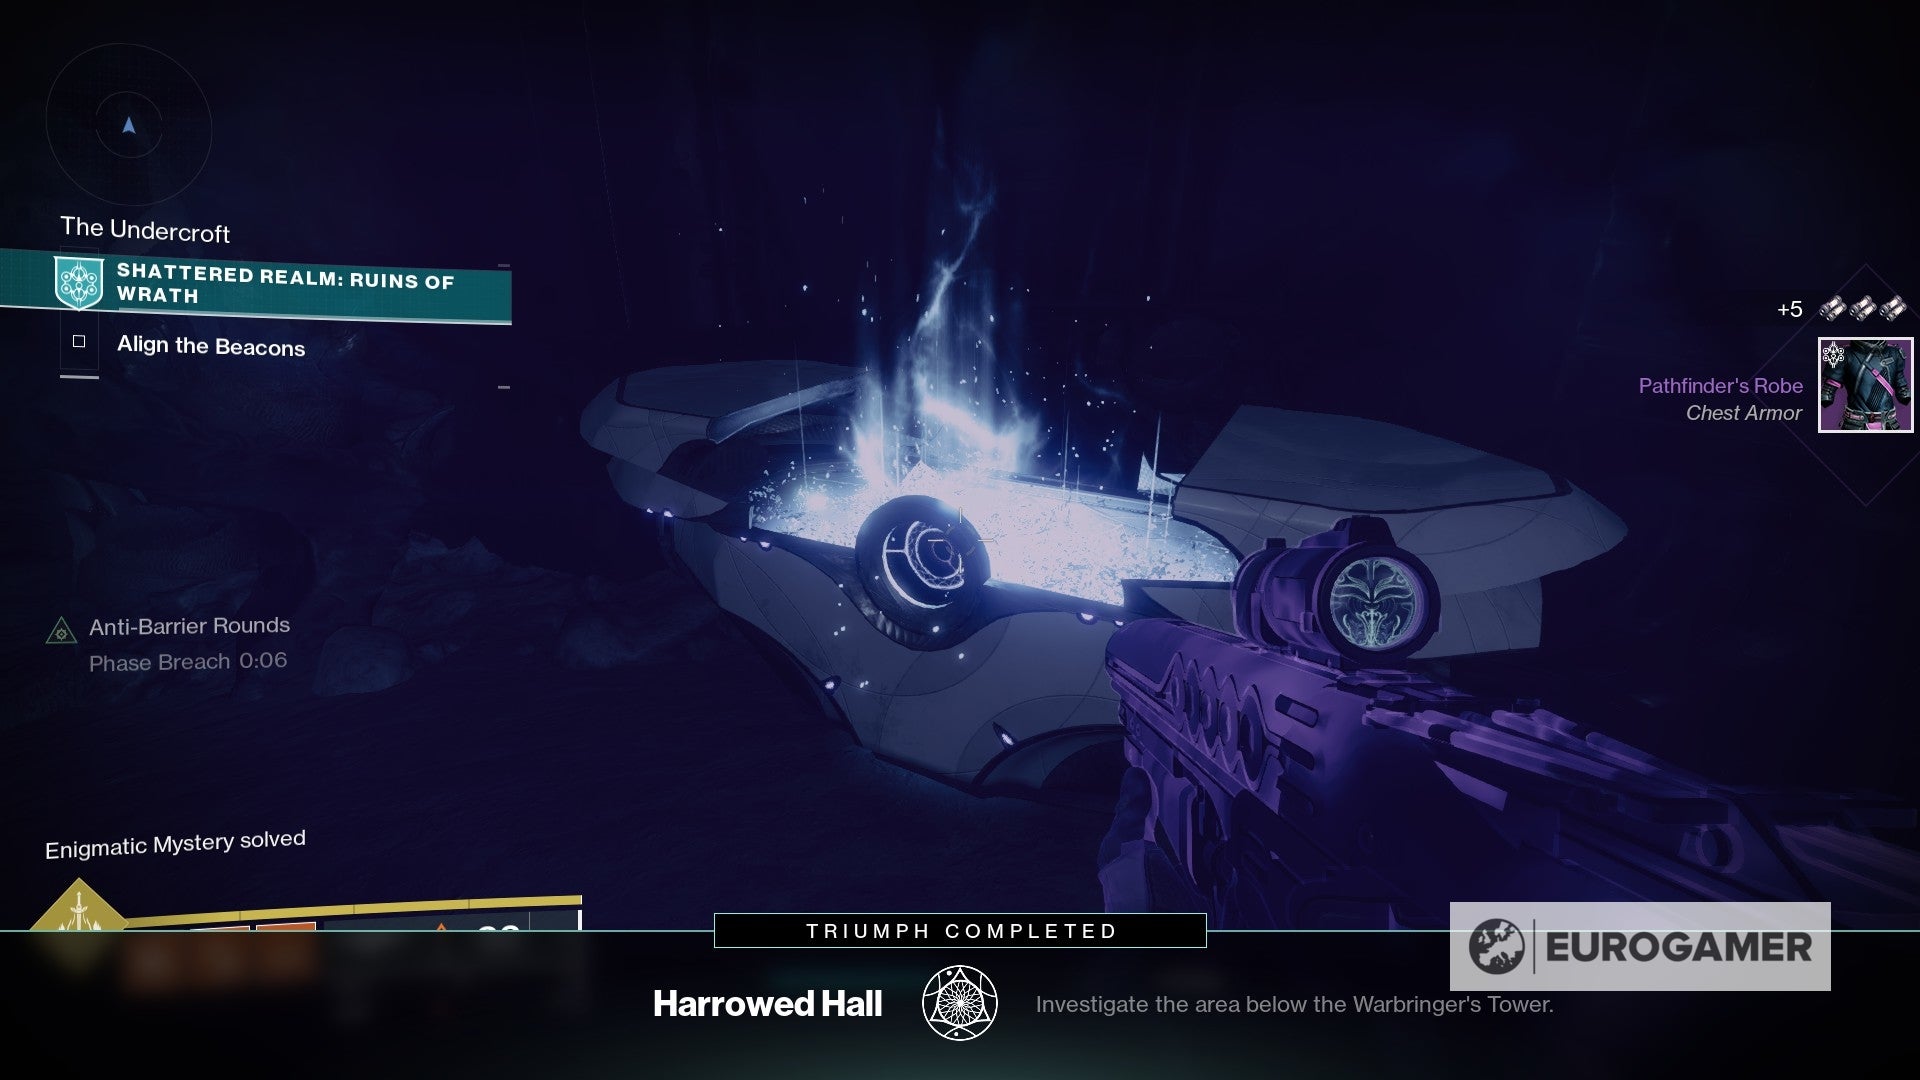
Debuting in Season of the Lost, and working similarly to Atlas Skews, they are part of a seasonal activity. This page explains where to find Enigmatic Mysteries in the Shattered Realm to complete both seasonal challenges and secret triumphs for your collection. Explainers: Shattered Realms: Forest of Echoes locations: Shattered Realms: Debris of Dreams locations: Shattered Realms: Ruins of Wrath locations: In addition, they require for you to have the True Sight ability, which is unlocked during step 11 of Wayfinder’s Voyage. Meaning you won’t have to worry about missing any until you’re caught up with the seasonal questline up to that point. Each seasonal challenge involving Enigmatic Mysteries requires finding a certain number of them to complete; it doesn’t matter which area of the Shattered Realm you find them from, so feel free to collect any as you go from week-to-week. Now, let’s see where those Enigmatic Mystery locations are. The As Above, So Unseen Enigmatic Mystery can be found around the Courtyard area. To access it, it’s best if you first complete both beacons. For this one, you’re going to head near the church. If you take the actual church as a reference point, head to the cliff on the other end - from that spot you can see the statue in the middle (just under the moon) and the crypt to the left. Just before the cliff there’s a True Sight device to use - that will kick off a path towards the chest. In addition, you will also have to use the Safe Passage device that is on a straight line from your location. Once the path unveils itself, you will have to be very quick. It’s rather straightforward to follow, but Safe Passage will only cover you for a few seconds. Start sprinting as soon as you’re able and double jump your way to each platform. Don’t worry about repositioning until you’re in the air. As a silver lining, the Slowed condition won’t reach the last two platforms, so you only need to speed up until then. In case it’s helpful, here’s a video of how it worked for us: Once on the final platform, just double jump towards the plateau and open the chest - remember that if Iron Sight depletes before you do, you’ll have to repeat these steps. That’s all for As Above, So Unseen. The Bells Enigmatic Mystery can be found around the Courtyard area. To access it, it’s best if you first complete both beacons. Head back to the church where you aligned the first beacon. Right after the entrance you will see two devices on each side - True Sight on the left and Barrier Breach on the right. Activate both of them and head forward towards the other end of the church. Halfway across you will notice a floating path unveiling itself that will take you upwards - hop on the platforms and head there. As you’re getting close to the roof you’ll see the barrier - cross it and get to the other side. From here, you can either use the True Sight device to replenish the time counter or just keep on moving upwards. Another floating path will appear, which will go around in the air and take you to a floating structure. Once you’re inside, and as long as you still have True Sight active, go ahead and open the chest. The Vantage Enigmatic Mystery can be found around the Sunken Cave area. To access it, it’s best if you first complete both beacons. We’re going to be taking the Deep Defenses Trivial Mystery location as reference, in case it helps. From the ruins, activate the True Sight device and follow the floating path. Instead of heading below or to the far western side, you’re going to circle around slightly to your left and head upwards. Activate both of them and head forward towards the other end of the church. Halfway across you will notice a floating path unveiling itself that will take you upwards - hop on the platforms and head there. Once you’re at the top, you’ll see an area that will cause you to have the Slowed debuff. Here, you’re going to circle around until you see two devices that are close to each other. The first is a True Sight device, which is closer to the cliff. The other, to its right, is a Safe Passage device. You will want to activate both for the next step. It’s rather straightforward from here - just follow the floating path that goes up and around the mountain at the centre of the area. Safe Passage won’t last forever, so make sure to sprint and double jump to the platforms until you’re at the plateau above. Once you’re on top, and as long as you still have True Sight active, go ahead and open the chest. That’s all for Forest of Echoes! The Outpost Lost Enigmatic Mystery can be found around the Ruined Outpost area. To access it, you first need to complete the first beacon inside the dome-shaped structure. We’ll use this spot as our starting point. After you’ve aligned the first beacon, head outside and face the other end of the main area. We’ll be heading onto the other side for this mystery - there’s some cargo covered in a blanket with a white logo that can serve as reference. From there, you’re going to want to head down below (you will still be able to see the dome-like structure of the first beacon from there). Once you’re on the platform beneath, you will notice a cave entrance with two entryways. Head inside and you will immediately become slowed. This is expected, so don’t worry. Take down any enemies in the cave and head to the other side of the room to find a True Sight device. You can’t double jump due to the slowed status, but you can just climb to the platform on the right and then head towards the device to activate it. Luckily, it’s straightforward enough from here. Jump on the floating platforms until reaching the chest, and open it to complete the Outpost Lost Enigmatic Mystery. The Shipyard Secrets Enigmatic Mystery can be found in the Descent area. To access it, we recommend you to align the second beacon first. Then, as you head to the portal and onto the boss area, don’t align the third beacon just yet! We’ll be using this as a starting point to make it easier to follow. As you’re facing the beacon, head straight until the cliff, right past the two massive devices on the left side (one of them has a light, as reference). You will be end up in a new open area. If you look down below, you’ll see a massive spinner. That’s your point of reference. From where you’re standing, you’re going to make a quick jump and levitate to a platform below, where you will immediately notice a True Sight device. Landed safely? Now, go ahead and activate it to unveil a set of floating platforms in front of you. From here, just follow the platforms and open the chest. That’s all for Shipyard Secrets! Bear in mind that while there are other Enigmatic Mysteries available in Debris of Dreams, they’re all currently inaccessible - hinting at the possible inclusion of the Safe Passage ability being unlocked soon. In the meantime, these are more than enough to complete Ley Line Secrets. The Enclave Enigma Enigmatic Mystery can be found in the The Vista area. To access it, we recommend you to align the first beacon first. After finishing the first beacon alignment, head outside through the door. You’re going to follow the floating lanterns all the way to the other end of the surface. You will quickly notice a True Sight device in the vicinity. Go ahead and activate it to unveil a path ahead of you. Following said path to the other end will lead you to The Vista, which is where you’ll find the mystery. Upon your arrival, get rid of the enemies roaming the area so you don’t get interrupted. Then, head towards the centre until you stumble upon the Safe Passage device. Now, you’re going to use both the Safe Passage and True Sight devices there. The latter is found on top of the rock ahead of you, so you can activate it first and then grab the Safe Passage. This will unveil a path upwards. Safe Passage doesn’t last long, so you want to double jump your way to at least the third platform. From there, don’t worry about it since the Slowed condition doesn’t reach that high. True Sight may wear off if you’re not fast enough, however, but should give you plenty of time. From here, just follow the platforms and open the chest. That’s all for Enclave Enigma. That’s all for Debris of Dreams for the time being! The Aloft, Adrift Enigmatic Mystery can be found around the Outer Islands area. To access it, you first need to complete the second beacon alignment. Then, return to the first beacon area to find a True Sight device. Follow the path to the other side and onto the floating island. Here, take the right side around it - you will stumble upon another floating path to your right, but just keep heading straight. Once on the corner of the island, you will notice a Barrier Breach device. Use it to gain access to the barrier that is just ahead. Luckily, it’s straightforward enough from here. Get past the barrier and into the cave to find the chest on the other end. That’s all for Aloft, Adrift! The Eclipsed Cache Secrets Enigmatic Mystery can be found in the Debris Field area. To access it, we recommend you to align the second beacon first. Taking the floating path after the first beacon as reference, take a detour to the right towards the area that has those massive bones forming a path. There, keep running until you find a door towards a room with a big lantern-like object in the middle. If you go around it, you will see a True Sight ability device. Activate it and then make a run outside. From where you just came stick to the left side and start double jumping to get upwards. You can either use the bones or any ledges near to do so. The goal is to get to the top. Once there, look to your left and you’ll notice the chest in the vicinity. Go ahead and open it. That’s all for Eclipsed Cache! It’s December, which means the return of The Dawning and Moments of Triumph 2022! Elsewhere, the Season of the Seraph is here alongside More than a Weapon, Seraph Key Codes and Resonate Stems and the addition of Rose in Crucible. We’ve also seen a new dungeon, Spire of the Watcher, with has a chance of Hierarchy of Needs dropping upon completion. Earliear this year we had the arrival of King’s Fall and King’s Fall challenges, plus weapons including Doom of Chelchis and Touch of Malice. For The Witch Queen, learn how to get Dead Messenger and Parasite. For this one, we’ll be following the same steps of the Lord of the Undercroft Ascendant Mystery. From the location of the first beacon, we’ll be heading towards the tower on the right side. It’s recommended that you first complete both beacon alignments. As you get closer you’ll notice a group of enemies gathering around a circle. You’ll have to take all of them down first. Then, stand on the circle, which will be more illuminated. After a brief moment, it will open up the door ahead of you. Head inside and let yourself fall to ground level, where you will find a Barrier Breach device. Use it and get to the other side of the barrier. You will end up in a massive pit with moving traps. It looks more daunting than it actually is, though. Jump down and slowly levitate when you get close to the obstacles to safely move around them until you get to the bottom. Once there, activate the True Sight device nearby. Then, head to the other side of the room where you’ll see a barrier door. Activate the Barrier Breach device to the right, and head inside. Then, follow the hall to the other side for another barrier. Inside you’ll find a Relic, which is used to fight Xivu Arath in the main room, as well as the chest. That’s all for Ruins of Wrath for the time being!
